
Over the last few years I have occasionally been reached out to by YarnCanada.ca and offered yarn to review. Unfortunately life got in the way and my projects and posts were delayed. Here, then, is the first of such reviews.
The yarn I was offered this first time was Noro Kureyon. I was familiar with it, having worked with it in the past when knitting my mom’s Booga Bag as well as for my Tasha Tudor shawl. (Remember when those patterns were huge?? I think EVERY knitting blogger was making them. Both are free patterns, and both are enjoyable knits. Here are the links to the patterns: Booga bag by Julie Anderson – Truly Tasha’s shawl by Nancy Bush.)
I’d knit the bag in 2004 and the shawl in 2005 so I was curious if the yarn was still as good as I’d remembered.
As per YarnCanada’s description, “Noro Kureyon is one of their higher-end, “indie” yarns, known for its artistic colors and hand production process. It’s a hand-dyed, 100% wool that comes in variegated colors that self-stripe as you knit. A wide range of accessories and garments can be knit with this yarn.” I was offered my choice of color, which was a hard decision to make! As you can see below the yarn comes in a TON of beautiful shades, each more gorgeous and interesting than the last.
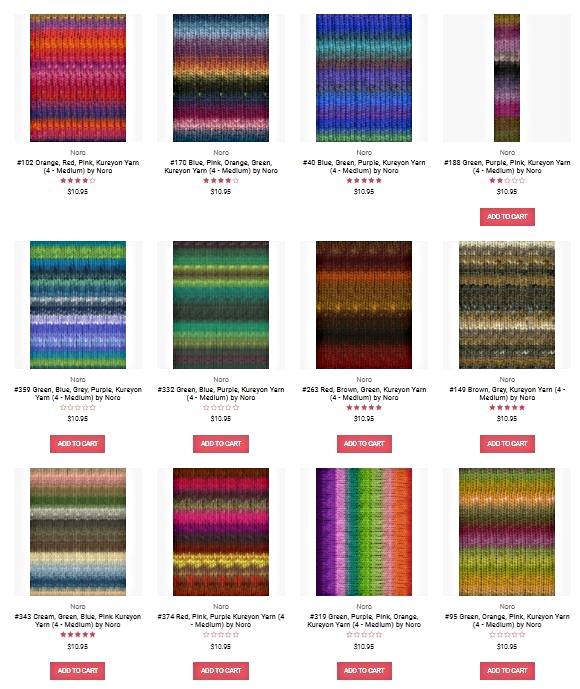

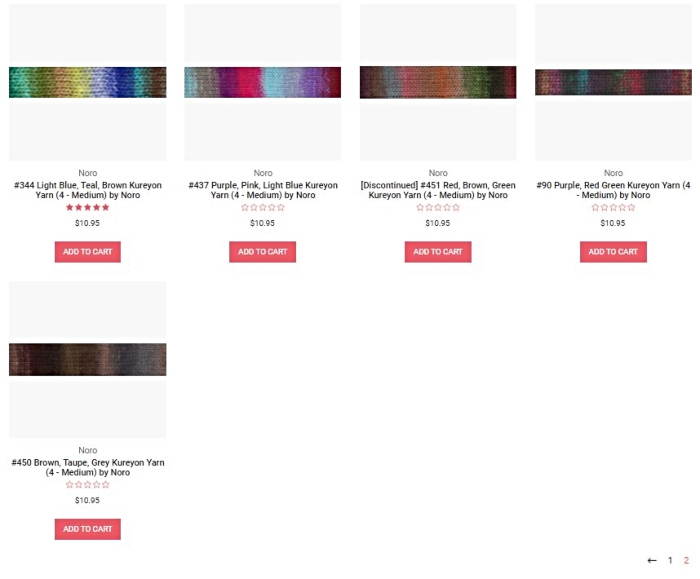
I wanted to choose a pattern before selecting a yarn, as the colors would be the prominent feature. The yarn colors do sell out fast, and in fact my first choice color at the time had sold out before I was able to decide on a suitable pattern! In the end I chose color 368, and they sent me 3 balls.
Note: it looks like this color is currently not available on their website. This is what it had looked like at the time:
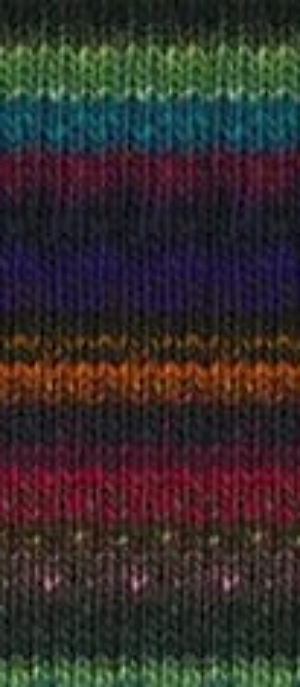
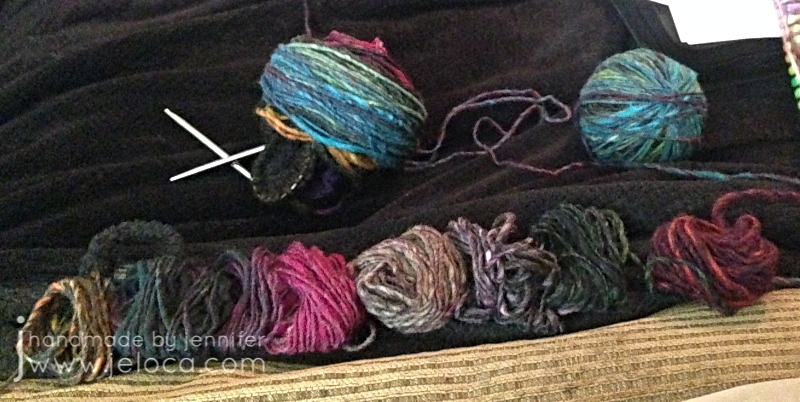
And this is how it looked when it arrived.
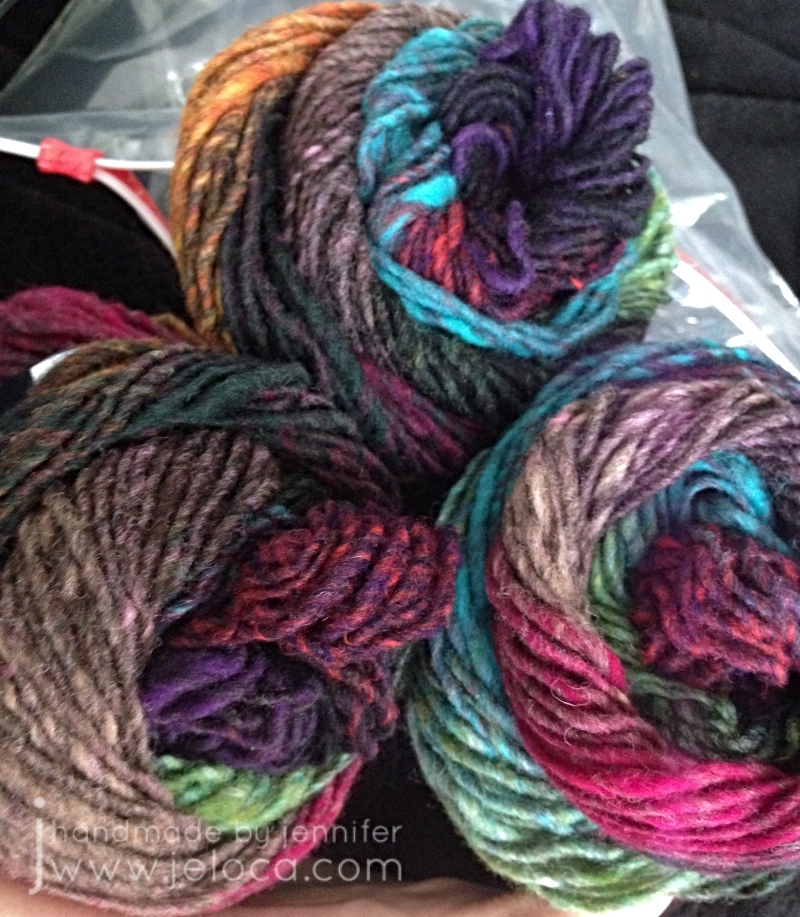
Aren’t the colors stunning?? I was swayed by the contrast of the bright blues, greens, pinks and orange against the more muted neutrals.
(Disclaimer – the images in this post from here until the mannequin were taken a few years ago with an old iPhone 4 that had a cracked lens – hence the purple halo in most pics. I cropped out and tweaked what I could, but I can’t go back and account for bad composition or staging, unfortunately).
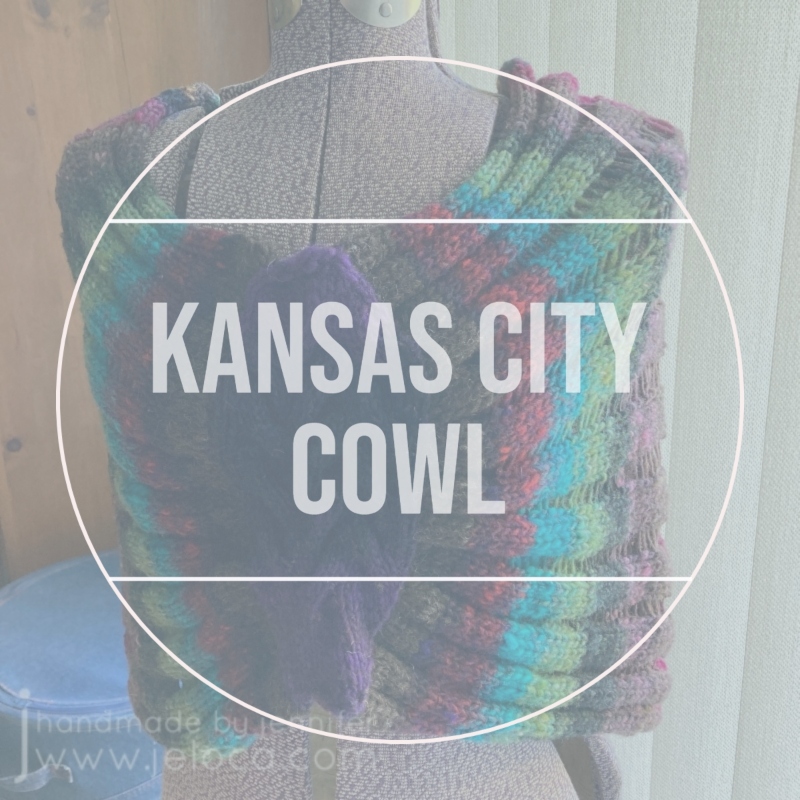
As mentioned, I’d selected a pattern first: the Kansas City Cowl by Kim Guzman. (Free on Ravelry).
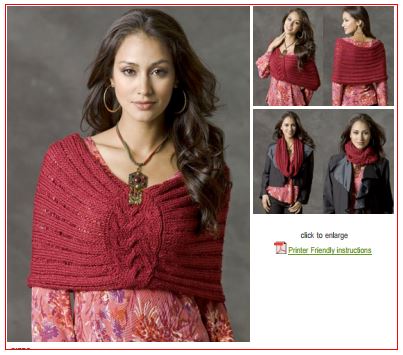
I thought it would be really cool to see the colors stripe vertically while the dropped stitches ran horizontally. Being one who gets cold easily, I also liked the idea of having a versatile garment that could be a scarf when on the go but then be pulled down into a shoulder-warming shrug/poncho when necessary.
I hadn’t read the pattern details initially so it wasn’t until I went to get started that I realized I wouldn’t have enough yarn. The pattern calls for 338m and the Noro was labeled as “plus or minus” 50g to 100m. I figured I’d knit the middle size and hope I’d have enough, but then common sense took the better of me and I decided to wind the balls up and run them through my yardage meter at the same time so I’d know for sure. I was hoping there would be an extra yard or two in one of the balls and I’d find myself luckily closer to my desired yardage.
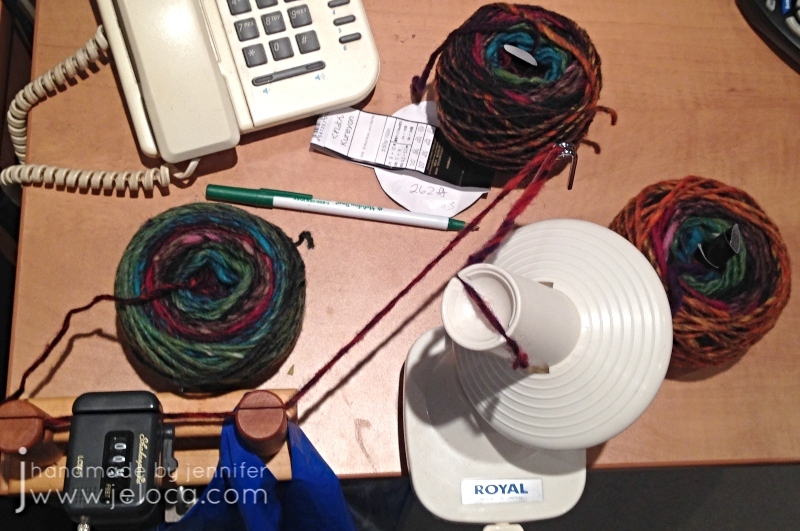
To my surprise each ball was excessively short. Each was supposed to be “around” 100m, but I didn’t get anywhere close. I even wound each ball twice – once to wind into a cake and then a second time into a new cake so there wouldn’t be tension causing any issues. When I saw there was a rather large discrepancy, I also weighed the 3 balls.
These were my results:
Ball 1 – 263 ft or 80 m – 50g
Ball 2 – 257 ft or 78 m – 46g
Ball 3 – 262 ft or 80 m – 40g
I have no idea why the last ball was so much lighter than the first one which had the same yardage. The yarn does slightly vary from thick to thin so it’s possible there were more thin sections. (Note: it’s not a slubby yarn… it’s just occasionally not spun as tightly in spots).
Now knowing I was pretty short on the 340 m yardage my desired pattern required, I riffled through my yarn stash buckets and find something that would match. There was some brown wool left over from a Sylvia Olsen workshop that matched in look and color…except it was leftovers, so there wasn’t much. I measured that to be sure and had 88 ft (26.75m). Armed with that, I formulated a plan.
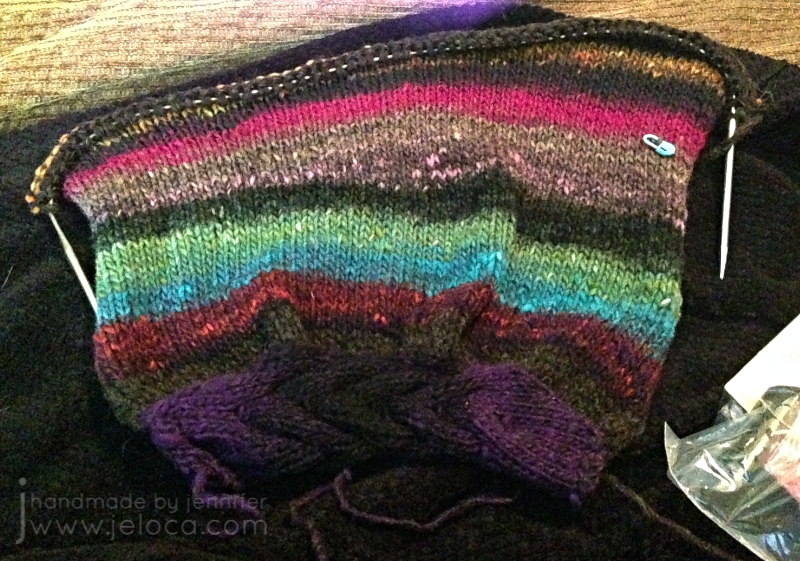
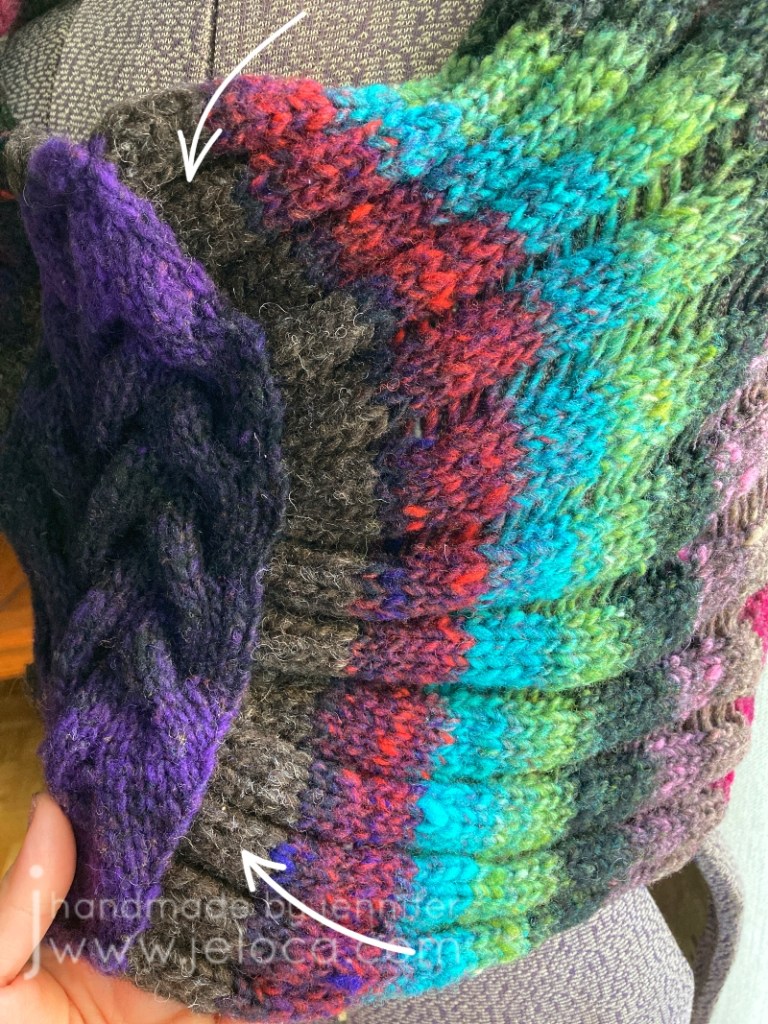
The pattern starts with the cabled center section, and then stitches are picked up from it to work the body. So my loose plan was as follows: pick the ball of yarn that began with the colors I wanted for the cable. Then divide my brown yarn in half, and work as many rows as I could with it, and made a note so at the end I could work the same number of rows with the remaining half so it would create a matching border on either side of the cable. Then, in between, I would work as many rows I could as possible with the Noro.
Happily enough, it worked!
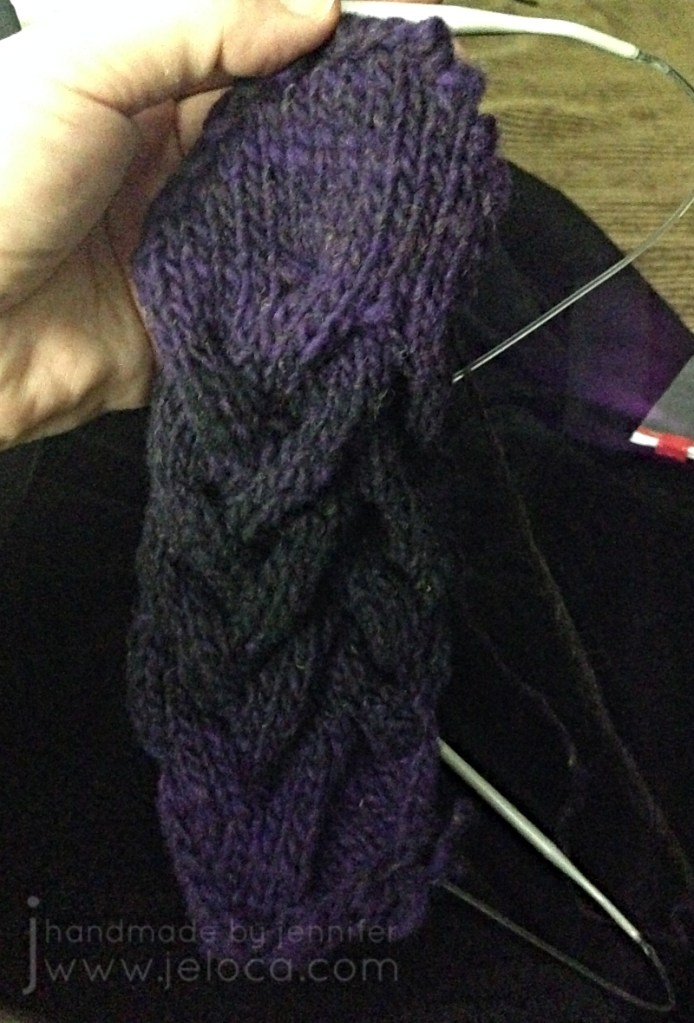
I knit the cable with one skein’s purple-to-black transition and then pulled the same color section from a second ball but reversed it for black-to-purple. As the yarn is 100% wool I split spliced all joins for a seamless knit.
Then I divided my 88ft of brown in half, and used one half to pick up the stitches on one edge of cable, picking up inside the edge stitch for a nice border. I’d marked off the middle of the half of brown, and had originally planned to use a full half on each side but after the pick-up row and 4 more rows it was already pretty wide. I didn’t want 2″ of brown on either side of the cable so chose instead to cut the yarn there, reserving the same amount for the other side, and omitting the rest unless I absolutely needed it.
Next I took the two balls I’d cannibalized the purple/black from and matched up their colors, re-winding one in the opposite direction so that the front would be mirrored. The plan for the third ball was to find its center and reverse half so the entire cowl would look like one long repeat that went from the cable to the center back then reversed to the other side of the cable.
It worked great for the first two balls. I wound them off exactly as described. The one with the working yarn I wound around the cable & needles to keep it neat and out of the way. The other end I wound into a ball starting with the added brown that would be the final bit of knitting, and wound in the reverse direction. These two balls happened to be #1 and #3 and had such similar yardage and colors that it was super easy to wind one from front to back and the other from back to front and get a nearly mirrored result.
The middle, shortest one, wasn’t so easy.
I spit-spliced one end of ball 2 to the free end of each of the 2 wound balls and tugged off a few yards from either the outside or inside of the cake and wound it up onto ball 1 or 3. Looking down into the wound cake of the middle ball I could tell it didn’t have the exact colorway of its brothers, but it seemed to have an even repeat – raspberry to teal then green then the dark blends, then back to raspberry to teal then green then the dark blends. I figured it would be easy enough to split it into two equal repeats then reverse one for the center mid point of the back. I wanted the brighter teal coming first because both wound balls already had dark tones near the joins. It worked… until I got near the middle.
This is the only place, not counting reversing direction or adding in brown, where I’ve played with the colorway as dyed, and I’m telling you this so there are no questions as to why my colors don’t match any skein you might buy (though if this color is discontinued by now this won’t matter). Clearly the colors don’t make a repeat that I can just reverse, so I ended up cutting and spit-splicing to make my own sorta-repeat that I was happy with, that would form the middle of the cowl back.

Planning out the colors was by far the hardest part. Once my yarn was turned into one large frankenskein the project practically flew off the needles.
I did stop often to admire the color transitions. Noro yarns truly are gorgeous, and I’m always charmed by the interplay of colors I wouldn’t have thought to pair together.
The cowl is knit in stockinette with stitches dropped at the end before you seam the BO row to the opposite side of the cable. Besides the color play, the only modifications I made were to knit my length based on how much yarn I had left, and to not apply the pattern’s suggestion of slipping the first stitch of every row as I found it made the edge way too tight for my liking.

I couldn’t wait to try on the cowl as soon as I’d finished weaving in the ends! You can tell how long ago this pic was taken by the color of my hair at the time 😉
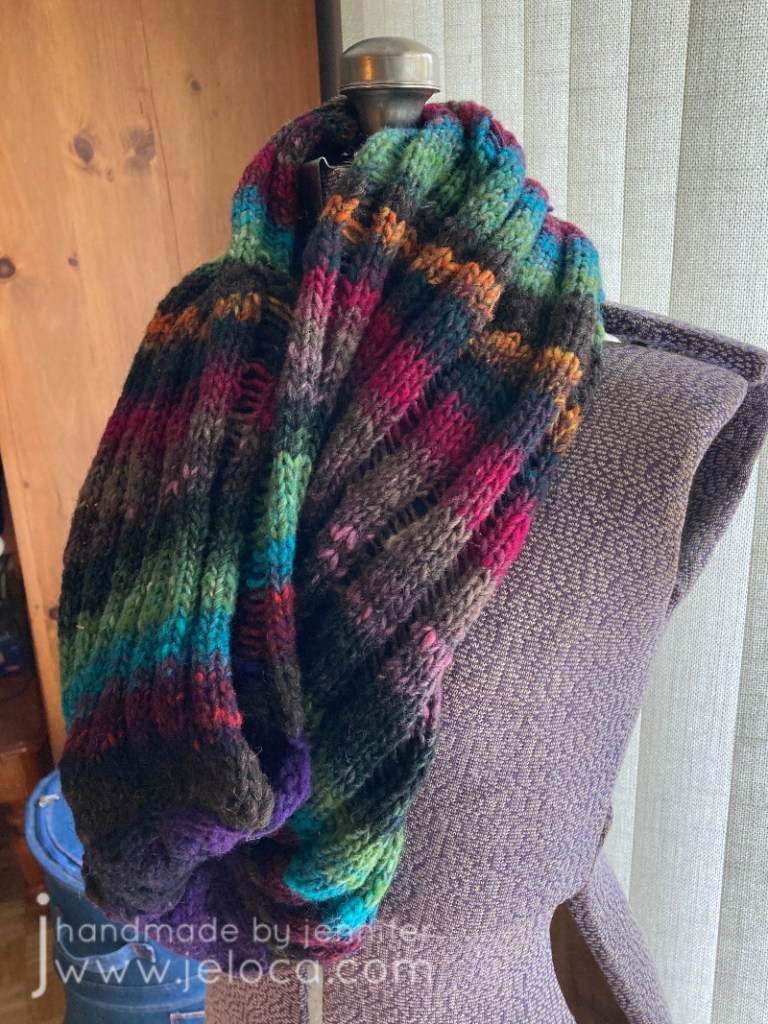
Because of my camera limitations at the time I’ve scrapped my other images and took new ones to do the project and yarn justice.

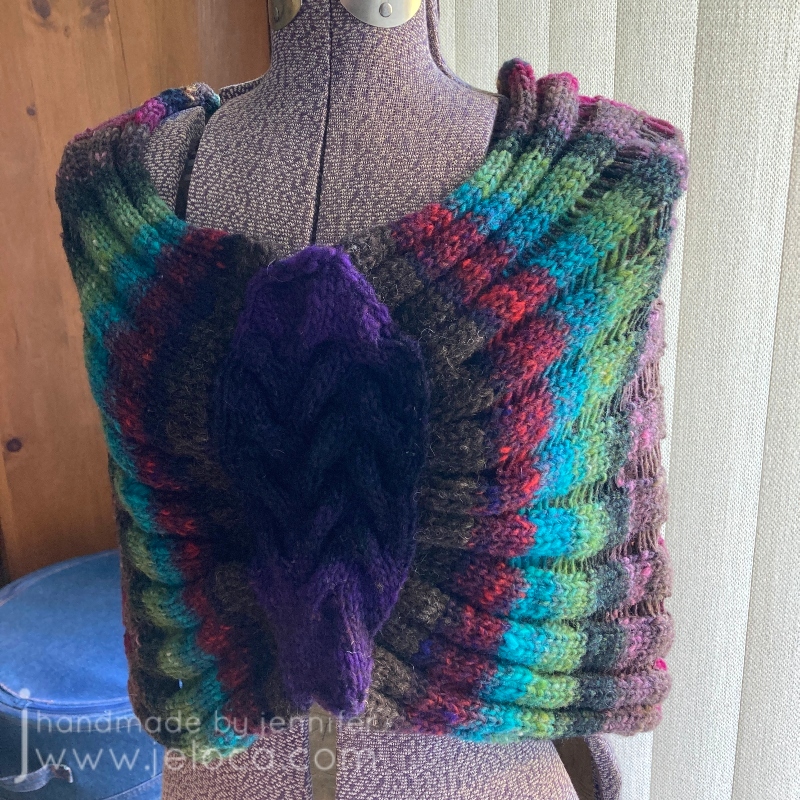
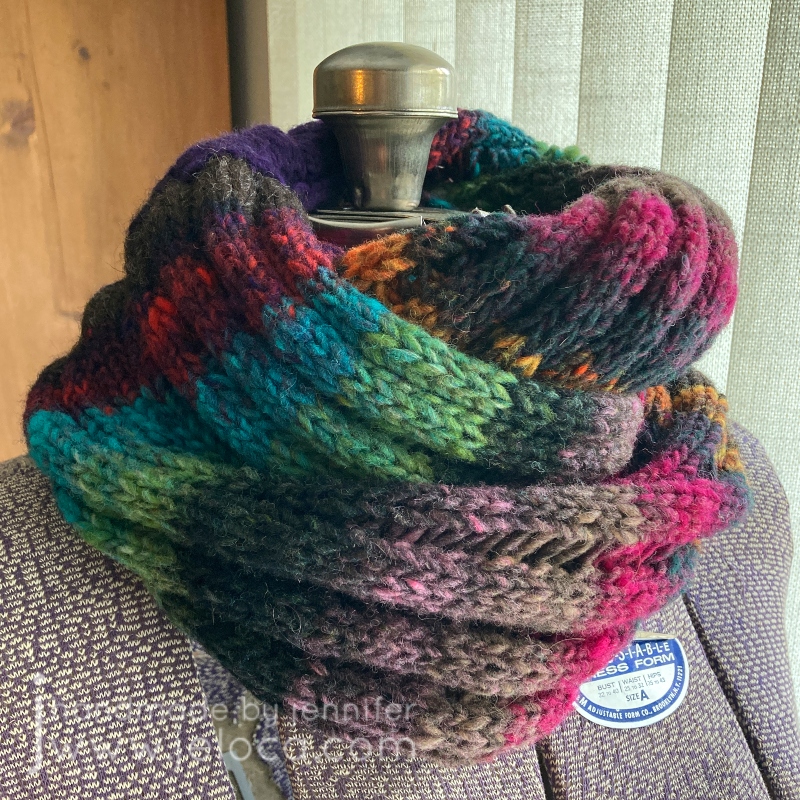
Here is the finished garment. I love the blend of colors so much!
One of the really cool things about Noro Kureyon is that you get these gorgeous color transitions but, because they’re 100% wool, you have the option of changing things up if you want to.
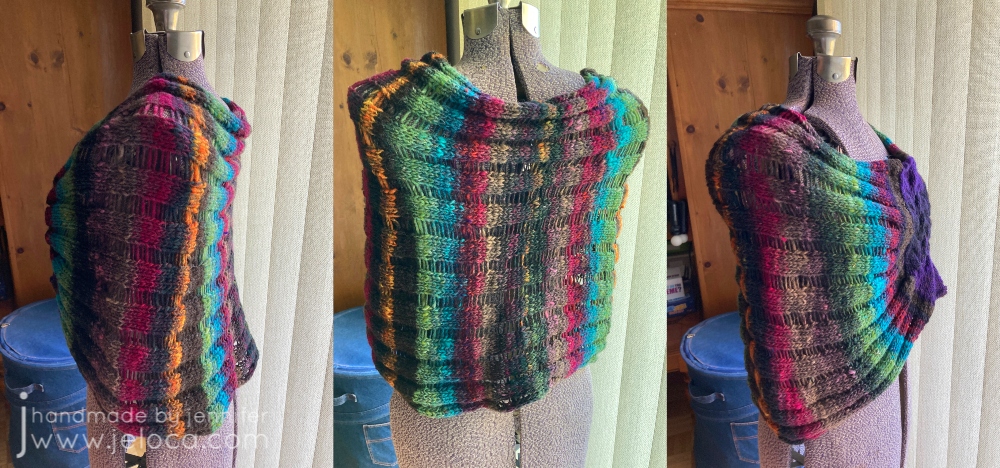
For example, instead of having a mirrored transition like I did here, if color blocking is more your style you could splice the balls together lengthwise, matching up the colors like with like, so as to end up with only one wider section of each color.
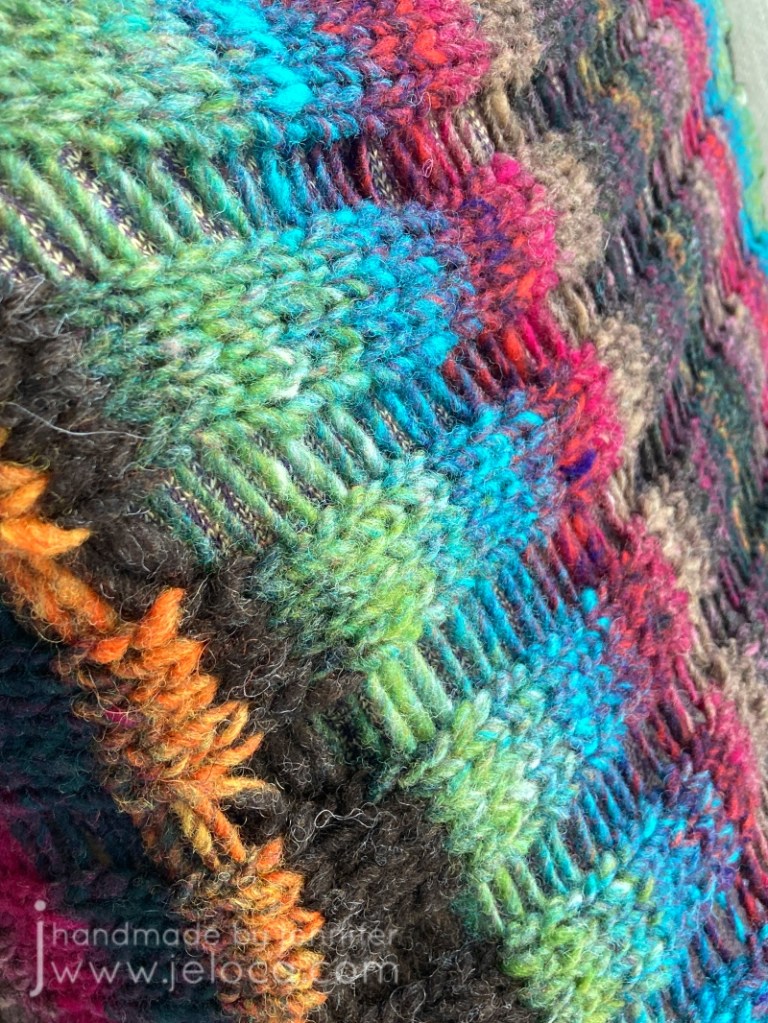
I couldn’t resist a detail shot of these vibrant jewel tones. There’s no color editing at play – this is just the yarn in all its glory on a sunny day.
For transparency, as mentioned above this brown section on either side of the cable is the only yarn not part of the Noro Kureyon skeins. It is very similar to a brown that appears within, and is also 100% wool, but is slightly thicker.
I haven’t knit more with Kuryeon over the years. I’m not sure why. Perhaps it was the price factor? At $10.95CAD per ball I simply haven’t had a project that I thought worthy of spending the money on. Not for myself at least, and the gifts that I make typically have had other requirements, like needing 100% cotton for dishcloths or superwash for baby garments that can be thrown into the machine. However knitting it with it again has reminded me just how much I enjoyed it.
Yes it’s 100% wool, but this is not scratchy stuff. It is soft and quite lovely. Sure you can use this for felted bags and slippers as it felts beautifully, but this is one of those few wools that I think is welcomed even against the skin.
I definitely recommend using it for your knitting or crochet projects. The only con would be the short yardage as mentioned above, but as long as you prepare and buy enough for your project, I don’t think it should deter you from trying Noro Kureyon for yourself. Also, this review is based on yarn received in 2017 so it’s possible that this is no longer an issue.
Stay tuned for a huge announcement from YarnCanada.ca coming later this week!
If you would like to pick up some Noro Kureyon for yourself, please visit YarnCanada.ca here. You can also find their full selection of Noro yarn here. All orders ship from Canada to within Canada only (sorry to my US and International followers!), with free shipping on orders over $85.00!
*Note: I received this product for free in exchange for an honest, unbiased review


