Star Wars Day was a few days ago so it’s completely fitting to share this R2D2 pincushion DIY I made a few years ago.
I was brainstorming ideas for a crafty gift exchange in an online group. My giftee was a big Star Wars fan and her favorite craft was quilting. Around the same time I’d been browsing CraftyPod and had come across Diane’s plastic canvas needle book with built-in pincushion.

The puffy pincushion immediately made me think of R2D2’s top dome and I wondered if I’d be able to do something similar atop a plastic canvas base. It worked but I did one thing wrong so I’ll tell you what to do so you don’t make the same mistake I did!
You will need:
- acrylic yarn (black, blue, white, gray)
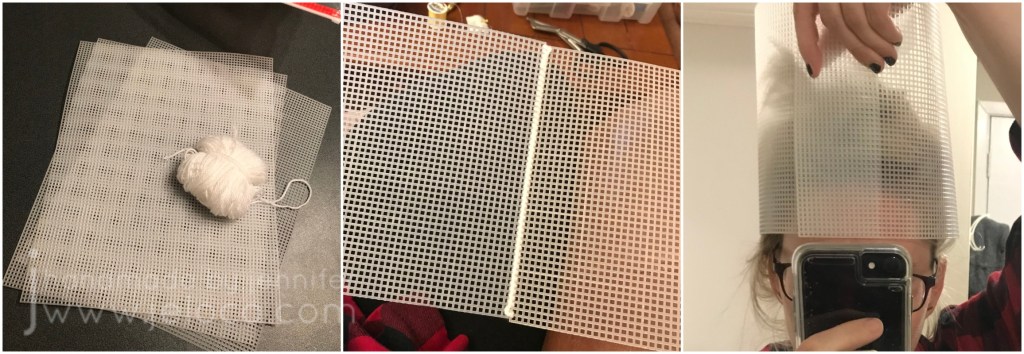
- one sheet of 7ct plastic canvas
- one plastic canvas circle (4.5″ diameter)
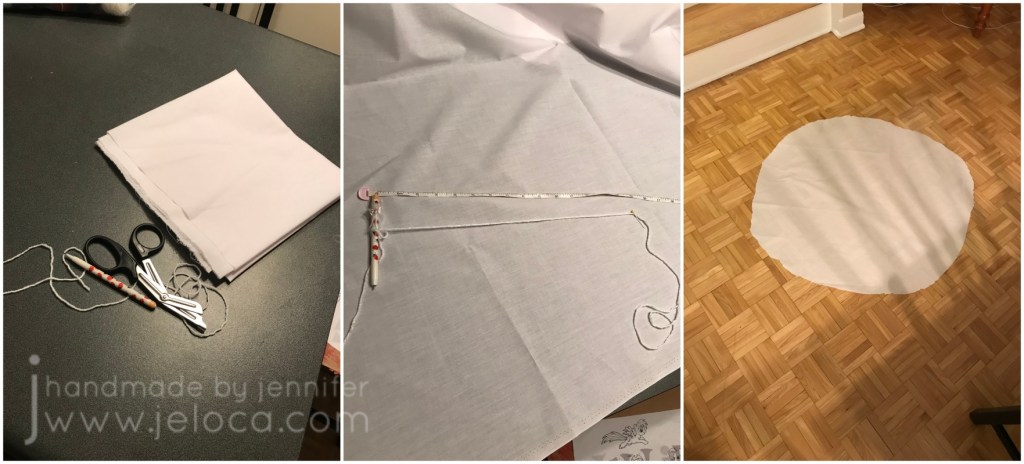
- white cotton fabric (at least 10″x10″)
- scrap white cardstock or foam core (at least 5″ square)
- poly-fil stuffing
- scissors
- sewing needle & thread (color not important as it won’t be seen)
- yarn needle
- alcohol markers (I used Spectrum Noir, but you could also use Copics, Bic Mark-It! or Sharpies)
I started out by making the base, so I could later cut the circle to the proper size. This is easier than making the dome and needing to fit your design for the base into those constraints.
I found some good sample images for R2D2 online and drafted out a cross stitch pattern for his body. If you copy my chart you will need a plastic canvas rectangle that is 26 holes high by 67 holes wide. You can also stitch the body first and cut it out afterwards if you prefer.

Following the chart above, cross stitch the body design onto your plastic canvas. The majority of Artoo is white with some smaller gray areas and some blue.

Once the base stitching is complete separate your yarns into plies and use them single-strand to work backstitch on the outline areas. Black is used for all the main panel shapes and round areas, gray is used on both blue grills and blue is used for the vertical dashes on the front section. Note that the red border is the boundaries of the design and is not stitched.
Using white yarn, whipstitch around the lower edge of the body. Leave the sides and top unstitched as they will be used in seaming later.
I only gave Artoo only two legs in this design as he was standing upright and the third leg would not be seen underneath. I think it would look even better and more authentic if you made him tilted back with all 3 legs visible!

To make his legs stitch the above chart twice onto plastic canvas. When working be sure to mirror the gray segments at the top so the two legs are opposite (see image below).

As before the red designates the boundaries of the design and should not be worked.

Using single strands of black and gray yarn, embroider the outline details on both legs.

Using white yarn, sew the two legs into place on the body, following the placement as shown above. Sew down directly through the two layers of plastic canvas making tacking stitches 1 square high, and following along the sides and top of the legs. Be sure to put the correct leg on the correct side.

Using white yarn, whipstitch the two side edges together. This will join his body into it’s cannister shape. This base structure should be able to stand on its own on the two legs.
Now that you have your base diameter set you can cut out an appropriately-sized ring from your plastic canvas circle.
Lay your plastic canvas circle on top of the body and mark which ring of holes is closest to the top’s diameter. If you don’t have an exact match pick the one that is slightly smaller. I removed the inside of my ring leaving only one hole to stitch, but this proved unnecessary in the end as I did not wind up putting my pincushion through the ring as was done in the inspiration project.
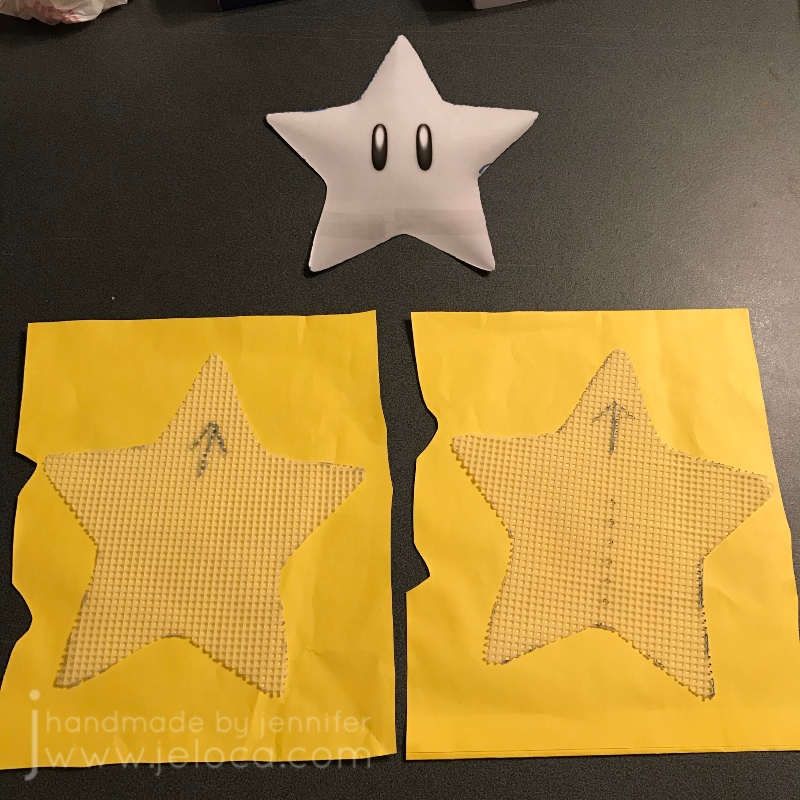
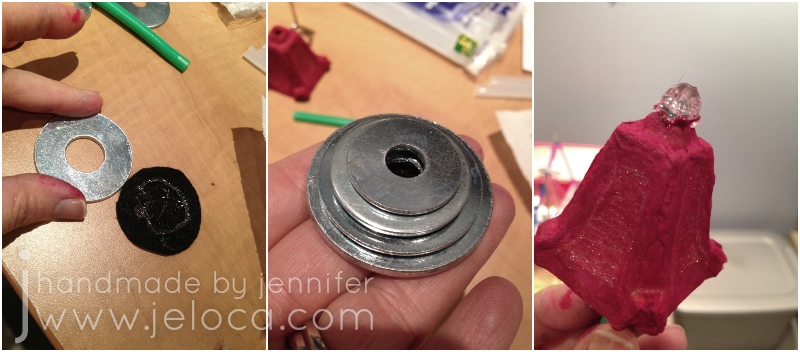
With gray yarn, fill the outside row of holes by stitching up and down through them, then again to fill the alternate holes. You want at least one or two rows of holes filled with gray yarn in case they show later. Also trace your new circle onto a piece of heavy cardstock or foam core and cut it out.

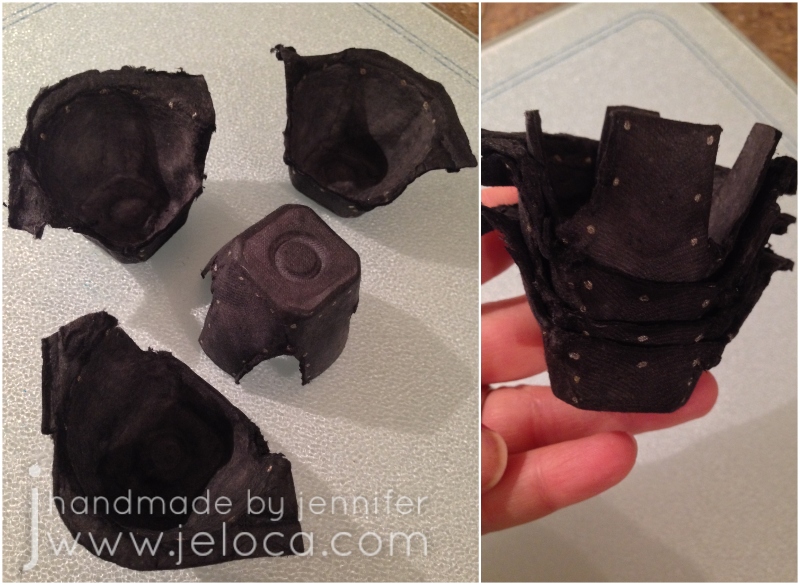
In the image above you can see the size of my original ring and then the one I cut out. You can also see my foam core disk.

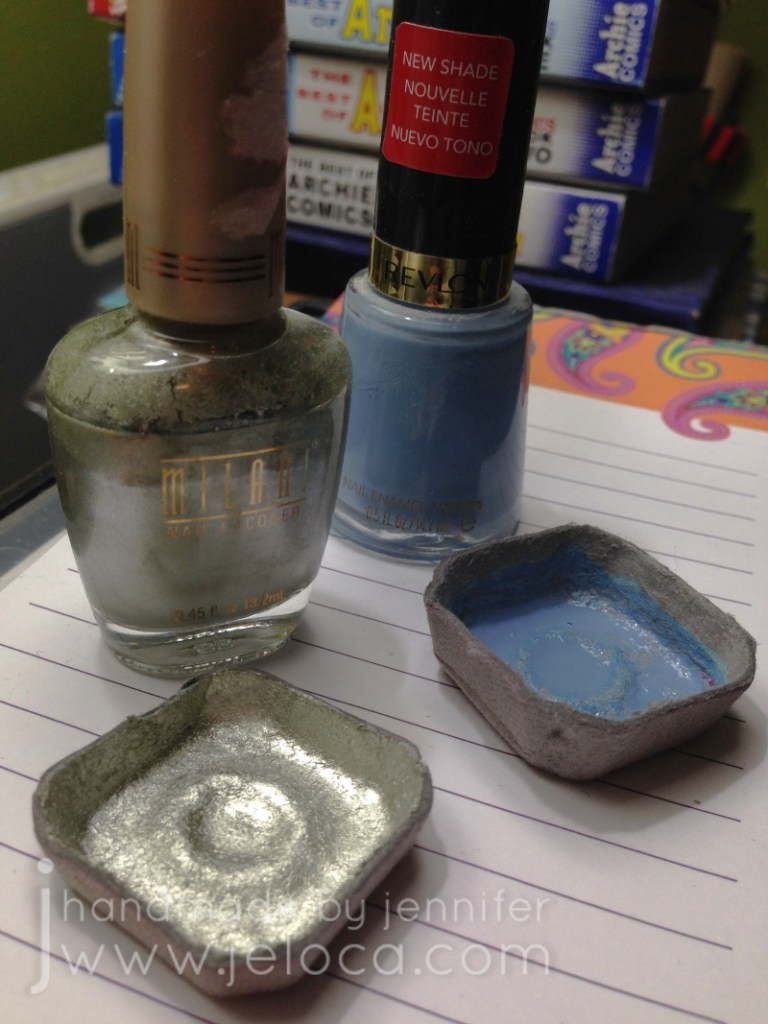
Test your alcohol markers on a corner of your white fabric. You want to find the right colors that match your blue yarn while also making sure that your markers won’t feather at the edges. You want a marker that will allow you to draw shapes that will retain crisp edges and not bleed into other sections. With the markers I had on hand and my particular fabric, Spectrum Noir worked best. I liked the color of the Bics better but it bled a little more and I didn’t want to take a chance on ruining my design.
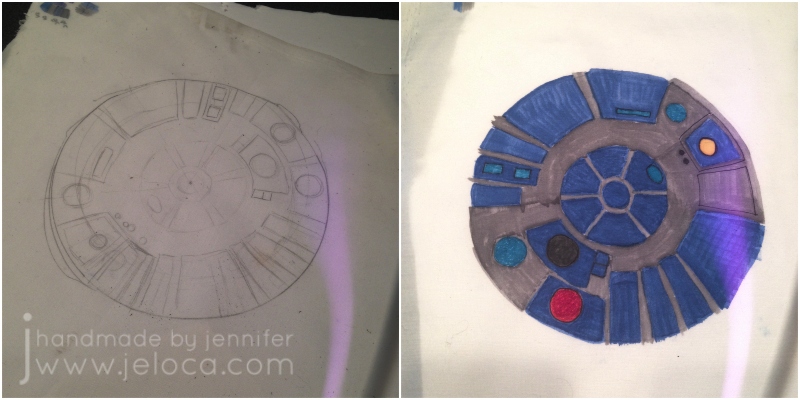
Knowing that the dome would be puffy, I added about 2″ extra to my disk’s diameter and traced out a larger circle. Using a clear image of R2D2’s dome as a reference I sketched out roughly where the various components went, and then colored it all in with my alcohol markers.

Then I cut out the dome. This is where I messed up. I forgot to take into account that gathering the fabric would mean losing at least the outer 0.5″ underneath my foam core disk. I SHOULD have cut out Artoo’s dome leaving a good 1″ minimum of white around the edges. You can leave this outer ring white or alternately you could extend the colors that touch the edges outwards for at least 0.5″.

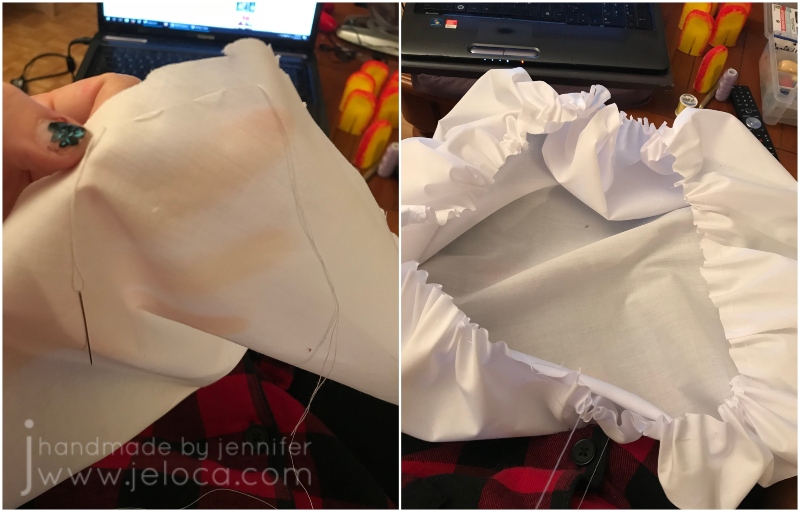
To create your pincushion you’ll want to thread your sewing needle with thread and pass a running stitch all the way around the circumference of the dome. As you can see in the top right image, when you start to pull on the thread it will gather your dome into a cup shape. Unfortunately mine gathers part of Artoo’s details and they get hidden underneath. You’ll want to arrange your gathers so that it is the excess white fabric that gets gathered underneath and the full dome pattern is visible above.
Once you’ve stitched your running stitch turn the dome over and add your stuffing. Place your cardstock or foam core on top to give your dome a solid, flat base. Then gather your threads tightly and secure in place. You can run extra threads across from side to side if desired.

The last step for assembly is to attach the dome to the base. Use your same sewing thread and needle to secure the plastic canvas ring to the underside of the dome. Then use gray yarn and your yarn needle to whipstitch the two plastic canvas pieces together. You might need to ease in some stitches if you don’t have a direct 1-to-1 line up. It can help to pin the dome in place with locking stitch markers, marking each quarter so that you know the dome is in the correct position. (Be sure that he’s facing the right way!)

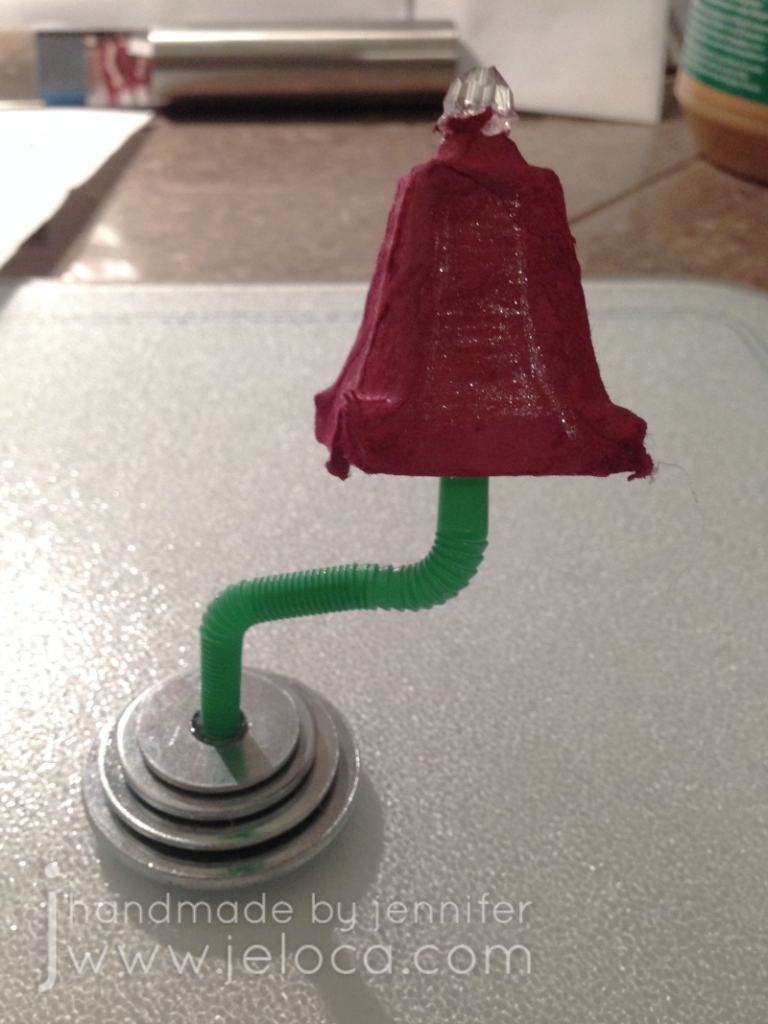
With that, your R2D2 pincushion is done! Yours will look better than mine because his whole head will be showing. Still- I’m happy with him and best of all the recipient loved him and sent me a pic later of him put to good use holding her pins.
Happy (belated) Star Wars Day!