

Update: This tutorial is now also available as a downloadable PDF here. More details at bottom of this post.
It’s October! That means it’s okay to start talking about Halloween, right?
It is according to Henri- when I woke him up for school this morning he gazed up at me sleepily and grinned “It’s October 1st.” When I asked why that mattered he smiled even more adorably and said “Because now it’s almost Halloween.”
‘Almost’ is relative. (He clearly gets his awareness of time from his father). However his mention of it reminded me that I never showed last year’s costume. So. Now, with plenty of time to get ready for this year’s holiday… here’s how I made the boys Minecraft Steve and creeper heads, and how you can too!

The boys decided for Halloween they wanted to dress up as their favorite Minecraft characters. They do sell ready-made cardboard heads in stores but they are expensive, and there are a ton of tutorials online. I looked at a few, then worked things out with what I had on hand, and what I was able to find at the dollar store.
What you’ll need:
- square boxes (large enough to fit over the wearer’s head)
- craft paint in the appropriate colors
- masking tape
- double-sided tape
- scissors
- craft knife
- paint brushes
- something to use as a palette (I used a styrofoam plate)
- gauzy black fabric (optional, and I cut mine from a dollar store scarf)
- spray sealant (optional)

1. Yannick came home with 2 small boxes he’d found somewhere. Grocery stores often have ones you can ask for, or as a last resort you can buy boxes.
2. I used two-sided tape to tape the outer flaps to the inner ones (not shown) so the inner flaps wouldn’t drop down onto the kids’ heads. Then I used masking tape to fully tape over the top seam, both to securely close one end of the box, and to make the seams less visible once they were painted.
3. I cut the lower flaps off the boxes and then used the same masking tape to cover the exposed edges. It would gave a cleaner look, vs the rough look of cut corrugated cardboard, plus was less likely to catch and tear, which could potentially pull off the paint.
4. I divided the 4 sides and top into even grids. I looked at pictures of the characters online and mapped out roughly how many squares per color/face, and then used a ruler to divide the front (face side) into the grid. Once the face was set, I carried the markings around the sides of the boxes, and finally the top. Because the boxes are taller than wide, the top has fewer squares than the sides do. That’s not what the characters SHOULD look like, but I didn’t think the kids would mind.

5. Once the boxes were plotted I used a cutting blade (also from the dollar store) to slice out the eyehole sections. For Steve, only the dark pupil area was cut out. For the creeper it made more sense with where Henri’s face was to cut out the larger nose/mouth section. After removing those areas I covered the exposed edges with masking tape.

6. Finally it was time to start painting. The paints and brushes were from – you guessed it – the dollar store. The advantage with the Minecraft characters is that if you have to custom mix your paints to get the right colors, it doesn’t matter as much as it would in most projects if you have enough to complete your painting or if you need to mix more and risk not matching quite right. The goal is to have an assortment of shades, so blending colors works perfectly.
That said, if you prefer a more accurate version, I have compiled this tutorial into a downloadable PDF (linked at the bottom of the post) which includes full-color screen-accurate charts for both characters, including the hex codes for each color so you can color-match accurately.

Here’s the four sides of the painted creeper head. I set the boxes to dry on a paper towel roll to hold them off my counter until the lower edge was dry. (I held them up the same way while painting too).

Same goes for our buddy Steve here. I’d only had three shades of brown paint on-hand to work with, so I blended them together with some black for the hair, and then lightened with some white and a touch of red for the face. (I’d actually done the face/neck/ears first, so then I could re-use the same paints but darken them for the hair. That avoided any waste and kept the same unifying overall color tone for the head.)
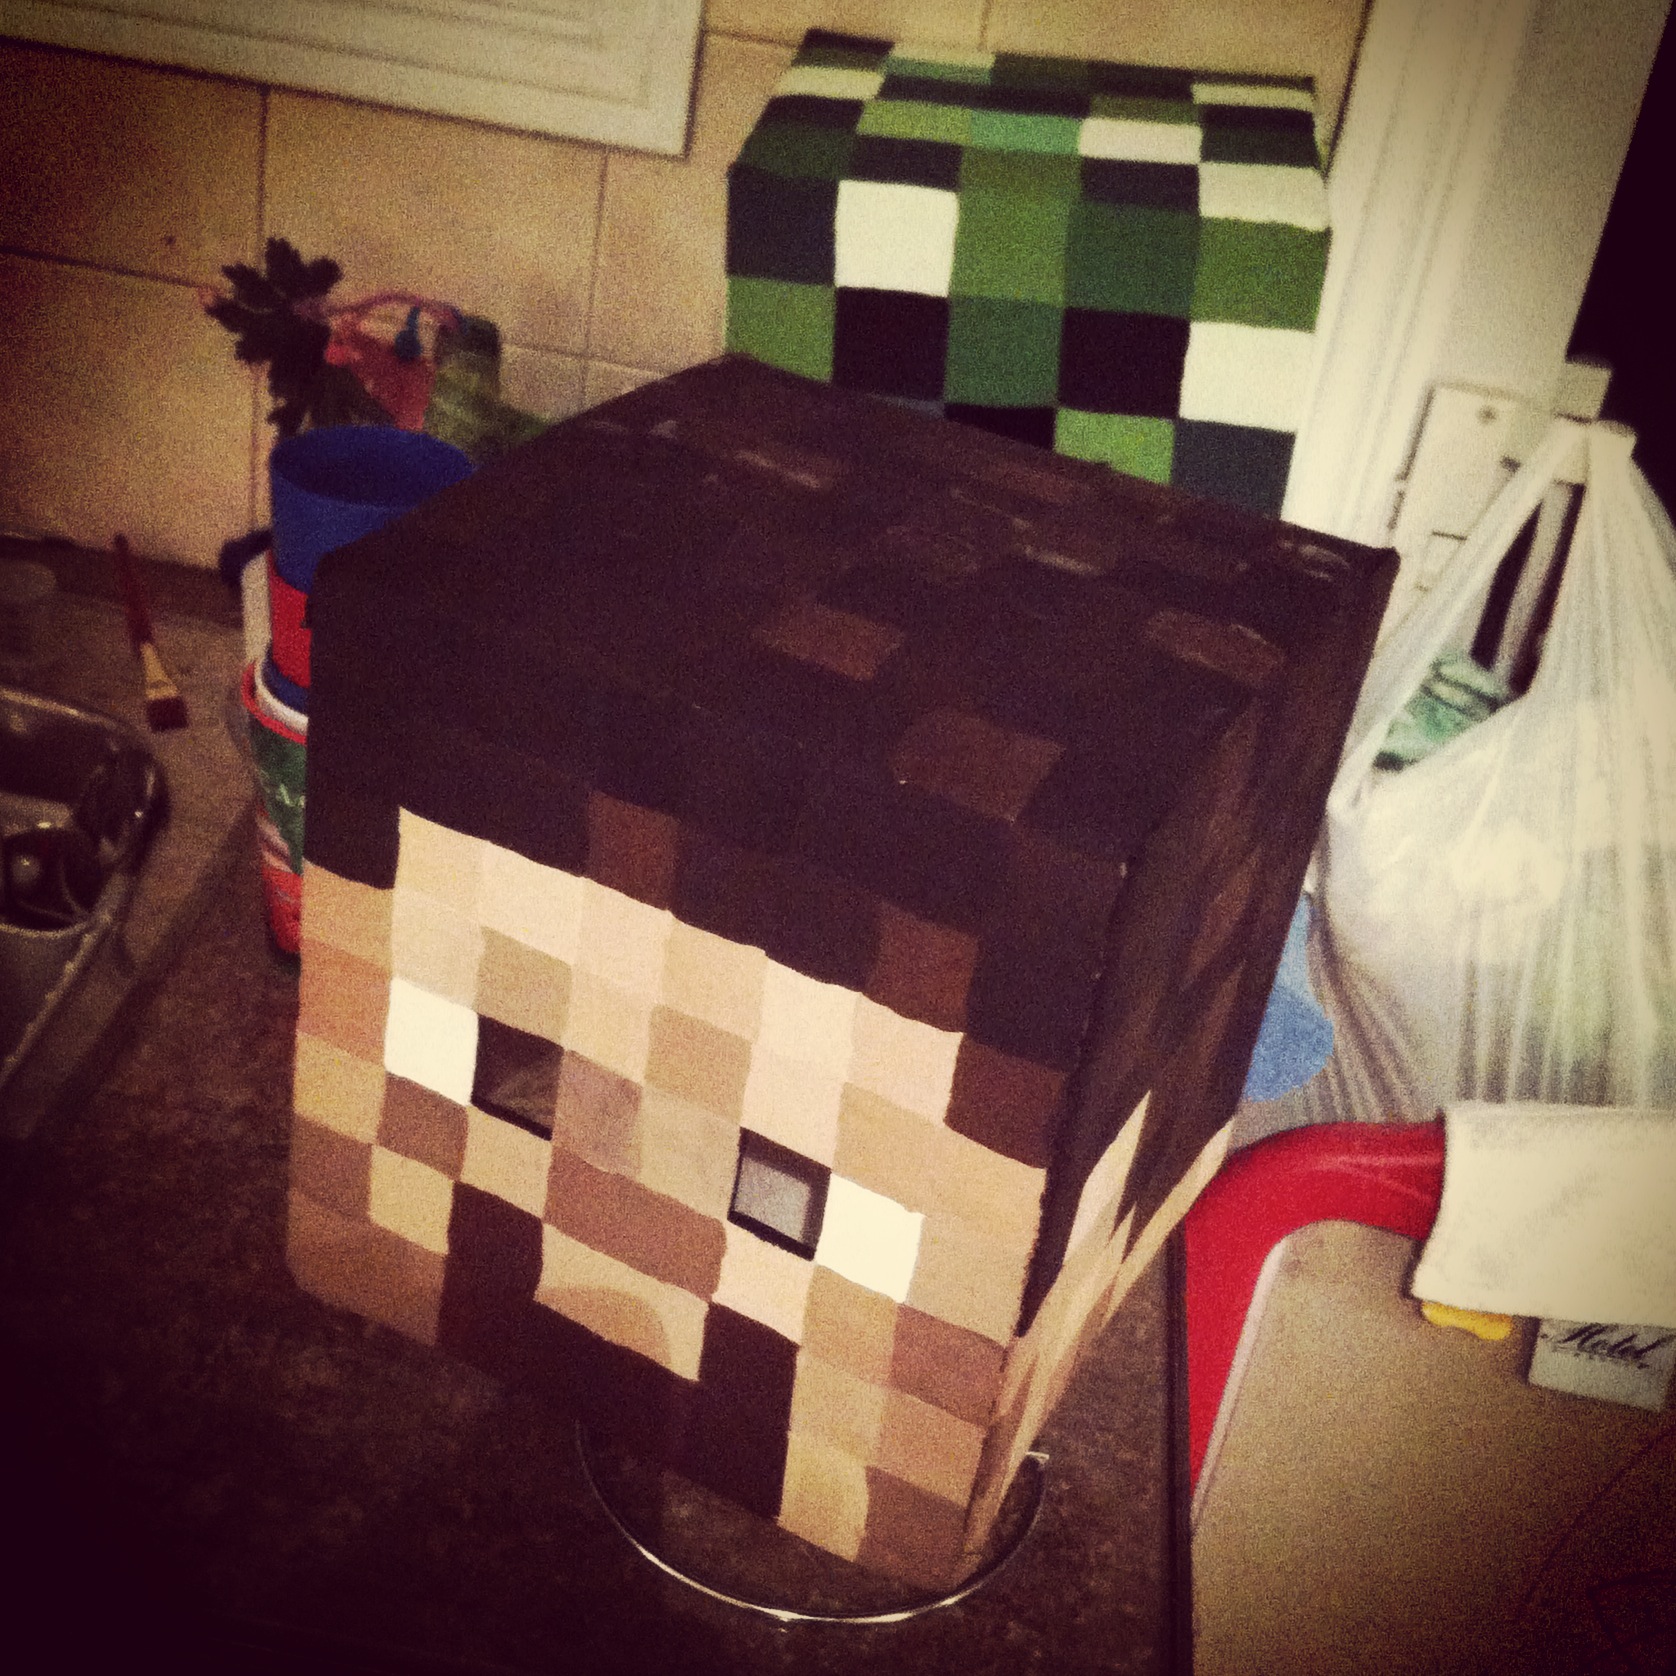
I had them both on the counter while I cleaned up the dining room table of all my painting gear. Couldn’t resist this dramatic shot. Look out! He’s behind you!

7. The next step was to seal the heads with an aerosol can of clear sealant. I didn’t know what the weather would be like on Halloween and didn’t relish the idea of my hard work being ruined by a few drops of rain or thick snow settling on the kids’ heads. I moved the heads into the garage and set them on some newspaper to protect the floor as I sprayed, and did a few coats, allowing each one to dry for about 20 minutes in between. If you have a dry, open area outside or good, even weather you could do this next step outside, but here there was nowhere I could leave them unattended, so I had my garage door open the entire time I sprayed, and then left it about a foot open during the drying time between coats. Once they were properly sealed and dry to the touch I brought them inside and allowed them to dry for a full day before the final steps.

The last bit in getting the masks ready to wear was to block out the open areas. I bought a gauzy sheer black scarf (also at the dollar store!) and cut off squares large enough to fully cover the open areas.
8. Using the same double-sided tape I secured the black fabric down around the cut areas.
9. Finally I covered all the exposed edges of the cloth with masking tape, making it doubly secure and hiding any rough, cut edges so they wouldn’t catch or fray.
With that, the masks were complete! The black gauzy fabric looks opaque from the outside but from the inside it’s so sheer that it’s quite easy to see through it, making it perfect for this project.
From idea to finished product this project took about 4 days. Halloween was on a Friday last year and Yannick brought me home the boxes on Monday night. Tuesday I did everything up to/including painting. On Wednesday night I sprayed the clear coat, and then on Thursday night I stuck the black fabric in.
They were pretty darn excited!
Halloween night they posed for a quick picture inside…

…then it was time to go trick-or-treating.

Can’t you almost hear the tick…tick…tick…BOOM? The heads held up beautifully and the boys felt like mini celebrities as they walked down the street and people from all over, even in passing cars, yelled out “Steve!” and “Creeper!” and gave them high-fives. The heads have now become part of our dress-up box and are still in great condition, and they wore them for ‘Halloween Day’ at their camp this summer.
*Update in 2020: the heads are still going strong! The boys outgrew them of course, but we keep them as nerdy shelf displays and they look exactly the same as they did back when I made them.

I hope this post shows you how easy and fast it can be to make your own Minecraft Steve and Creeper heads!
You can adapt the tutorial to make any Minecraft mob, and I’ve got an assortment compiled for you here.
As mentioned above, if you’d like an easy-to-print-and-save PDF version of this tutorial, I have made it available on Etsy here. The 9-page PDF includes full instructions with additional details, clear photographs, as well as game-accurate full-color numbered charts for all 5 sides of both character’s heads along with their hex codes for perfect color matching.
————-
More Minecraft-themed fun:
How to make a Minecraft Enderman head and diamond block trick-or-treat basket
How to make Minecraft Lootbags
How to make Minecraft Mob fondant cake/cupcake toppers
Throwing a Minecraft birthday party
Minecraft Jack-O’-Lantern Charts


Pingback: Throwing A Minecraft Birthday Party |
Pingback: How to Make a Minecraft Cake |
Pingback: How to Make Minecraft Cake/Cupcake Toppers |
Pingback: How to Make Minecraft Lootbags |
Pingback: Hallowe’en help |
Pingback: Reuse Your Moving Boxes This Halloween – Parma Movers Blog
Pingback: How to make a Minecraft Enderman head (with bonus diamond block trick-or-treat basket) |
Pingback: Last-Minute DIY Pikachu Costume |
Pingback: Reuse Your Moving Boxes This Halloween – The Lincoln Moving & Storage Co. Blog
February 13, 2018 at 10:00 pm
They look great! I hope to make a Steve for my sons birthday in a couple week.
LikeLike
Pingback: Halloween projects you’ll still have time to make |
Pingback: How to make a Minecraft Enderman head (with bonus diamond block trick-or-treat basket) |
Pingback: Happy Birthday Sweet Seventeen |
October 15, 2021 at 12:50 pm
Nice post. Well what can I say is that these is an interesting and very informative topic on moving boxes near me
LikeLiked by 1 person
Pingback: DIY Checkerboard Minecraft Creeper Cake (NO Special Pan!) |
Pingback: Crafting with Minecraft for Kids *Update Underway* – Best Family-Friendly Video & Board Games | Safe Fun for All Ages