

November 15th was National Recycling Day and I thought it would be fun to share some toy accessories that you can make by recycling materials you have on-hand.
This all started back when Henri had received a Zhu-Zhu Pets toy hamster for Hanukkah one year. It wasn’t long before his “pet” needed to have its own house and so we adapted a shoe box into rooms with a garage.

Of course every home needs furnishings and that’s where these projects came in. According to Henri there was a bedroom, kitchen and living room, so I tailored what I made to that, but you can easily adapt any of these little projects to your rooms of choice.
The first recycled materials to be used were an egg carton and a plastic bendy straw. Cut out sections of the carton to create different types of furniture.
The cups that hold the eggs became armchairs (when the upper rim was kept on 3/4 of the edge) and a table (when flipped upside down and trimmed to have legs).

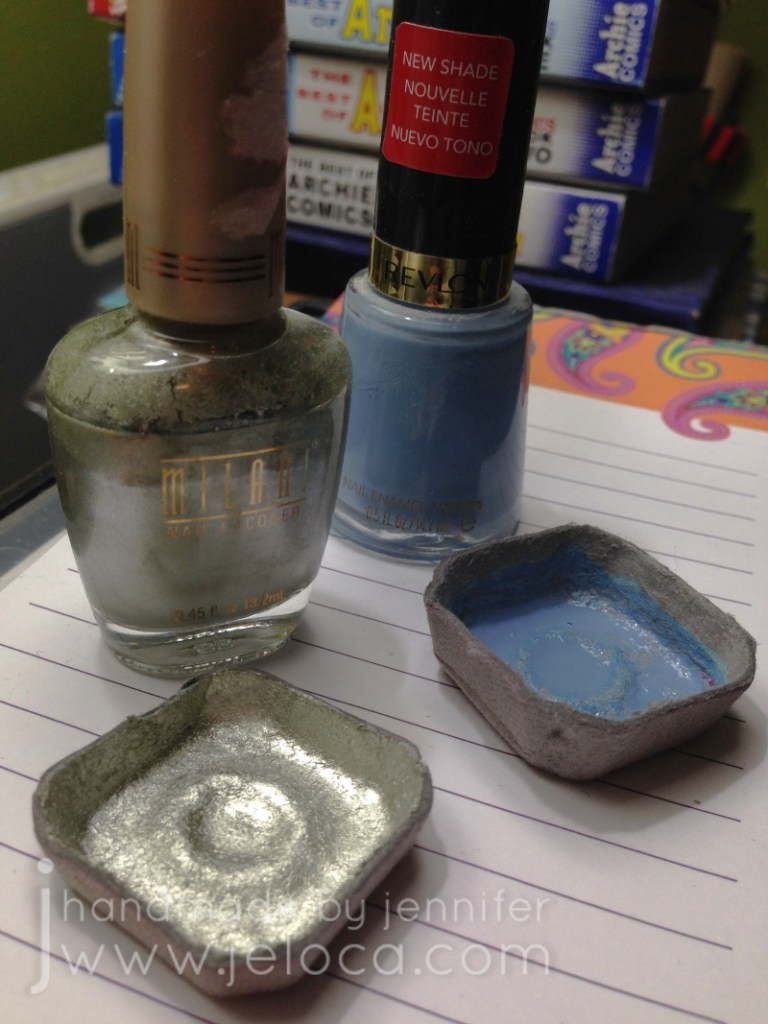
Two of the flat base of the egg cups were cut out to become vessels for food and water, and finally the divider piece that separates the eggs was cut out to become a lampshade.
One of the cup bases was painted silver to become a serving plate and the slightly deeper one had the inside painted blue to appear like water. To make the most out of using what I had on hand (pun intended!) I painted them both with nail polish!
The lamp shade was painted Henri’s color of choice with regular acrylic paints and then set aside to dry.
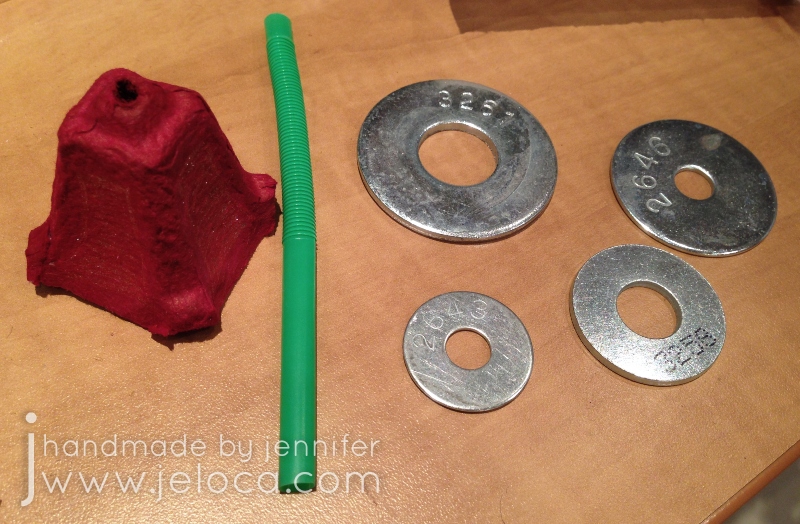
Once dry it was time to assemble the lamp. You need a base that’s sturdy and heavy enough to support the weight of the shade. You could use wood blocks, a little box filled with rice or sand, or anything else heavy enough. I used a few spare washers I found in my toolbox.
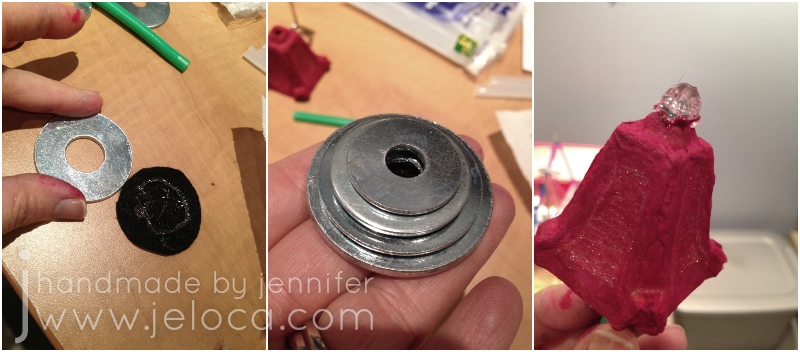
I cut a felt circle for the base and hot-glued the washers on top in descending size order, making sure to keep their holes lined up. I also glued a decorative bead to the top of the lampshade.

The shade was filled with hot glue to set the straw in place and then more glue was used to attach it inside the tower of washers.
With that, the little hamster’s living room lamp was complete!
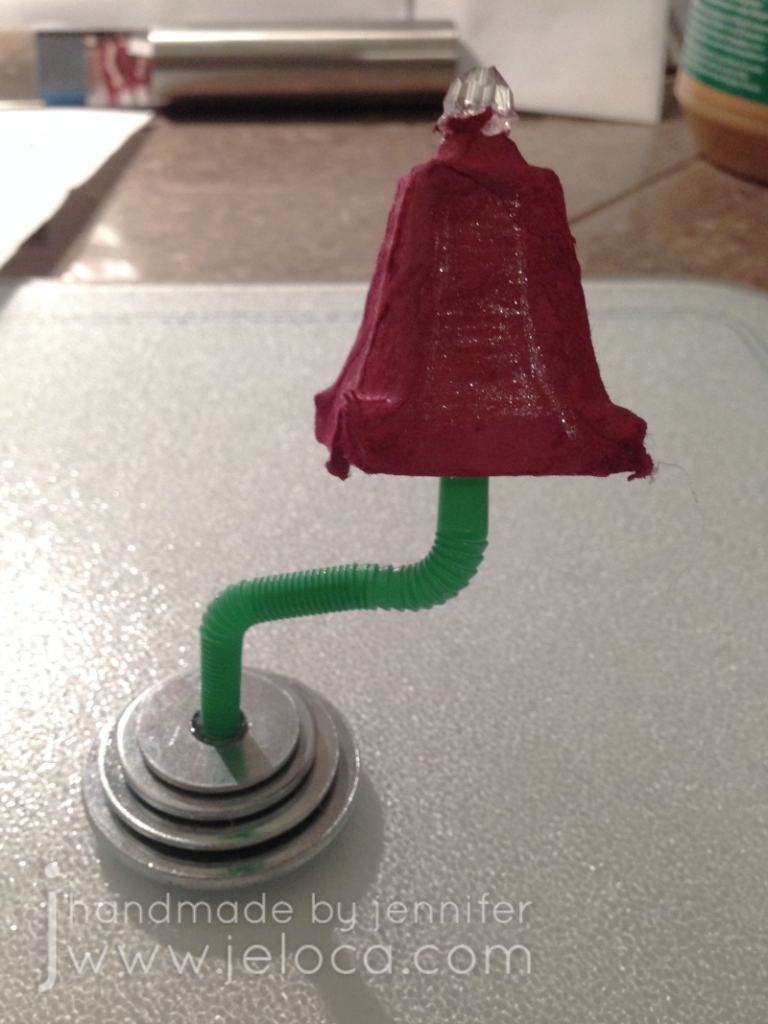
The bendy bit of the straw was a nice touch, allowing the lamp to be angled wherever the little guy needed.

The silver platter received a coat of clear nail polish to seal it and the water bowl was filled with more hot glue to look full.
To make the pretend food for the hamster takes only three supplies – a pool noodle, fabric paint, and scissors.

That’s right – all these little pretend foodstuffs are actually squishies! They’re really easy to make: simply cut pieces of the pool noodle foam into the general shape of the food item then use fabric paint to make them look like their respective foods. A toothpick comes in handy instead of a paintbrush when working at such small sizes. I scaled my foods to the size of the egg carton “plate” and made (clockwise from top right) pepperoni pizza, chocolate chip cookies, donuts, a cheeseburger, and a chocolate cake.
The food storage bin was made from plastic canvas and yarn scraps.

First I made a base large enough to hold all the food. The lid is the same size but less deep, and the faux latch is simply stitched on top. The lid was sewn to the base all along the back edge but I used the same gold yarn as the latch to embroider 2 fake “hinges”.
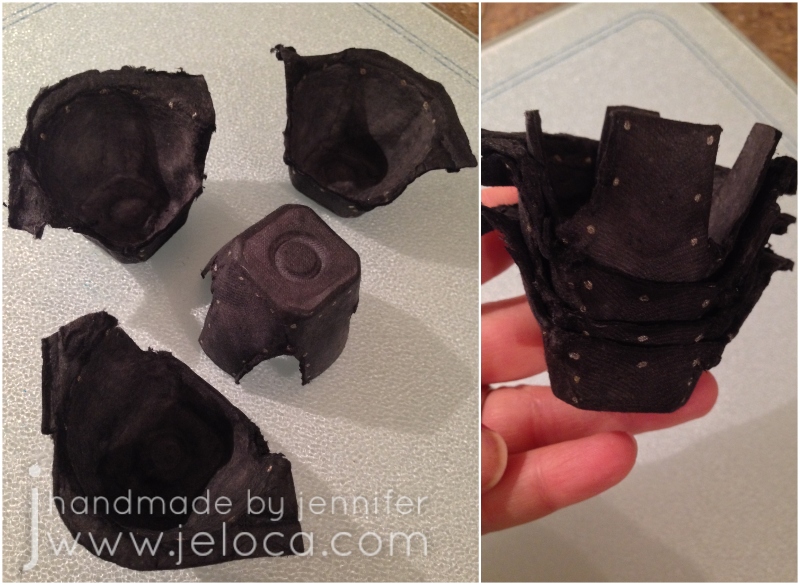
The living room furniture was painted black and copper “studs” were added with a paint pen. One neat thing about using the egg cups is that the furniture will stack which makes putting it away after playtime that much easier.
Finally the hamster’s cardboard box bed was upgraded to one with a full headboard and footboard, and painted with gold glitter paint.

I used scraps of white felt and stuffing remnants to make a mini mattress and pillow, and leftover sock yarn knit up quickly to make a colorful blanket.

One evening of crafting and by morning the hamster had his house completely tricked out. Henri was really excited to set everything in place and added more to the decor by painting a rug in the living room and even drawing a TV on the wall!
Bonus – I wanted to take some current pics to show how well these little accessories held up after 6 years and we thought it would be really cute to include Jakob’s REAL hamster for scale. Here’s Dusty enjoying a little nap…

…and here he is foraging in the snack box looking to see what other treats there might be.

These were such simple, quick and easy DIYs to make and became playtime accessories that were loved and used over and over, AND held up incredibly well over the years. I hope this post gives you some ideas on how you can recycle items from around the house and give them new life with a new use.


