Leave a comment

Coloring with Kids: Cookie Cutter Coloring Game

If you’re home during the holidays and are looking for a kid-friendly and fun craft activity for your family, this boredom-breaker I came up with a few years ago could be just the thing. It’s quick and easy to set up and can be done with nearly any supplies you have on-hand.

What you’ll need:

  • paper
    • Any writing surface will work: computer paper, cardstock, construction paper, even the back of all that wrapping paper from holiday gifts. We used cardstock.
  • something to trace
    • This is perfect for using the cookie cutters you pulled out to bake holiday cookies. Use simple shapes like we did or have fun and find unusual ones! If you don’t have cookie cutters you can get creative and trace tissue boxes, tape rolls, erasers, little toys, etc… We used the shapes from a large assorted set like this one.
  • something to trace with
    • Anything you have on hand! We used a pencil.
  • something to draw/color with
    • Once again anything you have handy will work. Crayons, markers, colored pencils…even ballpoint pens will work just fine. We used Crayola Super Tips.

Start by assembling your materials. I used a ruler to divide our pages into even sections but that’s unnecessary.

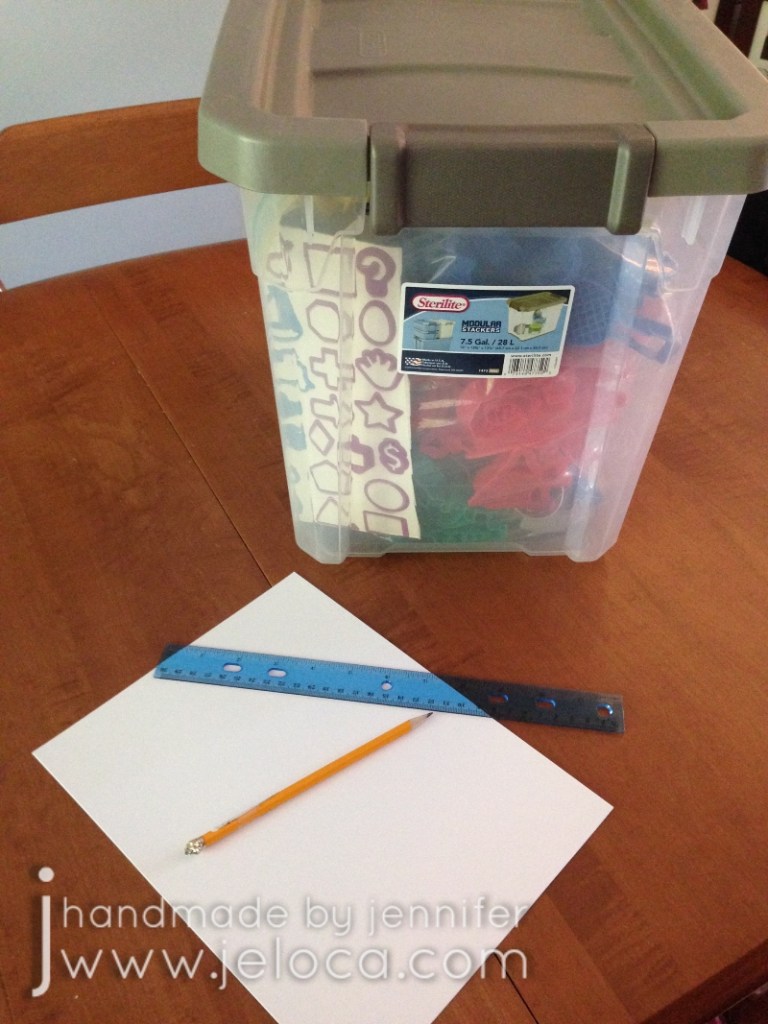
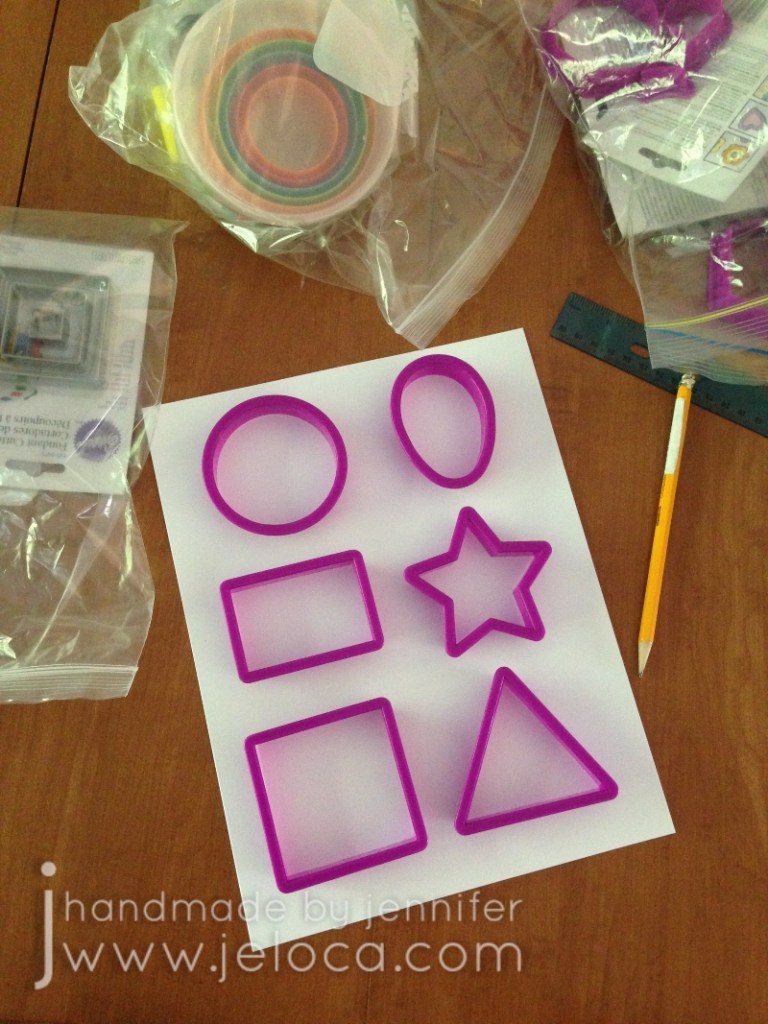
Figure out which cutters (or household objects) you want to trace and lay them out in a pleasing manner on your paper of choice.

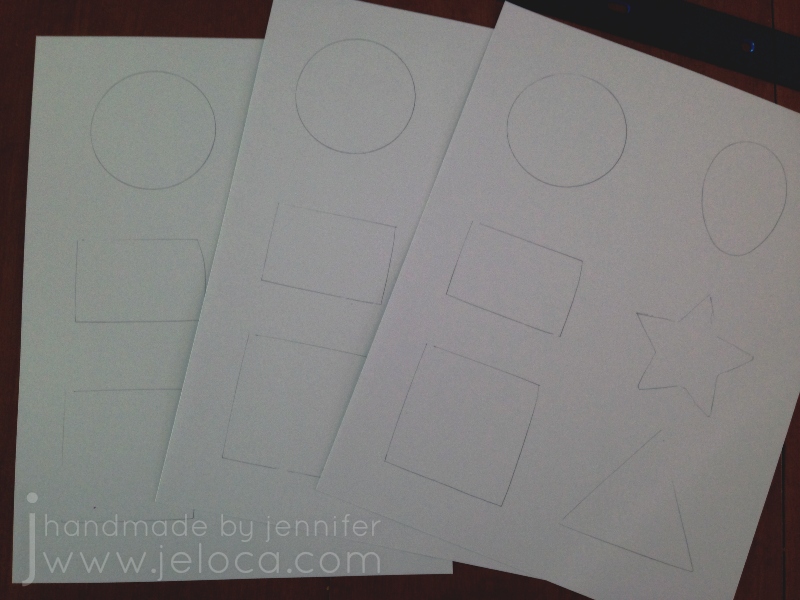
Trace the objects and repeat so you have one set of tracings for every child or adult participating.

That’s it! That’s all the prep work you need! The goal of the game: be creative and turn each traces shape into something new.

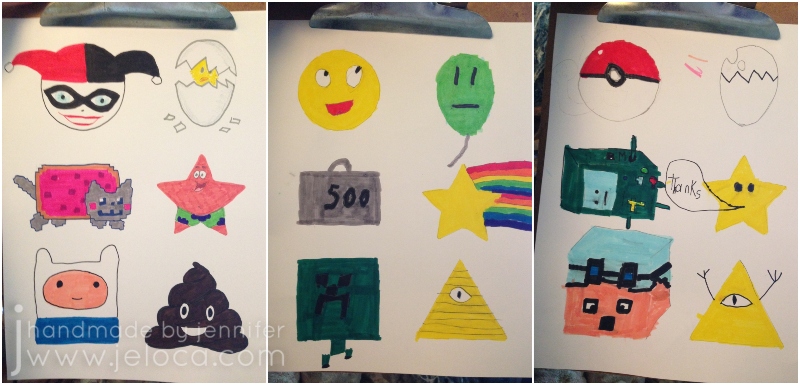
It was fun to do and kept the kids occupied for ages while they tried to “out-think” the rest of us and come up with the most unique, original ideas. (Though as you can see from our sheets they managed to think themselves right into some similar outcomes!)

There’s no desired outcome so you can have fun and see where your kids’ (and your own!) imaginations run. In our case we ended up with:

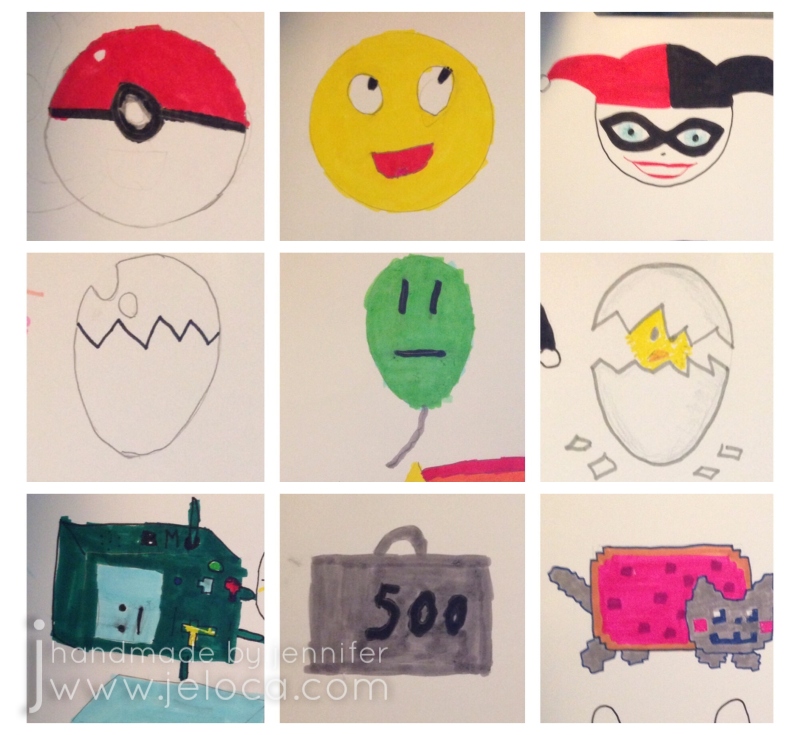
Circle – a Pokeball, an emoji, Harley Quinn
Oval – an egg, an unimpressed balloon, a chick hatching
Rectangle – Adventure Time’s B-MO, a 500lb weight, Nyan Cat

Star – a Mario Bros star, a rainbow shooting star, Spongebob Squarepants’ Patrick Star
Square – DanTDM’s Minecraft avatar, a Minecraft Creeper, Adventure Time’s Finn the Human
Triangle – Gravity Falls’ Bill Cipher, another Bill Cipher (or general Illuminati reference lol), a poop emoji

Hopefully this easy coloring “game” can inspire imagination in your family like it has in ours.

Happy holidays!

This post may contain affiliate links. This means I might make a small commission on purchases made through the links, at no cost to you.


Leave a comment

How to Make Plastic Canvas Gift Tags

Looking for a different way to label your gifts this holiday season?

These personalized plastic canvas gift tags are quick and easy to make and are reusable as charms after the wrapping paper’s been recycled.

You only need a few supplies to get started:

  • plastic canvas – I used 7-ct but if you have a more complicated design that you want to fit into a small area, you can use 10-ct or 14-ct. (The “count” is how many holes per inch).
  • plastic lobster hooks – metal will work just as well. You can even cannibalize hardware from broken keychains or charms you already own
  • yarn – scraps from other projects will work great for this
  • yarn needle
  • scissors

The first step is to choose your designs so you can create a chart. My example tags were made for a young boy whose name starts with a “B” and was really into Minecraft, and a young girl whose name starts with “K” and was really into Monster High. So I decided to put their initials on one side and something iconic from each theme (Creeper & Skullette) on the other.

I used Excel to create my charts but you can just as easily use graph paper. If using Excel resize your cells into squares and then use the color fill to draw your designs, 8-bit pixel-style.

For the Creeper tag I went with a square shape since most Minecraft mobs have square heads. I then “drew” a capital b in a grid of the same size as the Creeper face. I decided not to do the typical blend of colors for the Creeper since this was just a quick add-on to the birthday party gift we were giving, but you can get as creative as you’d like!

For the Monster High tag I found a free-use Skullette chart and used the size of that chart as a basis for my “K” chart, which I drafted in a font similar to that of the Monster High lettering.

You have freedom to design anything you’d like for your tags! Your only limit is the total size you’d like your tags to be, as the bigger your design, the bigger the results.

The next step is to cut out plastic canvas pieces the sizes required for your tags. Remember that it takes 2 holes on the diagonal to make 1 continental or cross stitch with plastic canvas, so if your grid is 10×10 pixels then you need to cut out a piece of plastic canvas 11 holes x 11 holes, etc.

Stitch your pieces as desired. I used continental stitch (half of a cross-stitch) and did the green background for each piece first, leaving one piece with a tail about 3-4 times as long as the full perimeter. This is optional but by leaving the seaming yarn as your tail it’s one less end to hide later.

After the green I filled in the spaces with black for the “B” and the Creeper’s face.

I followed the same process for the other tag, working from background first to the details last, so the details would remain sharp and not risk getting fuzzy at the edges. First I did the white background (flipping Skullette so the bow would be on the right since the original chart was for Perler beads which get flipped after ironing), then the purple (as I didn’t have pink scraps handy), and finally the black, which I also used to backstitch some shading under the “K”. I didn’t do the tail trick for this one as I wanted to seam it with a different color.

To seam, hold the pieces with wrong-sides together and go from back to front through the first corner 3 times. Next whipstitch around the first side and when you get to the next corner, go through it 3 times again, and continue this process around. When you get to the corner where you’d like to put the hook, do the first corner wrap, then wrap twice while also going through the hook’s jump ring, then go through the corner alone once more.

After all 4 sides are fully seamed you can skim your needle through one side’s wraps and pull the yarn through, for about an inch, then trim the excess as close as you can.

These little tags are under 3″ making them perfect to clip onto a schoolbag or tote.

They really add a personal, handmade touch to a gift without taking too much time or costing the bank.

Have fun creating your own!

This post may contain affiliate links. This means I might make a small commission on purchases made through the links, at no cost to you.