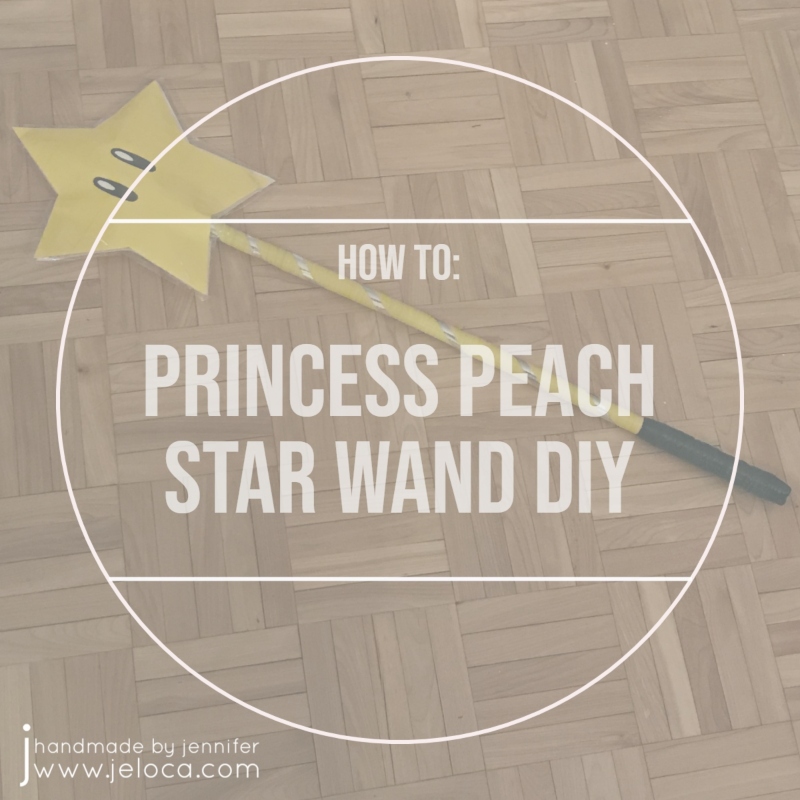
Can you believe it’s March already? It’s the 2nd annual Mario Month here on the blog and this year’s first post of the Super-Mario-themed collection is a DIY for a star wand you can carry as part of a Princess Peach costume.

I’d been asked to make the accessories for a Mario Bros skit and was given the above example of the desired wand for our Princess Peach character. Easy-peasy! Most of the needed supplies can be found at the dollar store or you might even have them on hand already.

You’ll need:
- Star template
- bamboo rod or dowel for wand
- yellow gift bag (or cardstock)
- packing tape
- silver ribbon
- black & yellow electrical tape
- black permanent marker
- white paint marker
- carbon paper (optional)
- pencil
- scissors
Other supplies that I used for the plastic canvas insert step but are not necessary if you use heavy cardstock and/or don’t need your wand to last as long as we did:

Start by scaling an image of the Starman to the proper size for your wand and cut it out of regular paper. (Alternatively you can draw a star shape freehand but I ALWAYS mess those up!). If using heavy cardstock for your star you can jump to the next step. My bag was the perfect color but a bit flimsy, and this prop had to last for at least 6 shows and a dozen or so rehearsals, so I chose to reinforce mine with plastic canvas inserts. If you would like to do the same trace your star template onto plastic canvas. It’s a good idea to mark which direction is “up” so your stars will be sure to align.
NOTE: I should have made my plastic canvas inserts SMALLER than the Starman template. As you’ll see below, I ended up trimming them down so the yellow stars could meet evenly at the edges. To avoid this mistake trace a second line about 1/4″ inside your original edge and cut out on that line.

Wrap your dowel evenly with yellow electrical tape. You can paint the dowel yellow instead but for our purposes the electrical tape was more durable and waterproof. It also allowed me to even out areas where the bamboo was uneven by wrapping more (or less) in those spots. Then wrap again with the silver ribbon, spacing out the wraps to create diagonal stripes. You can secure the ends with regular scotch tape or more of the yellow electrical tape – neither end will be visible once the wand is complete so use whatever you’d like.

Cover the bottom end of the dowel with black tape. I used my fist as a rough guide for how long I wanted the handgrip to be and then wrapped more black tape, padding out the bottom edge slightly for a comfortable hold.

Optional: I debated hot-gluing the plastic canvas to the dowel but was worried it would break or separate during rehearsals (we were a rowdy bunch lol) so needed something permanent and secure. I decided to use the holes in the plastic canvas to my advantage and sew through the dowel to keep it in place. I marked holes on the dowel using the plastic canvas as a template for placement and then drilled directly through the bamboo dowel with my Dremel. I have a Dremel drill press which makes this step super easy but it’s 100% NOT necessary.
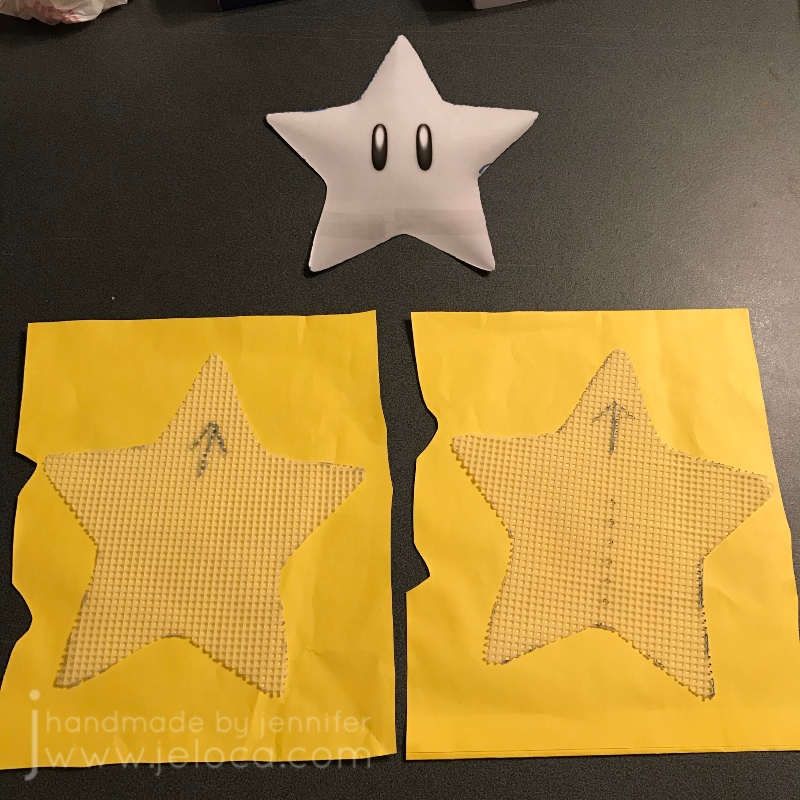
Now it’s time to trace your Starman template onto your yellow paper/cardstock.

I used carbon paper to trace onto both pieces at once to be sure both stars would be the identical size/shape, but this is totally optional. Just be sure to trace on the reverse side so in case you leave any pencil showing it will be on the inside of your finished star. I tested the plastic canvas inserts and realized I hadn’t left any clearance so had to trim down both of my stars to ensure the paper pieces would be able to touch. As mentioned above – if you do this be sure to cut your plastic stars smaller to start.

To attach the stars to the dowel I sandwiched them on either side of the bamboo and sewed a running stitch from one side to the other, then up to the next hole, and back to the first side…repeating this until I’d worked through all the holes. I was able to fit my yellow yarn but you can use doubled thread if your yarn is too thick. This will work best if you pre-mark your hole locations onto both pieces of plastic canvas first, to ensure you’ve sewn both stars to the same height and equally centered.

Use yarn to whipstitch the edges of the star closed.

I used the carbon paper again to trace Starman’s eyes and then colored them in with black Sharpie and a white POSCA paint marker.

Cut out both sides of your Starman. As one final layer of stage/rehearsal protection I sealed the paper’s surface with a layer of clear packing tape on both sides. This would ensure that the paper couldn’t accidentally rip or tear.

The final step is to sandwich the yellow star layers on either side of the plastic insert. Place the face side (with the eyes) in front of you and lay a few strips of packing tape evenly across, leaving a few inches of extra tape all around. Carefully pick up the taped piece and turn it over so the sticky side is facing up. Put the wand/plastic piece in place and then lay the back of the star down, yellow-side out, being very careful to line up both stars perfectly. Apply more strips of packing tape so the sticky sides meet and lock the stars together. **It’s a bit awkward to keep the back star aligned while laying the strips of tape which is why I do the face side first.
If not using a plastic insert then before placing the second side use extra packing tape to tape the dowel to the inside of the first side.

Press the tape together really well all along the edges of the star to really seal the front and back together, and then cut around the star leaving a thin strip of taped edge. It won’t show much (especially from the stage) but it guarantees you don’t trim too close to the paper and create a gap between the pieces.

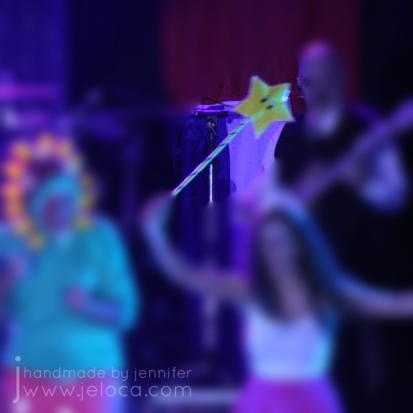
Enjoy your star wand!

Ours worked great – lasting well through all rehearsals, tech week, and performances!
Other Mario-themed projects you might like:
- Super Mario Bros Warp Pipe set piece
- Mario, Luigi, Wario & Waluigi Easy DIY felt hats
- Mario, Luigi, Wario & Waluigi Easy DIY costume mustaches
- Wario full costume DIY
- Super Mario Bros bricks stage runner
- Super Mario Bros Toad Hat/Head DIY
- Super Mario Bros Petey Piranha DIY