Leave a comment

Annual Halloween Roundup

It’s October, so that means it’s time for my annual roundup of costume-related patterns and tutorials available here on the blog.

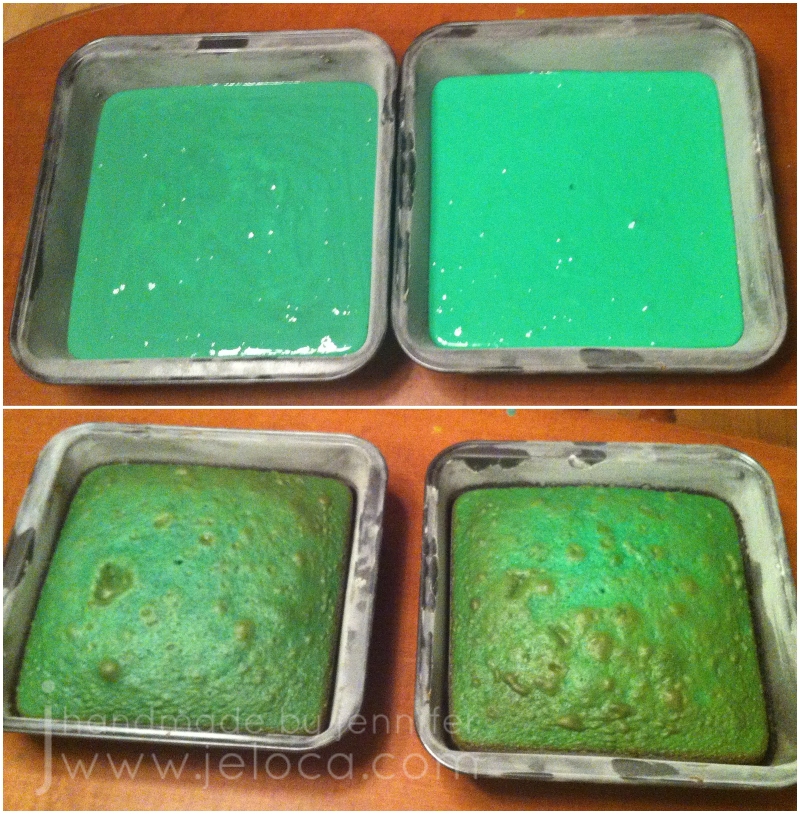
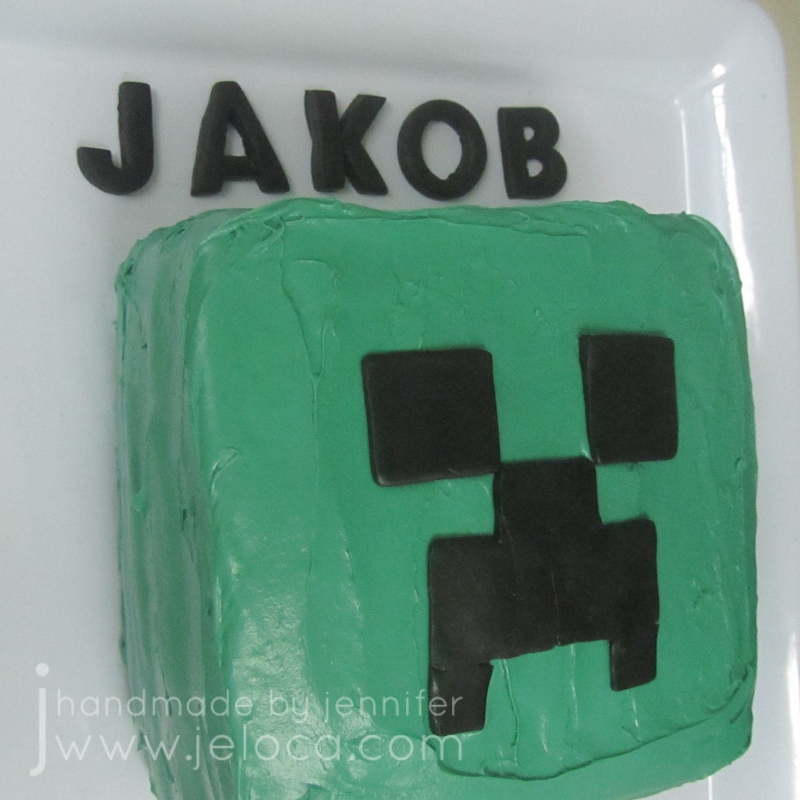
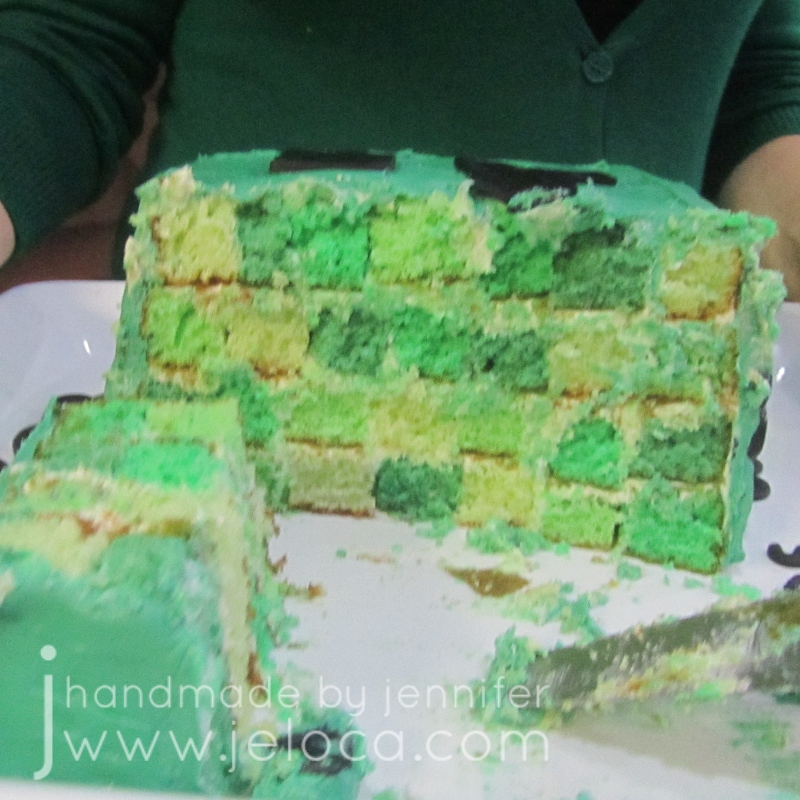
Here’s a step-by-step tutorial on how to make Minecraft Steve & Creeper heads.

Next up (with over 420,000 impressions on Pinterest in the last 60 days alone!) is a similar tutorial, this time for making a Minecraft Enderman head along with a diamond block trick-or-treat box.

Both projects include full charts for game-accurate colors and the exact hex codes for perfect color matching!

If your idea of fantasy is less block-based and more magical, here’s a free knitting pattern for an easy scarf in the Gryffindor house colors.

If training a dragon is more your thing, here’s how to make a viking vest.

If you prefer Pokemon to Night Furies, here’s an easy, last-minute Pikachu costume idea.

If your friends-group themed costume runs more Grease than Greninja, here’s how you can make a super simple Poodle skirt.

If you’re looking to visually upgrade some inexpensive props, here’s a demo on repainting plastic swords.

If you’ve got a last-minute party invite to deal with, here’s a SUPER quick ‘n easy Jughead Jones (from Archie Comics) costume tutorial with free burger dream bubble printable!

If your group costume needs accessories, here’s a free tutorial on making Super Mario Bros Mario, Luigi, Wario and Waluigi hats

If you want to take those Mario Bros costumes one step further, here are instructions on making their respective mustaches

If you REALLY want to go all out, here’s the full costume breakdown with instructions on making an entire Wario costume

Finally, if you’ve got enough knitting time on your hands, you can knit my Baby’s First Superhero Costume pattern as-is with cute designs for boys and girls, or convert the chart and the colors to create your superhero of choice.

Find more tips and tutorials on my How-To page!


8 Comments

DIY Checkerboard Minecraft Creeper Cake (NO Special Pan!)

Jakob turned 8 in 2015 and if it wasn’t clear from Henri’s Minecraft party, Minecraft lootbags and Minecraft grass biome cake that same year, 2015 brought in the reign of one particular video game in our household. (They even had DIY Minecraft Halloween costumes that year!)

Jakob was obsessed, in particular, with the Creeper. This unassuming green dude looks real cute until he shows up and blows up.

I decided to take inspiration for the inside of the cake from the Creeper’s multitude of green shades, and to theme the outside on the tshirts the boys would be wearing to the party, with the following image:

While I own a round checkerboard pan kit, I don’t have anything similar for square cakes so I had to get creative. I ended up coming up with a way to get the checkerboard look without requiring ANY special tools, and you can do it too if you follow the steps below.

Step 1 is to bake 4 cake layers, each tinted a different shade of green I used 8″ square cake pans and tinted my batter with gel coloring to get 4 different shades.

These are the colors I went with. You can choose to use more colors and more layers if you like – to copy the actual Creeper would require 8 layers for an 8×8 grid. If you want to match the colors exactly I provide the hex codes for all 8 colors in my Minecraft Steve & Creeper DIY costume head tutorial.

I only own 2 8″ square pans so I baked my cakes 2 at a time.

The cakes will turn golden on top as they bake so my icing swatches came in handy to remember which cakes were which later on.

Unfortunately I don’t have pics of the next steps but they’re very simple to follow-

  • Trim the golden top and sides off each cake
  • Cut each cake into even strips. Be sure to cut each cake into an identical number of strips. If you look at the cut section of my cake below, you can see I cut mine into 7 strips.
  • Place a bit of icing on your serving tray (to anchor the bottom pieces) and place 7 strips of assorted colors side by side to form the first layer. (Replace “7” with the number of strips you have in your cake). Once your color placement is to your liking, add a thin layer of icing between the sides of each strip to secure them to each other
  • Add a thin layer of icing across the entire top surface of layer 1
  • Repeat the last 2 steps 3 more times to add layers 2, 3 and 4. This will have used up all your cake strips
  • TIP: when cut vertically from the end, the cake will have a gridded/pixel look. You can use the same technique to create any pixel art desired
  • The key thing is to remember which direction your strips run. When you cut the cake you will want to cut horizontally ACROSS all the colors, to get the checkerboard look. If you cut horizontally WITH the strips, your cake will look like long rectangles of color.

To finish the cake simply ice and decorate the outside as desired. I covered mine with solid green icing and a fondant Creeper face, then added fondant lettering to match the boys’ shirts and Jakob’s name and age.

I used the placement of the face as my reminder which way to cut the cake later.

As you can see from the cross-section, the inside worked out perfectly! It looks just like the Creeper and Jakob was thrilled.

Jakob’s other birthday cakes

This post may contain affiliate links. This means I might make a small commission on purchases made through the links, at no cost to you.