Today’s Henri’s 13th birthday and we’ve made it to his big, first “double-digits” birthday cake. Not only was Fortnite massive at the end of 2018/early 2019, but the Loot Lake cube event had just taken place and when asked what theme he wanted for his cake that year, there was zero hesitation. Easy for him to decide, but I’ll admit it took me a moment to figure out how to put it into action!

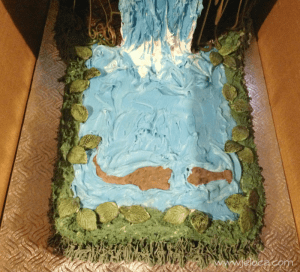
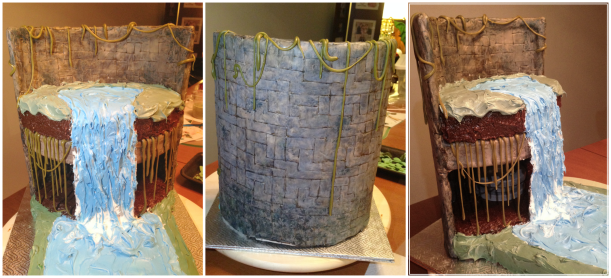
In the end I went with a cake that represented Loot Lake with the cube starting to submerge, and one of the wooden panels with Henri’s name on it. If curious about the cubes, you can read up on them here. You can actually watch the cube hit and go under here.

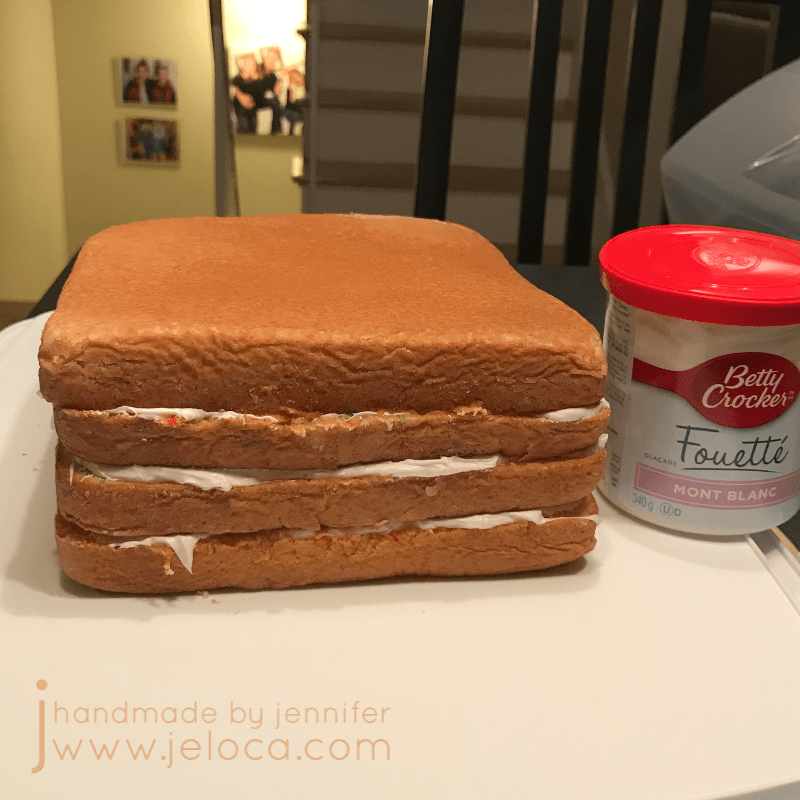
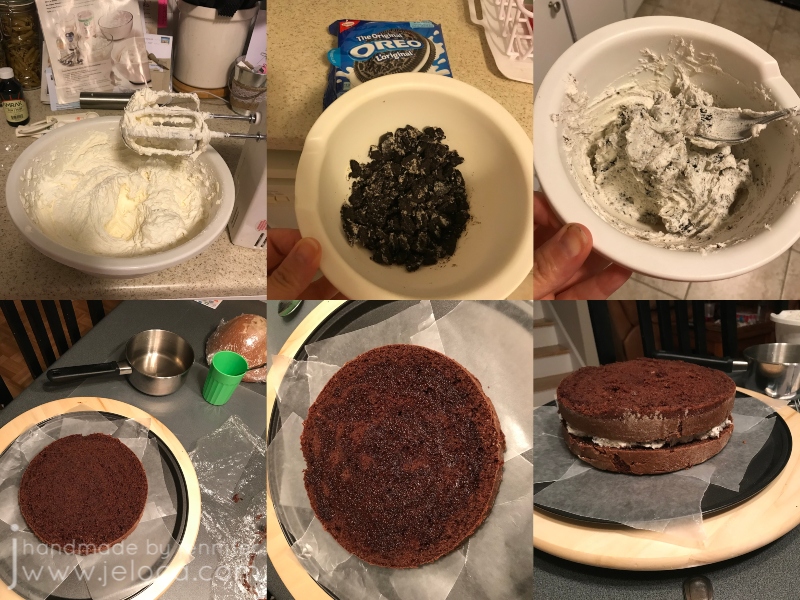
At this point this should be really familiar reading, but once again a few days before his party I baked cakes and prepared them as per my usual method. I also prepared my fondant pieces so they would have time to harden.

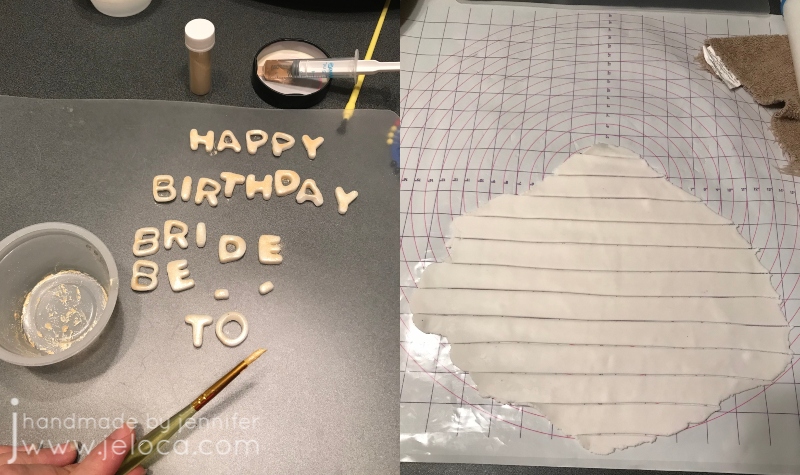
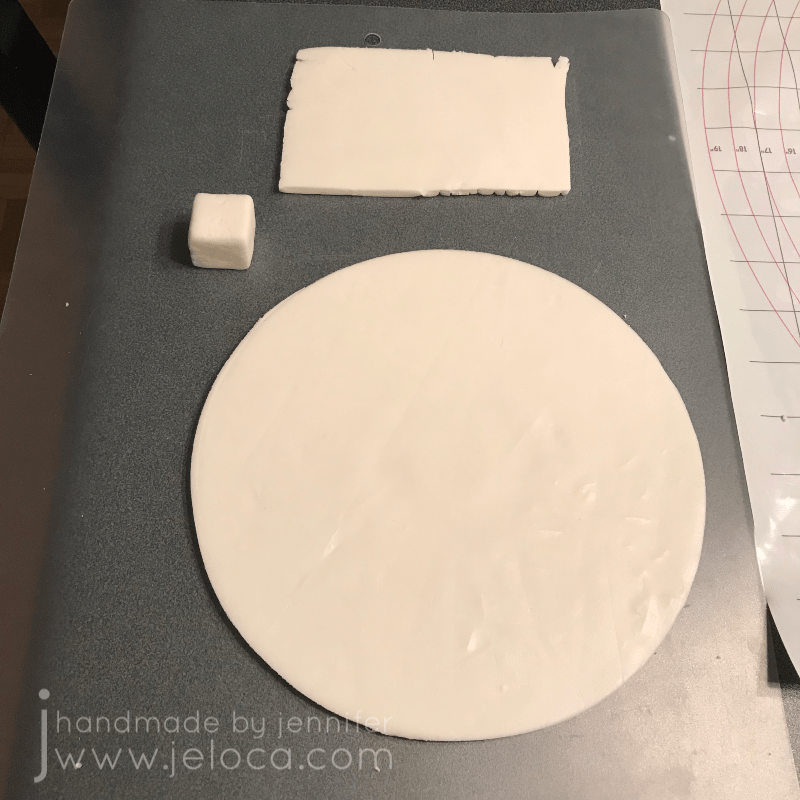
For the wooden panel I printed out his name in the Fortnite font and cut a rectangle around it with my dull blade cutter, freehanding the perpendicular planks.

I also cut out 6 1-inch squares to use for the cube. The grid on my measuring mat was perfect for this!

…except that it was too annoying to assemble the panels into a cube so instead I squished them all back together with some extra fondant and cut a 1″ cube out of the larger chunk.

I used my adjustable circle cutter to cut out a disk of fondant the same diameter as the top of my cake. I’d link it but can’t find it for sale any longer. I wonder if that’s because it isn’t that great – and tends to leave unsightly divots in the center of your fondant (like in the above image). You can either freehand cut a circle using a mat with markings like mine, or trace around your cake pan or same-sized bowl and cut that out instead.
At this point I set aside all the fondant pieces to air-dry, turning a few times daily so all sides could dry well.

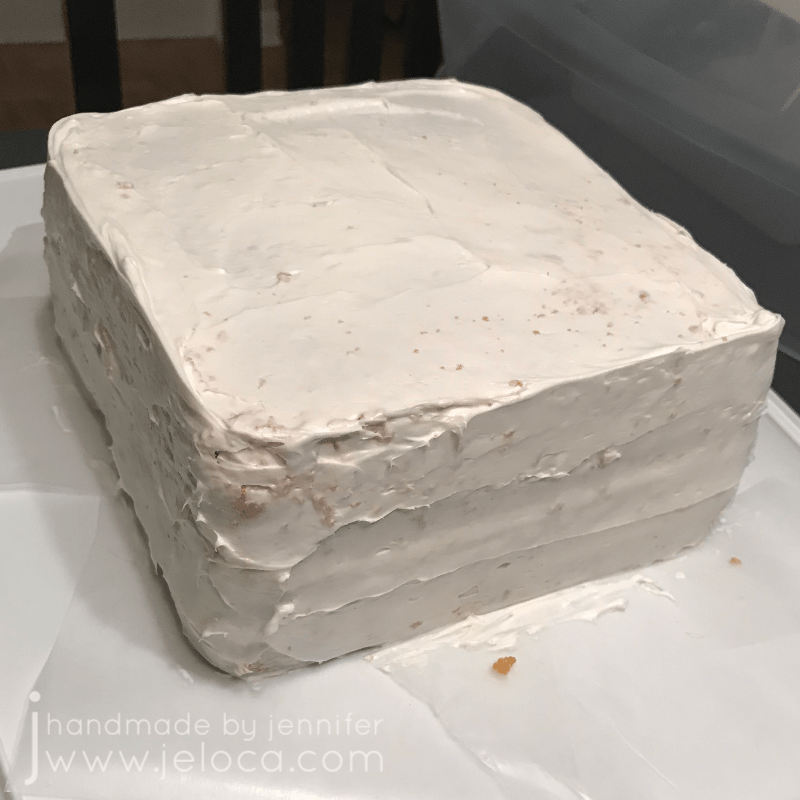
The night before the party I levelled, torted and crumb-coated the cake as per my tutorial linked above.

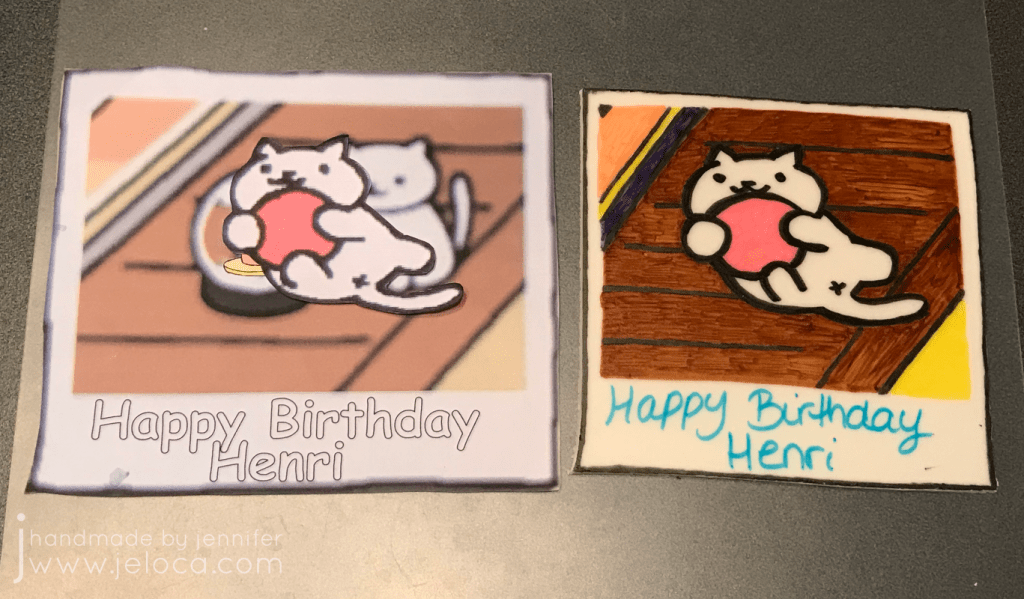
While the cake was chilling in the fridge I painted the nameplate with gel colors diluted in vodka, using a quick version of my painting fondant to look like wood tutorial (another version of the wood also found here). I also cut an angled slice off of the cube so it could sit flush against the top of the cake and still look submerged, and inserted a bamboo skewer to help it anchor to the cake later.

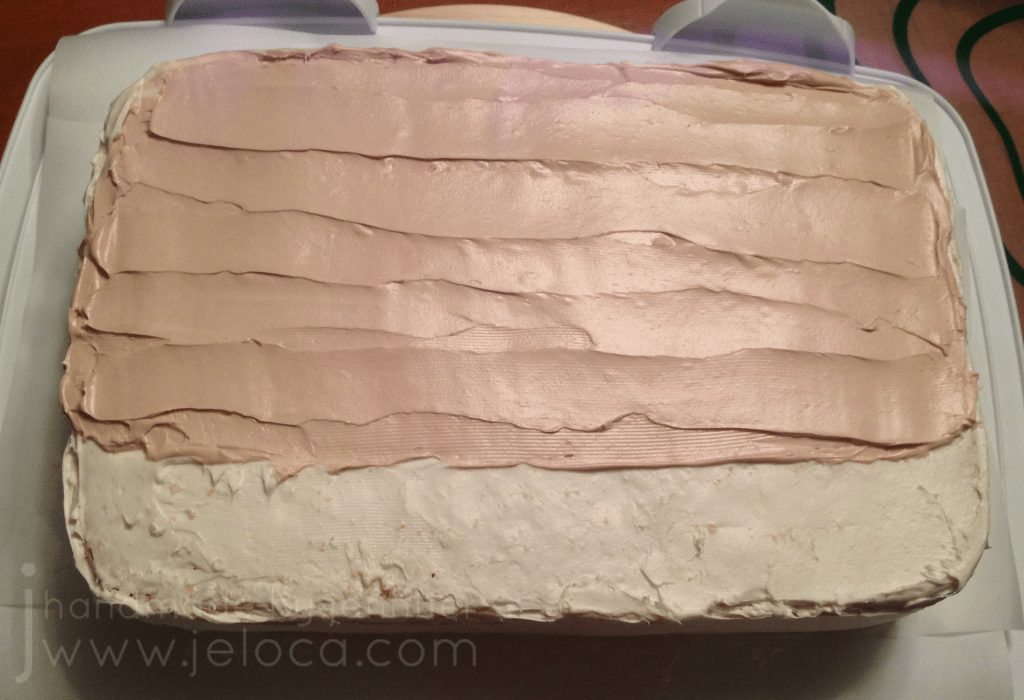
The cake got a clean layer of white icing and then the fondant disk was placed on top so it would adhere well.
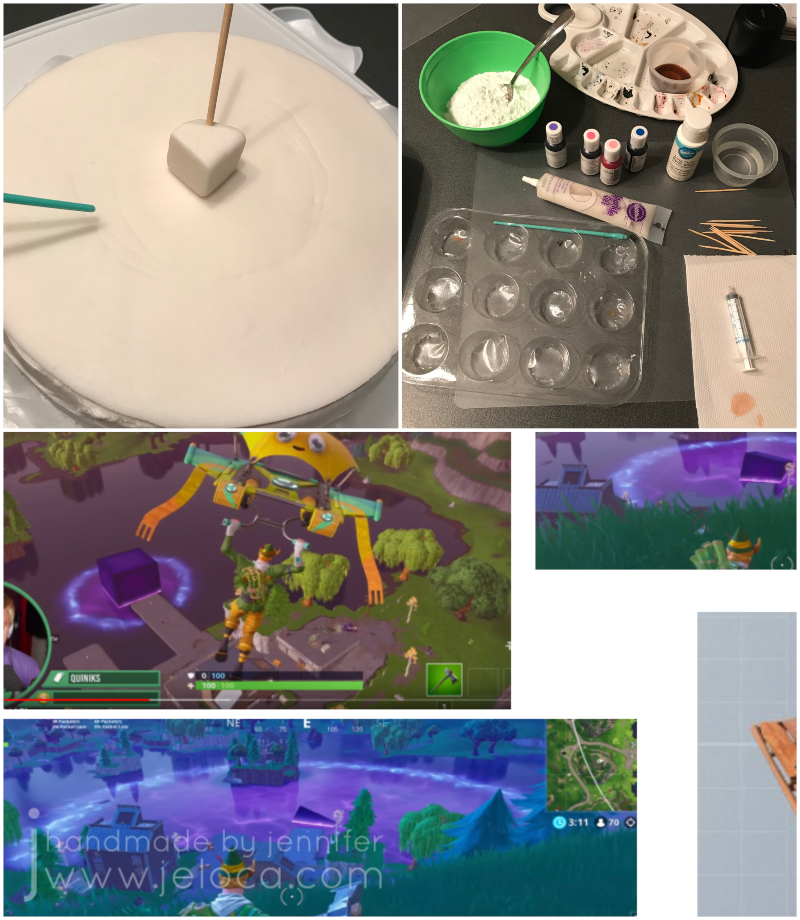
I used the back of a food-only paintbrush to lightly score demarcation lines for where the cube’s magical effect would spread to, using the game screenshots as color and placement references. (Oh yeah- the cube is magical. It turned the lake bouncy). I also gathered my supplies for food painting: more gel colors in my required colors, white icing tint, sparkle gel, water with a syringe, my gel paint palette, toothpicks, food-only paintbrushes and icing sugar to be the base of my “paint”.

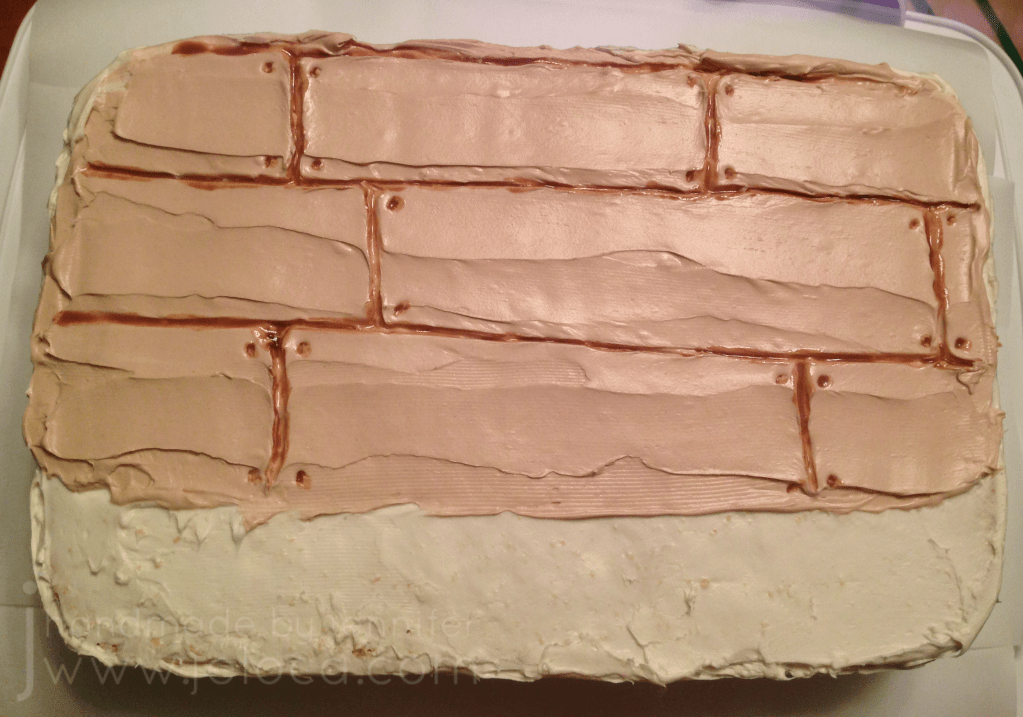
To create the lake I added blue gel colors to some icing sugar and used a syringe to add water until I got a consistency similar to paint. The syringe helps avoid adding too much water at a time, but if it does get too watery you can thicken it back up with more icing sugar. Once it looked right I painted the lake blue, stopping at the demarcation line and feathering slightly over the edge so it wouldn’t be sharp or precise.
I mixed up more of the same color but runnier (similar to flood consistency, if you decorate cakes) and applied it all over the same sections, allowing it to self-level. Then I left the cake to set for 15 minutes.

Next I mixed up more icing paint in white and light blue and put dabs of each in an alternating pattern around the inner circle’s edge before using a toothpick to swirl them together. It’s ok if the darker blue bleeds into them a bit, as this was meant to be the edge where the lake water meets the rubberized water and has the magic glow effect.
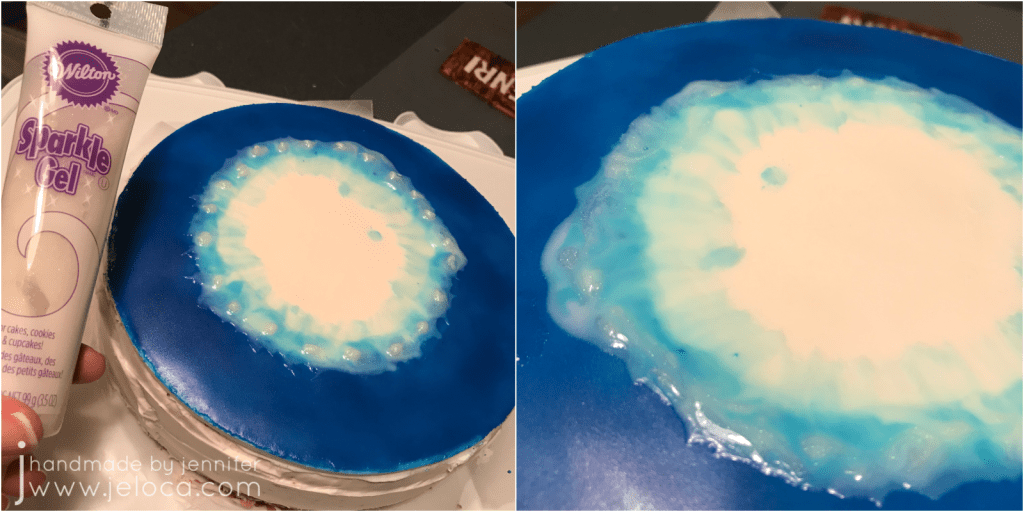
To add more magical “oomph” I added sparkle gel around the edge, overlapping into the darker blue. Then I set it aside for another 15 minutes.

For the center where the lake has already transformed, first I mixed up a medium purple shade with a lot of the sparkle gel mixed in, as well as a lighter purple and white with sparkle. I filled the center circle with the medium purple and while it was still wet I dripped in the two lighter colors and swirled them gently. Once I was happy with how it looked I set it aside for another 15 minutes.

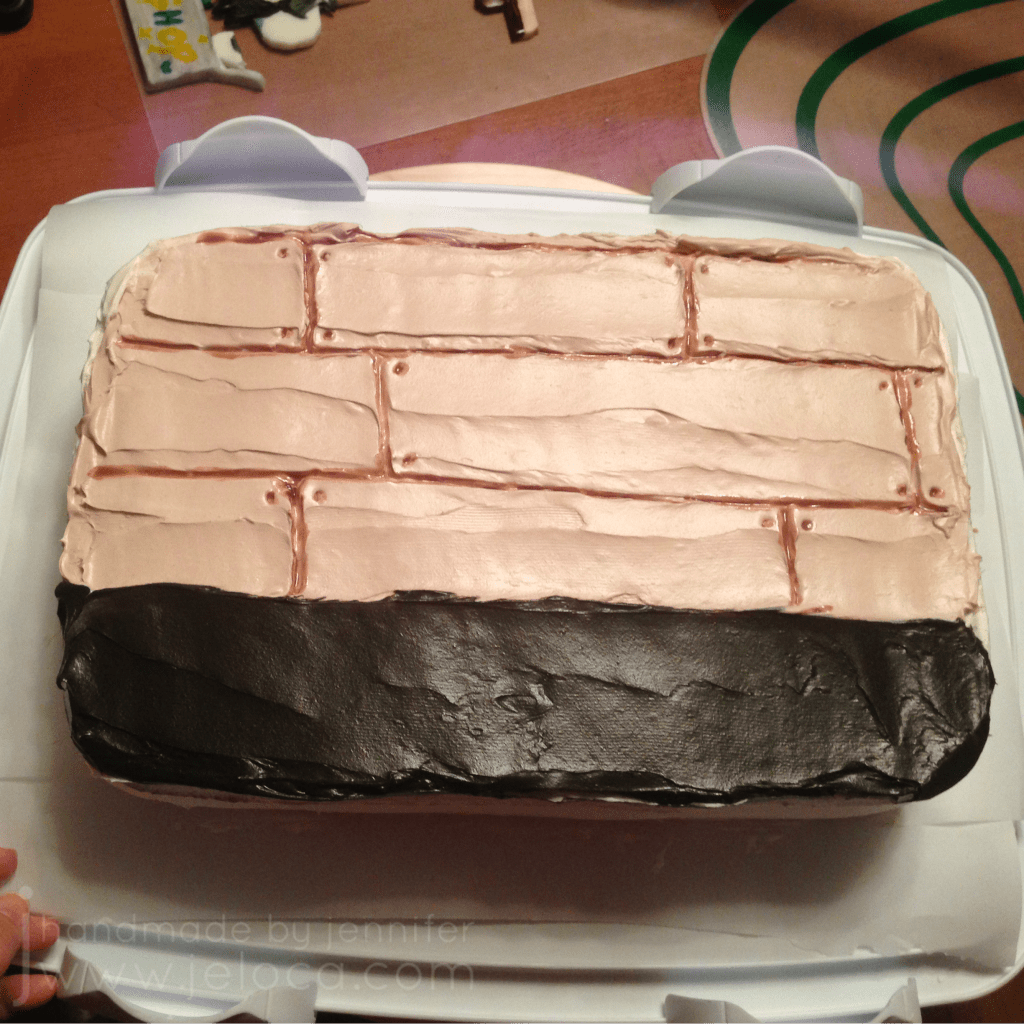
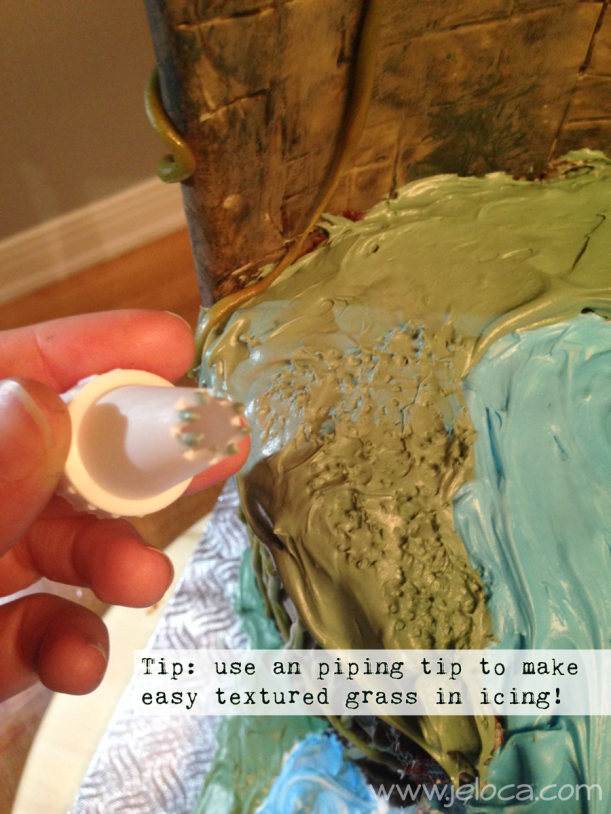
I tinted some vanilla icing green for the grassy land around the lake and covered the sides of the cake, slightly overlapping the disk on top to hide the fondant edges. I then textured the top bit to look more like grass. You can pipe around the base of the cake if desired (I’d run out of icing, oops).
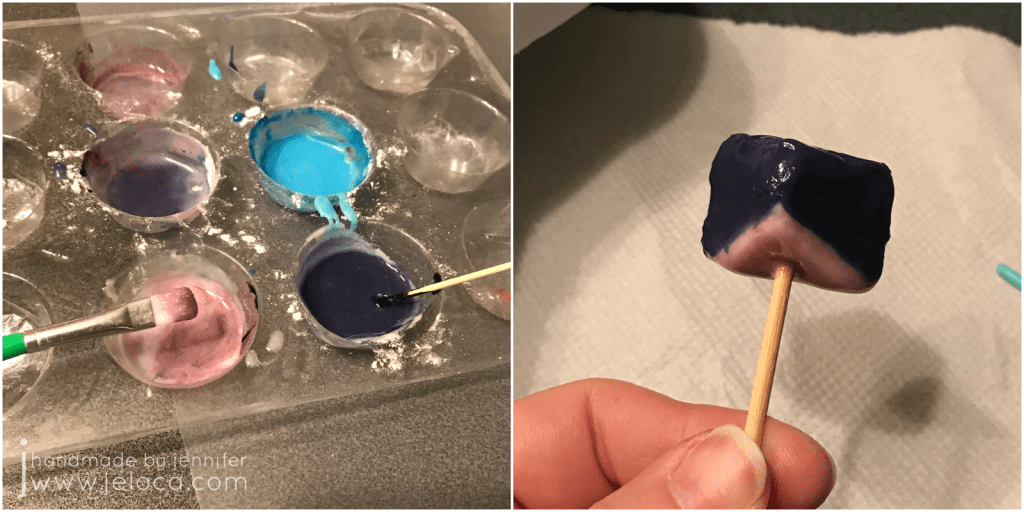
I mixed up a darker purple for the cube and a brighter pink to be the glowing light where the cube touched the water, and painted the cube itself. Allow to dry for 15 minutes by either holding it (and enjoying a little break!) or you can push the skewer into a scrap chunk of fondant or styrofoam.
Tip: Save a bit of the dark purple in case you need to touch up the cube after you stick it on the cake.

Even though my fondant was white to start, I decided to paint over Henri’s name with the Wilton White-White. It doesn’t show much in the pic, but in person it made it much brighter.

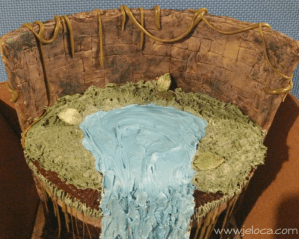
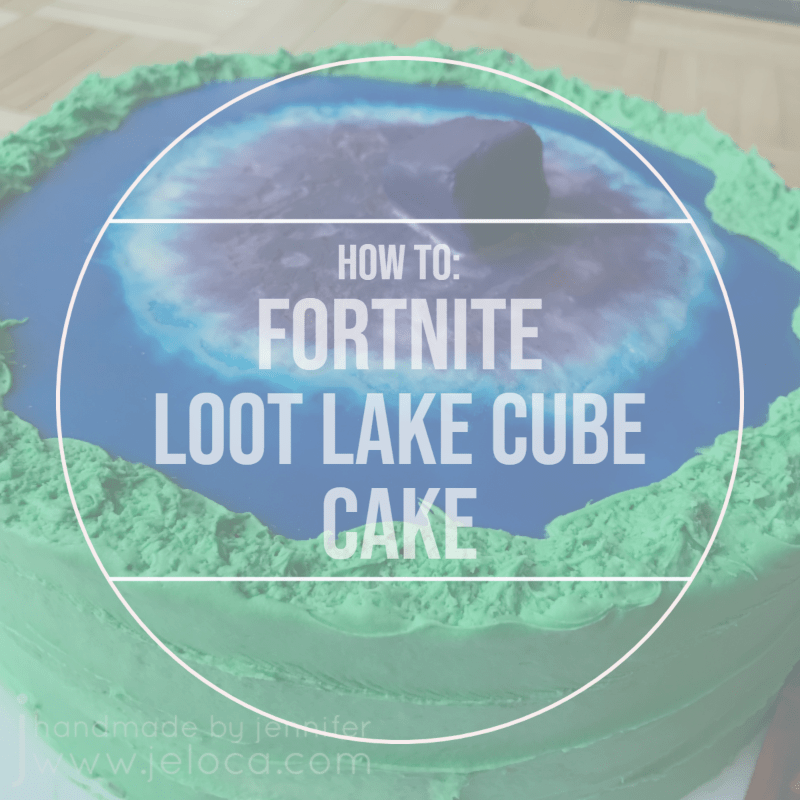
The last step is to push the skewer into the cake and then the Fortnite Loot Lake cube cake is done!

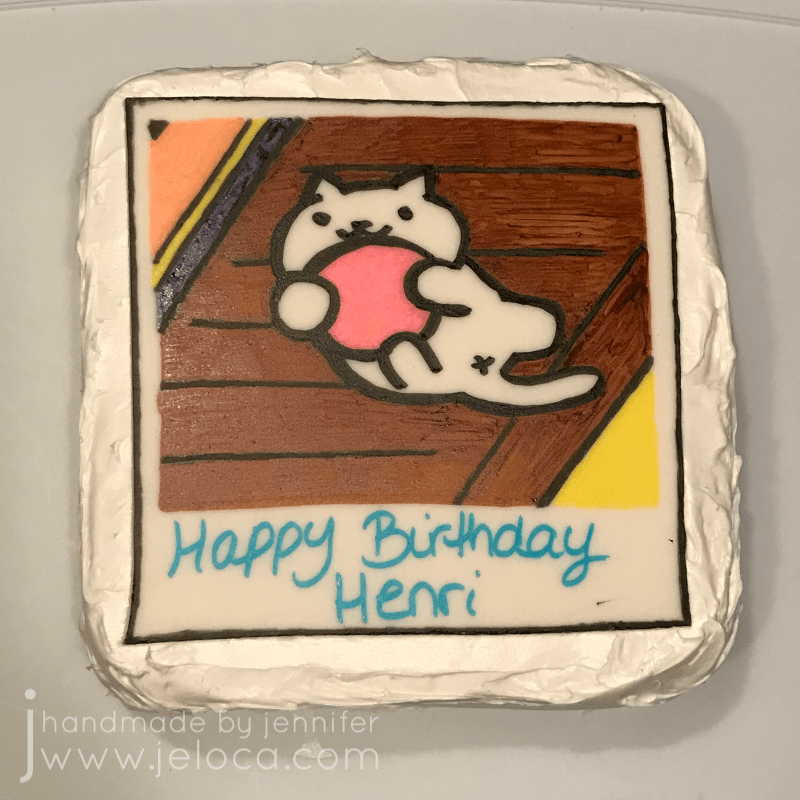
I’d used a bit too much water in one of my purples, so the next day you can see that it cratered a bit when it dried down. But I’m still super pleased with how it turned out! I love the glowy swirl where the lake meets the “magic” and it really does look like the cube is sinking into the water.

Plus Henri was really happy with it, which was the most important part! ❤

I’ve had questions before about whether fondant topper painting adds extra thickness to the top of a cake, and as you can see from the cross-section, it really doesn’t.
Henri’s other birthday treats
- Henri’s 1st birthday – football cake
- Henri’s 2nd birthday – The Wiggles cake
- Henri’s 3rd birthday – Dora and Diego cake
- Henri’s 4th birthday – Jake & The Neverland Pirates cake
- Henri’s 5th birthday – Skylanders cookies & cake topper
- Henri’s 6th birthday – Minecraft plains biome cake
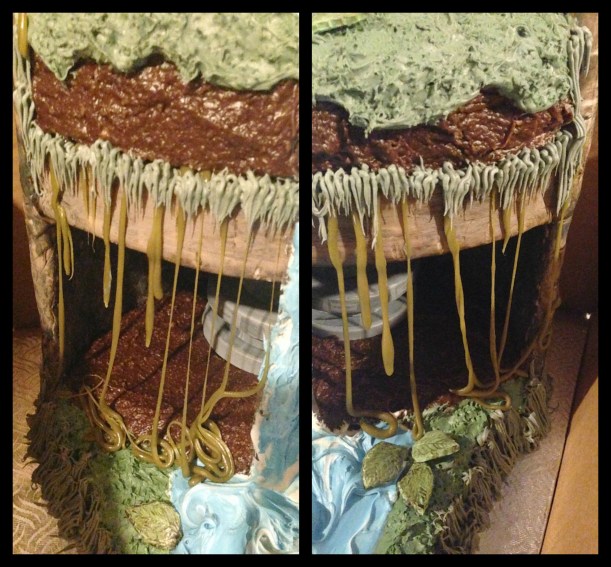
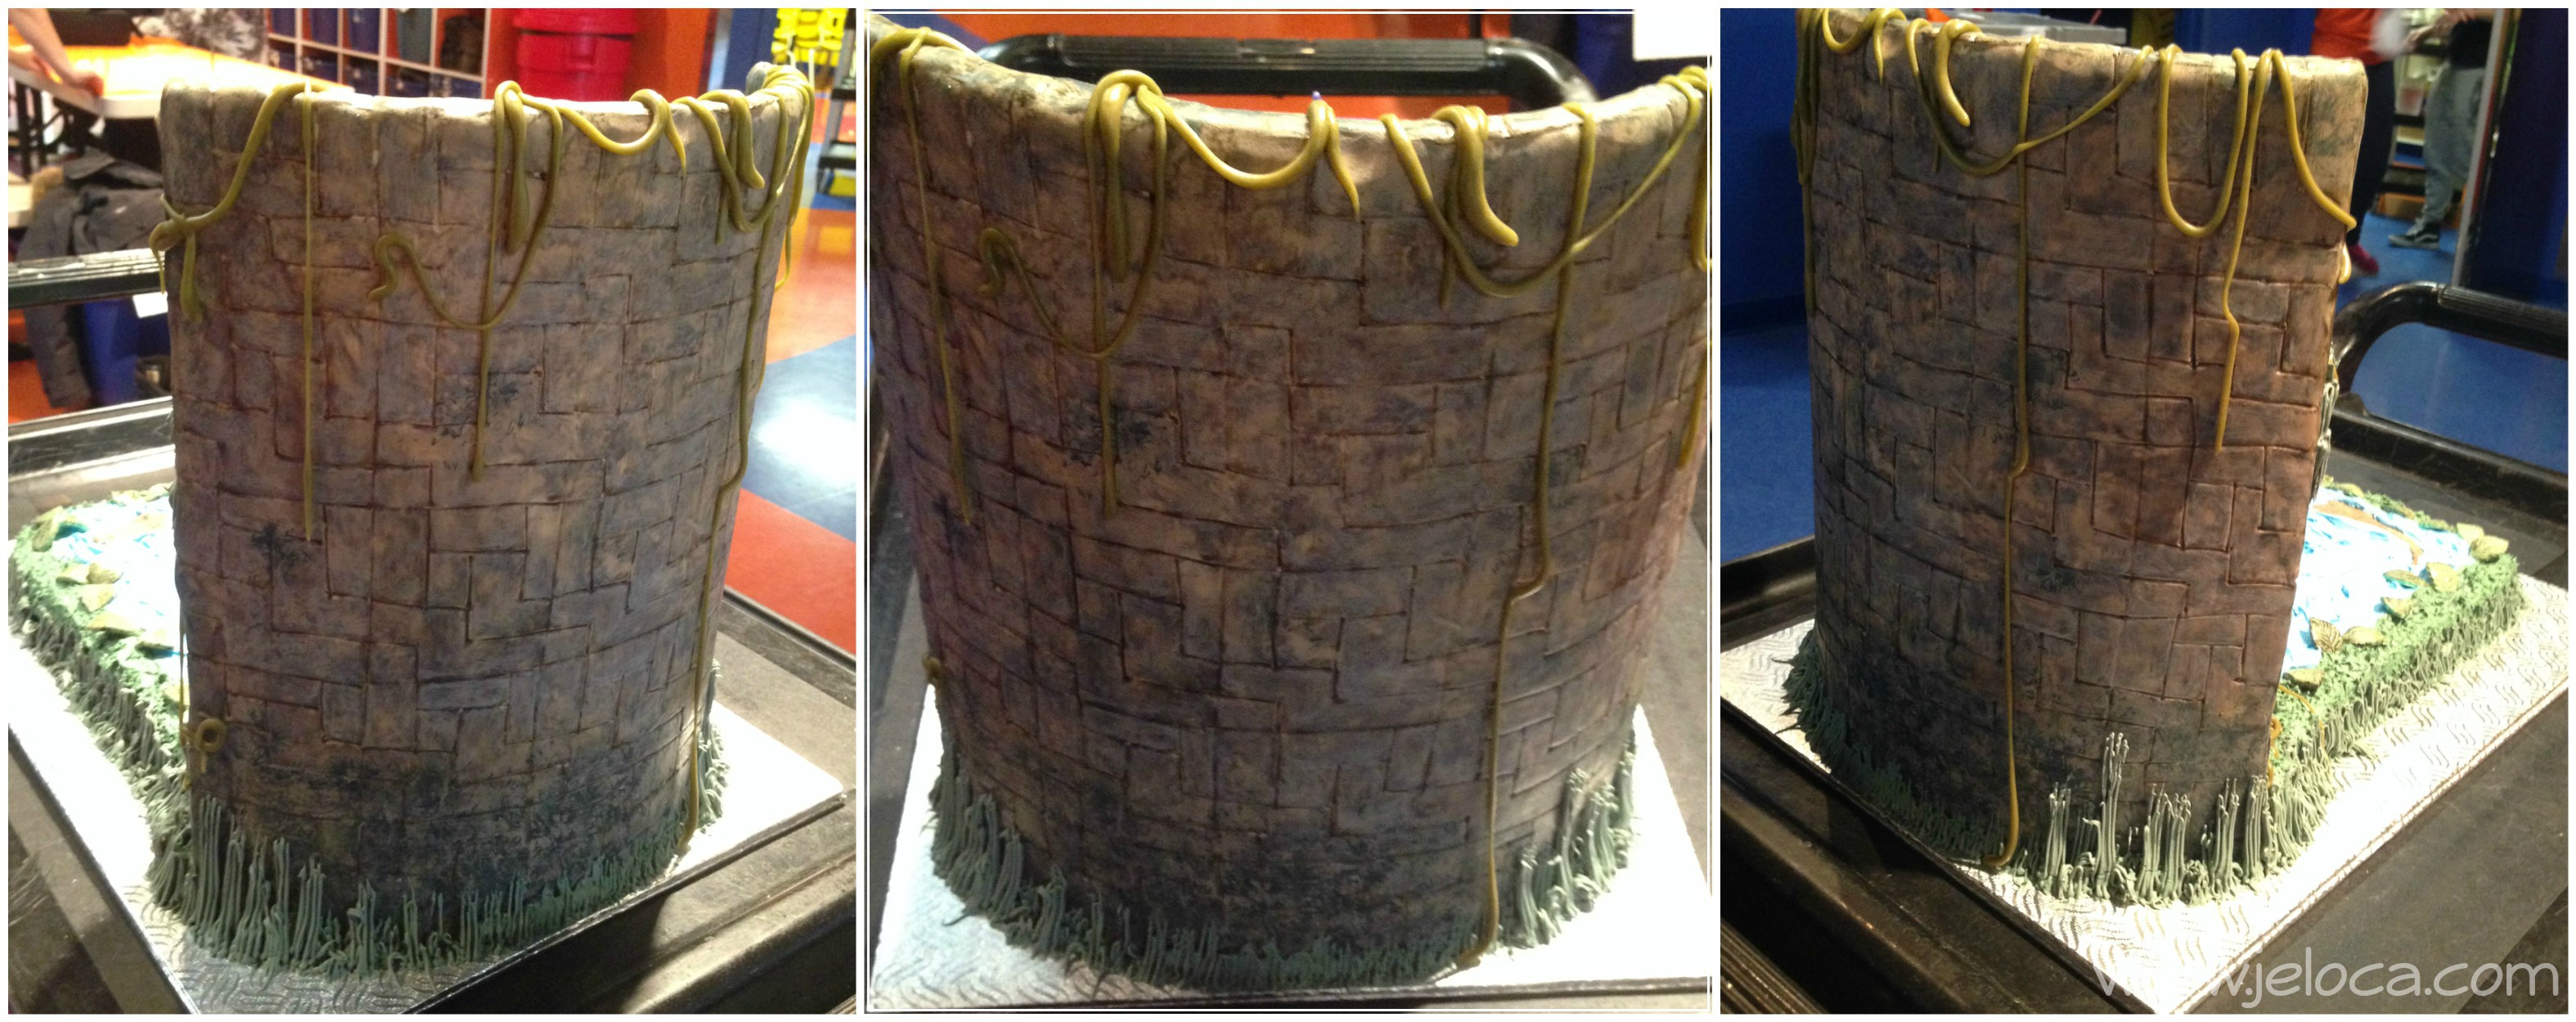
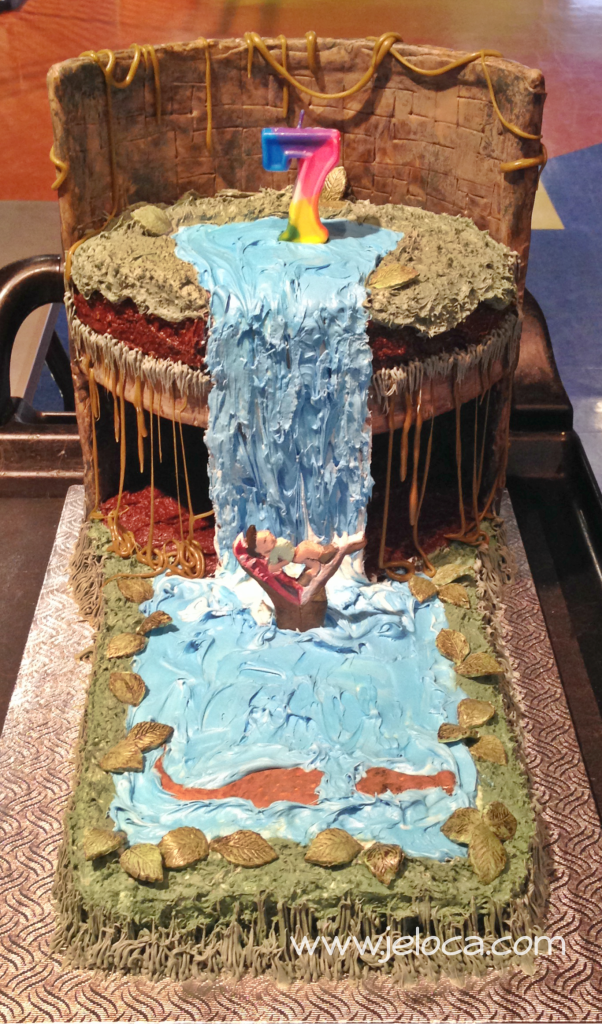
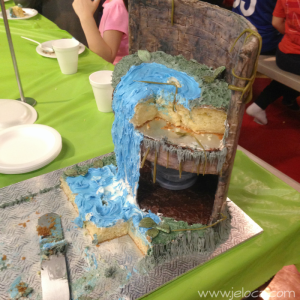
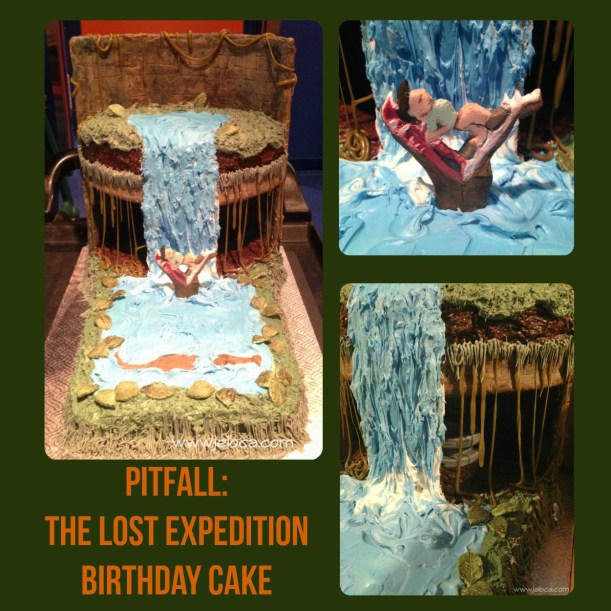
- Henri’s 7th birthday – Pitfall: The Lost Expedition cake
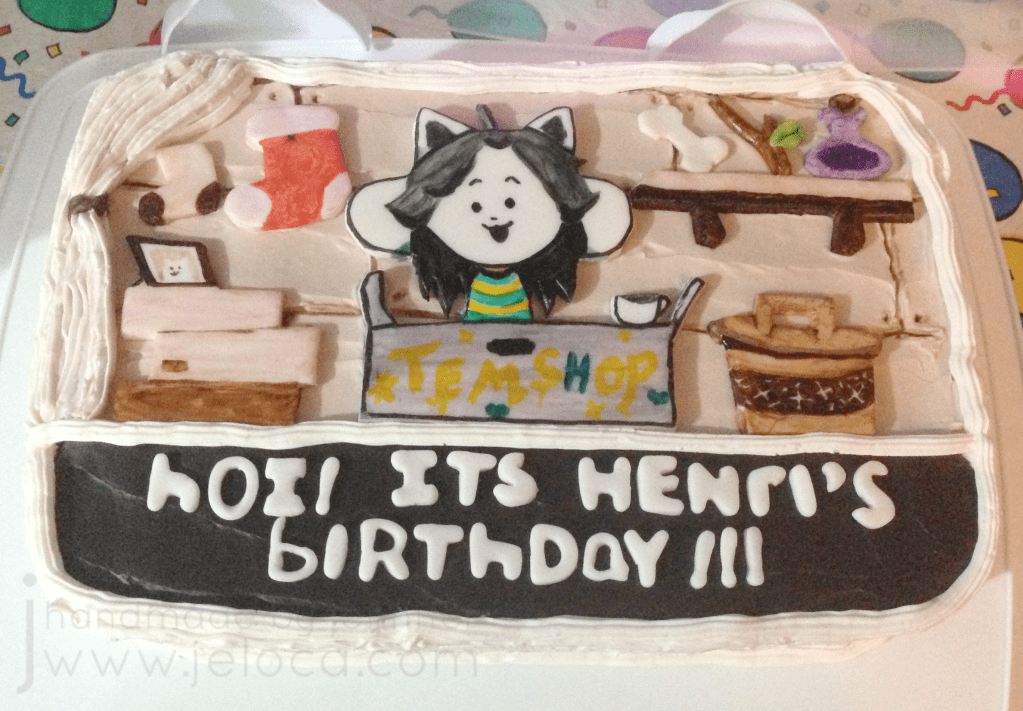
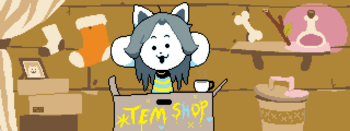
- Henri’s 8th birthday – Undertale Tem Shop cake
- Henri’s 9th birthday – candy cake (family party)
- Henri’s 9th birthday – Neko Atsume Snowball cake
- Henri’s 11th birthday – The Legend of Zelda BotW Master Sword cake
- Henri’s 12th birthday – Among Us cupcakes