Most popular during the height of the pandemic, Among Us is back in the spotlight again thanks to one of the opening scenes in Glass Onion – the fantastic sequel to 2019’s Knives Out. Even Game Theory is “amongst thou”* with the trend so I thought it was the perfect time to share this easy fondant DIY on how to make your own set of colorful crewmates.

As I’ve said so often before I love to start with a template. It’s best to know exactly what size you’re working with so I measured the diameter of my cupcake tin and made sure to fit my crewmate sketch into the available space.
The crewmates are distinguished by their distinct colors so this is a great opportunity to use up leftover bits of tinted fondant from previous projects! With the exception of black which I’d purchased pre-tinted, all my other colors started as white fondant and were tinted with either Wilton gel pots or Americolor squeeze gel colors.
I rolled out a small ball of each color using my leveled fondant roller to keep the thickness of each piece the same. I didn’t bother getting out my fondant measuring mat for this one as the individual pieces were so small – instead rolling and cutting directly on my indispensable clear cutting boards.

Each piece was cut out with my fondant knife, making sure to flip the template halfway through so some crewmates would be facing the other way.
Yes- you can cut them all the same way and then flip some later. I find that there’s a slight bevel on the cut edge whereas the table-side edge is usually more sharp. Both edges are equally good as the “up” side and so I wanted to be able to use either, depending on how they looked once dried.
After cutting out all the crewmates I made a second template for the visor and cut out one for each little guy. I also cut out a little yellow Post-It to copy one of the game’s “hats”.

After the fondant pieces had air-dried for a day or so I traced the outlines with an edible-ink black marker.

This is how they all looked once traced. I let the ink dry down for a few hours so it wouldn’t smear during handling and then assembled the crewmates using a bit of water and a food-use-only paintbrush as “glue”.

Here’s how they looked complete with my hand for scale.

The little guys are now ready to go on a cake, on cupcakes, or anywhere you’d like! Henri’s 12th birthday was during the pandemic so I went the cupcake route for easy, non-shareable portions for a lunch with our family bubble at the time.

I prefer to add my toppers after the icing has crusted slightly so they won’t leech color from the fondant and risk bleeding edges. If you find the toppers won’t stay put a drop of water in the center will do the trick!
*For the GTLive fans 🙂
Henri’s other birthday treats
- Henri’s 1st birthday – football cake
- Henri’s 2nd birthday – The Wiggles cake
- Henri’s 3rd birthday – Dora and Diego cake
- Henri’s 4th birthday – Jake & The Neverland Pirates cake
- Henri’s 5th birthday – Skylanders cookies & cake topper
- Henri’s 6th birthday – Minecraft plains biome cake
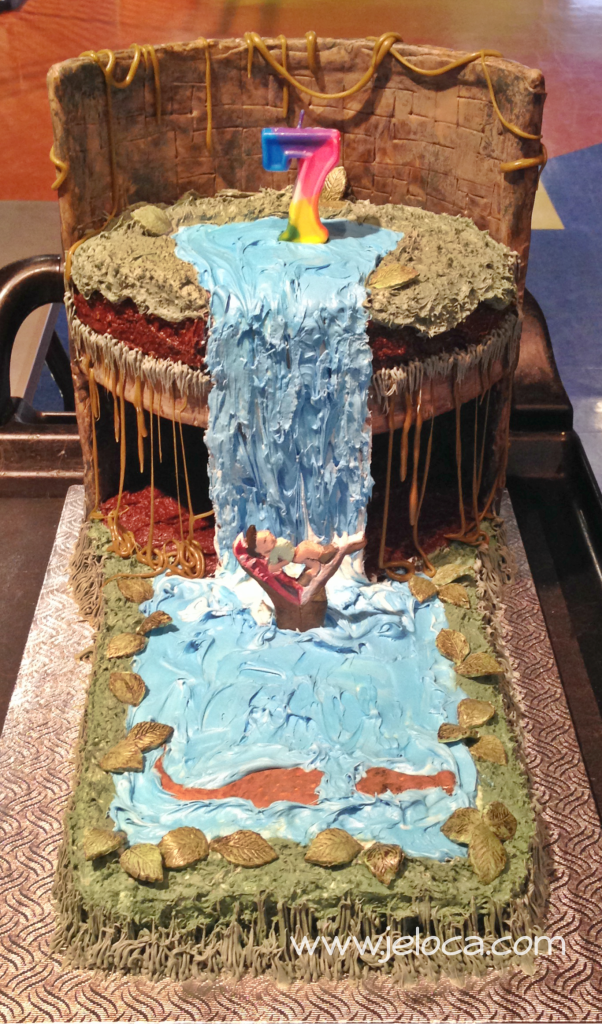
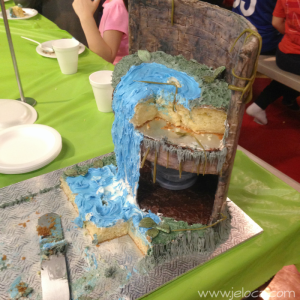
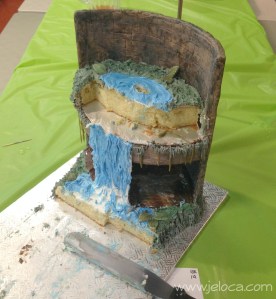
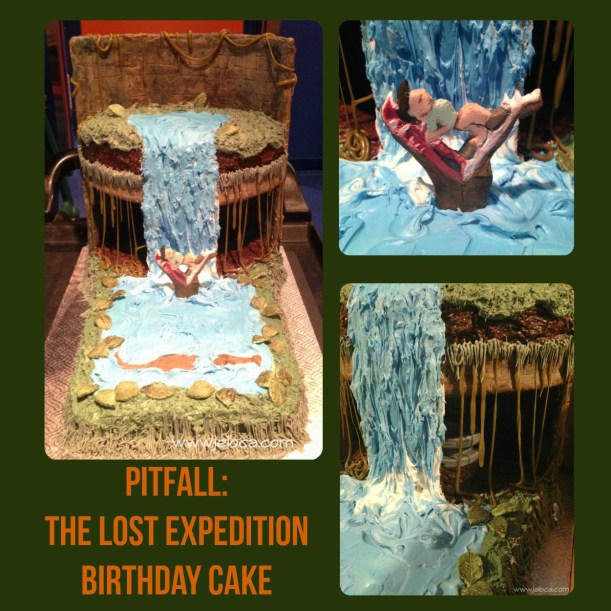
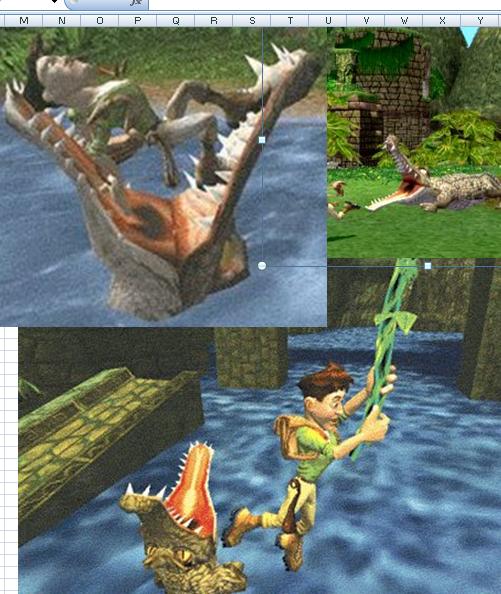
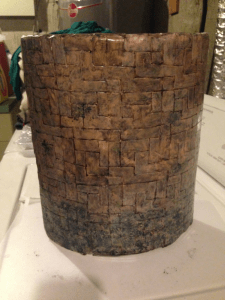
- Henri’s 7th birthday – Pitfall: The Lost Expedition cake
- Henri’s 8th birthday – Undertale Tem Shop cake
- Henri’s 9th birthday – candy cake (family party)
- Henri’s 9th birthday – Neko Atsume Snowball cake
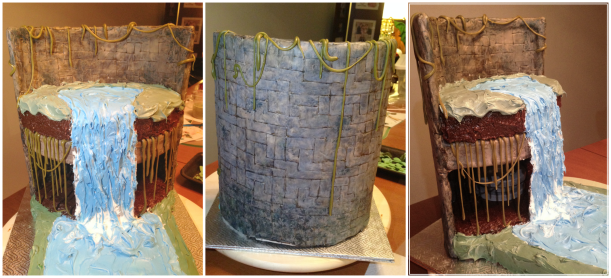
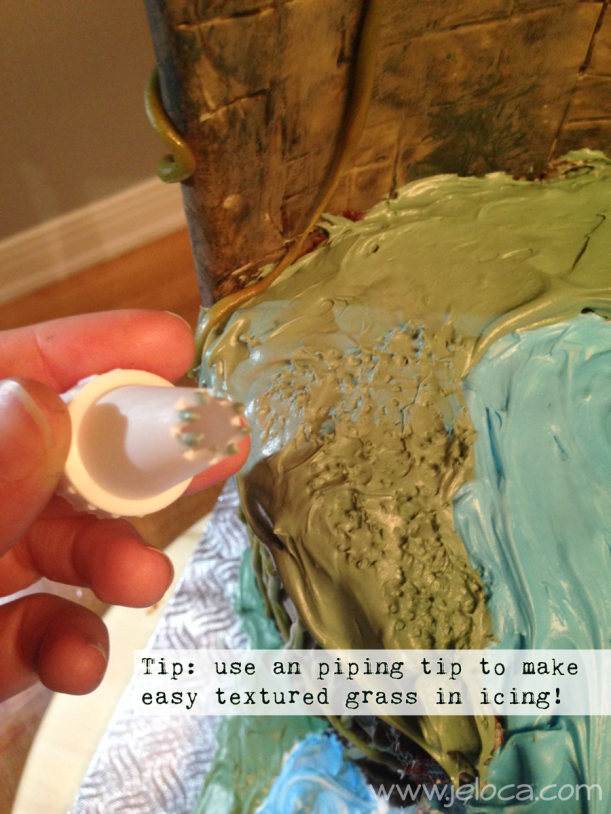
- Henri’s 10th birthday – Fortnite Loot Lake cake
- Henri’s 11th birthday – The Legend of Zelda Master Sword cake