It’s World Creativity and Innovation Day so today’s post is a round-up of previous posts that I feel incorporated some outside-of-the-box thinking!
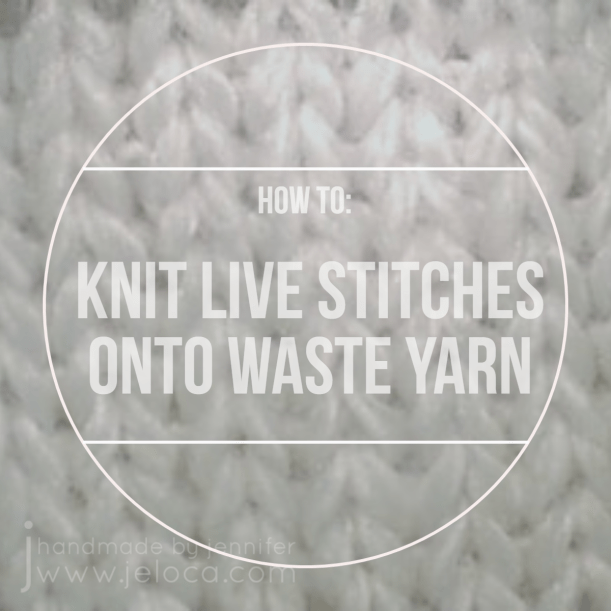
Ever need to transfer live stitches to waste yarn but can’t find your tapestry needle? No problem! Here’s an easy way to “knit” the live stitches over so you can keep working on your project.
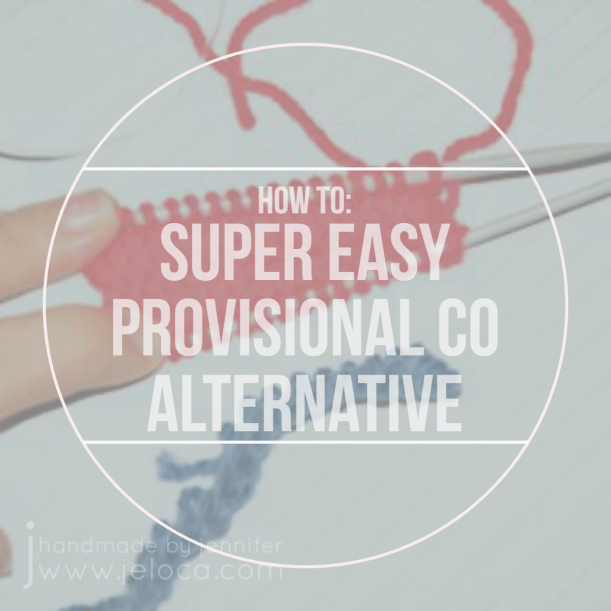
If you find standard provisional cast-ons too difficult, here’s a super easy way to get your knitting started. No extra tools required!
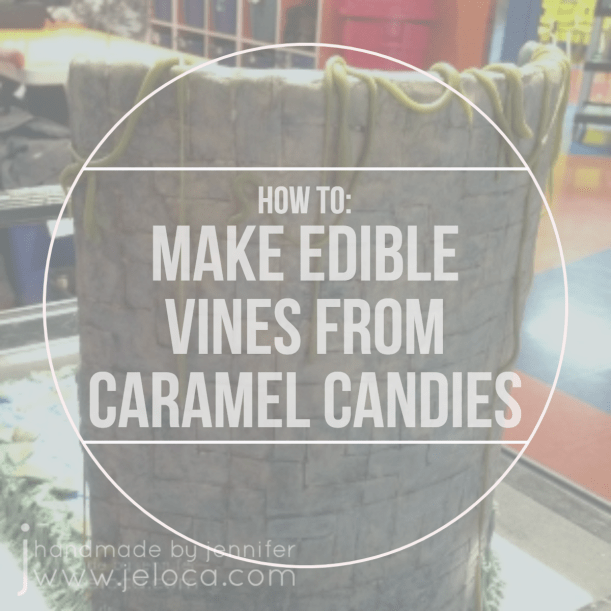
Here’s a neat trick for making thin vines/ropes for use in decorating your cakes or cupcakes. They’re flexible, stretchable, and edible!
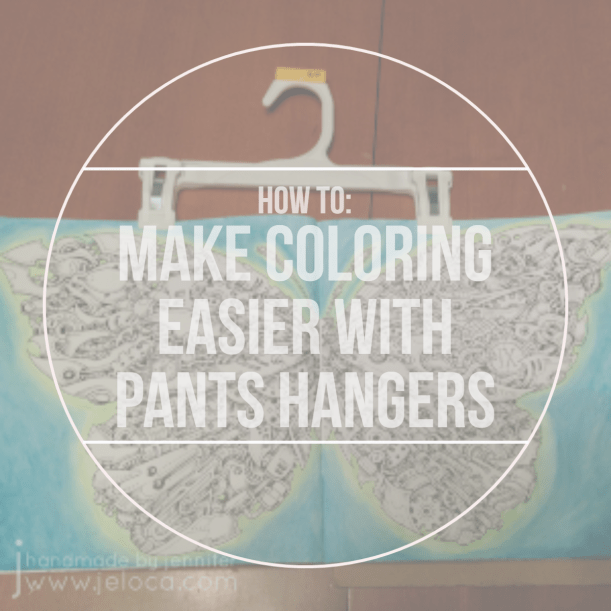
Here’s a hands-free way to hold your coloring books open!
Not getting the look you want with colored pencils in your adult coloring books? Here’s a great way to add more tooth to the paper.
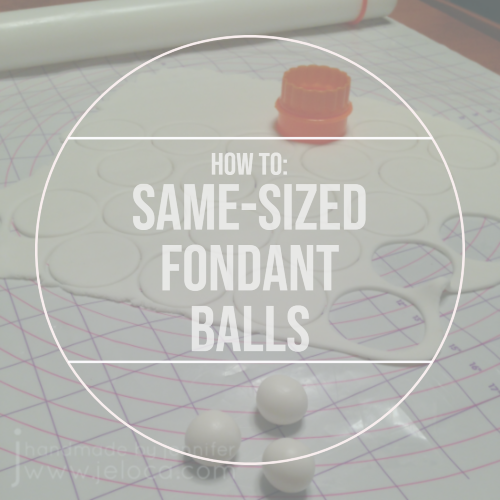
Are your fondant balls/pearls coming out all different sizes? Here’s a super easy hack to get identical ones, every time!
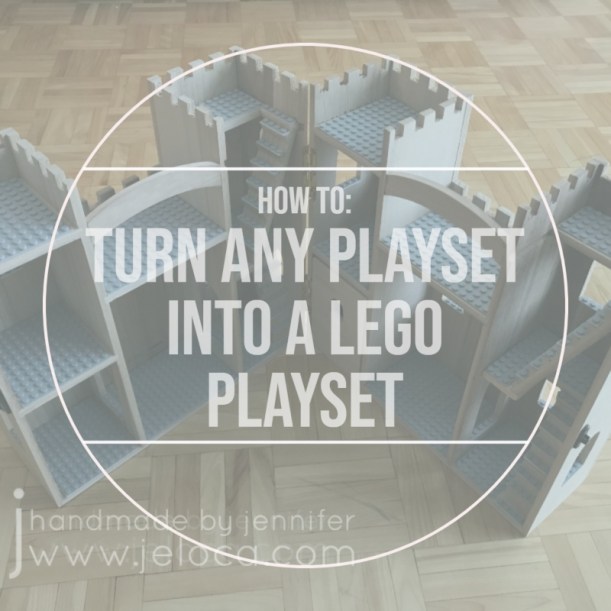
Here’s a simple way to give a plain toy new life and make it work with your LEGO pieces.
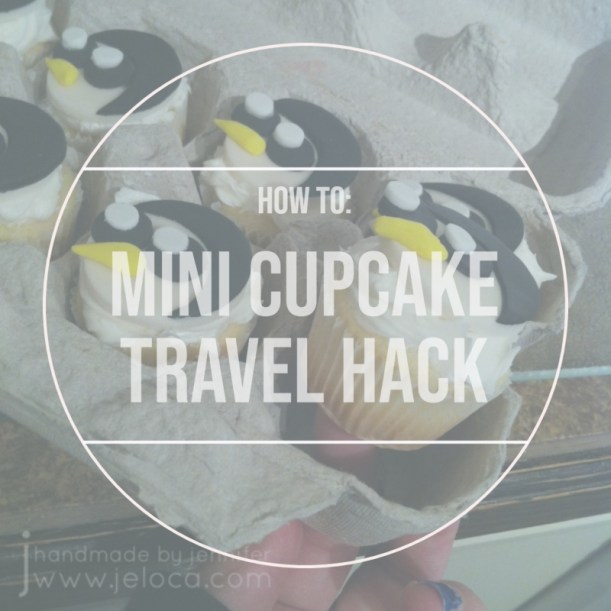
Finally, for when you want to provide homemade, individual snacks, here’s a free & easy way to transport mini cupcakes by repurposing something you’ve probably already got on hand.
It’s National Cake Decorating Day today so I’ve decided to share a project from my personal archives along with a tip to help you level up your cake decorating skills.
A few years ago I made this baby shower cake for one of my sister’s friends.
I didn’t take too many progress pictures so I can’t share a visual step-by-step, but the process is pretty similar for most of my cakes. A few days before the event I bake the cake(s) and then wrap them in saran while still warm to trap in the moisture while they cool down.
The step that took the longest with this cake was to create the fondant topper. The dad-to-be is a hockey player so I was asked if I could create a baby ice skate for the top. It’s fully fondant except for the lace, and I made it about a week in advance so it would have plenty of time to dry out and harden before the party. I wanted the skate on a long skewer to make it easy to slide securely into the cake after delivery so I put the skate and blade together while soft so I could slide the skewer in and make sure the holes were lined up, but then I took them apart to dry separately. I didn’t want the weight of the skate to distort the blade before it was fully set up.
When there is going to be a lot of weight on a cake it’s important to have enough support in the lower layers so the cake doesn’t sag. First I covered the lower layer in a base of baby blue and then I broke a dowel into 5 pieces to create a support to hold the weight of the upper tier. I didn’t want to take a chance on any splinters getting into the cake so there’s a cut length of straw around each dowel. I also made a note for the recipient letting them know how many supports there were so there would be no chance of a guest receiving more than they bargained for on their plate.
I don’t have progress pics of the decoration itself but it’s fairly simple – the base tier was covered in strips of fondant in various shades of blue and white and then topped with a disk of gray on top to clean up the edges and hide the supports. The top tier was covered with white fondant and then fondant circles of blues and gray in assorted sizes. To get the smaller circles I used an assortment of cookie cutters as well as straws of varying thicknesses.
This is where the tip comes in! When creating a fondant pearl border for the cakes the easiest way to make sure you get all your balls the same size is to use a cutter to cut out identical pieces of fondant before rolling. You can use a straw for really small pearls or a cookie cutter like I did to get larger ones, or any size in between! It’s super fast and easy and eliminates the guesswork of judging how large a piece of fondant you’ll need to roll. You can use the same tip for clay work as well!
As you can see with my pearls, there’s still a tiny bit of variance. This is because I didn’t roll my fondant to the same thickness each time. I’d advise using guide rings on your fondant roller to get the same thickness every time.
I added 2 more circles of blue on top to give a contrast for the skate, and then the cake was ready for pick-up.
My box wasn’t tall enough for the cake so I used 2 skewers to hold the lid in place, and set the skate in a bed of paper towel in the plastic container from a package of strawberries. The holes in the plastic were perfect to slip the skewer that was inserted in the skate through.
Here’s the finished cake. I’m really pleased with how it turned out!
I also really love this image I was sent of the cake in place among the other desserts at the shower. ♥
Here’s an easy-to-pin reference image for those who don’t already follow me on Pinterest. 🙂
Hopefully this little trick will help out the next time you’ve got to make a whole bunch of identically-sized fondant (or clay) balls!
Note: Today is also World Mental Health Day. This year’s Mental Health campaign is focused on showcasing the efforts various countries have made to bring mental health care to their populations, especially during the pandemic. For more information about the campaign, please click here, and if you’d like to donate to the World Federation for Mental Health you can do so here.
This post may contain affiliate links. This means I might make a small commission on purchases made through the links, at no cost to you.