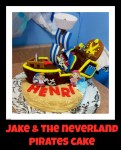
Yesterday I mentioned a few cakes that I haven’t actually ever posted. This Jake & The Neverland Pirates cake is one of them.
Way back in 2013 Jake & the gang were favorites around here, both the toys and the show. “Aw, coconuts!” was a common complaint, and the Sharkey & Bones cd was on constant loop in my car. I can still sing them in my sleep.
Anyhoo… in 2013 Henri turned 4, so of course he wanted a Jake cake.

Now back then I wasn’t really thinking of the cakes in relation to the blog, because I wasn’t thinking of the blog much. And I didn’t think anyone on my Facebook page would care about step-by-step pics… so I didn’t take any. But I can tell you what I did.
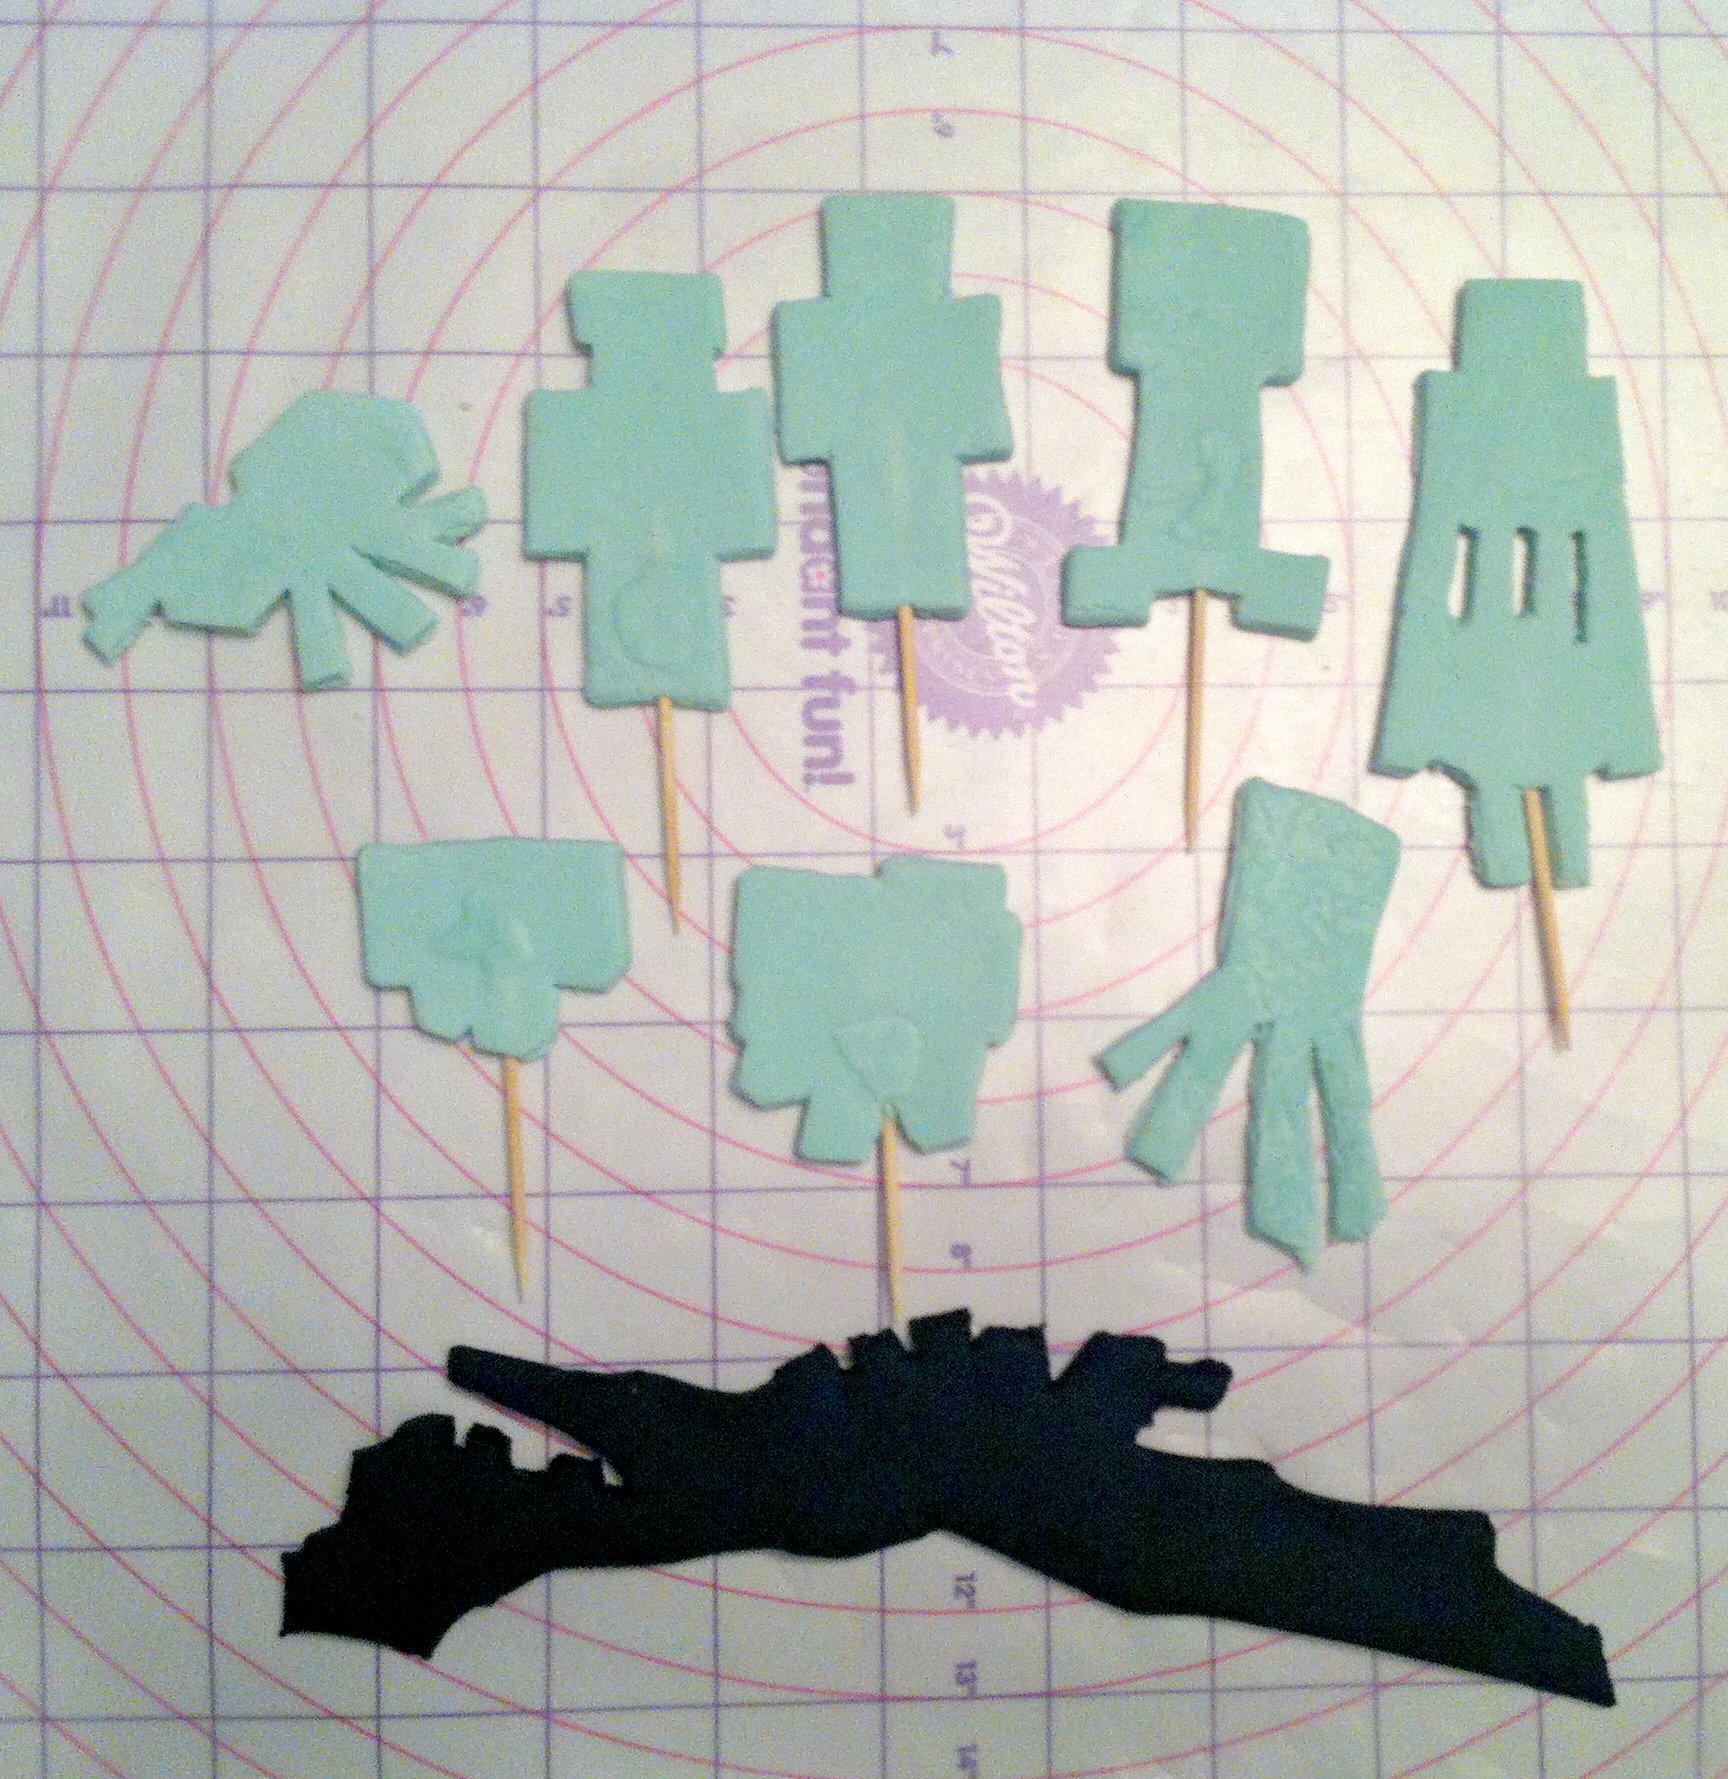
The figures were the first ones I ever hand-painted. I’d been traumatized by my horrible sculpting of the Dora and Diego figures in Henri’s cake the previous year (I can sculpt, not that that cake would show it), and there was no way I was going to start modelling all the Jake gang’s tiny details. So I decided to try painting.
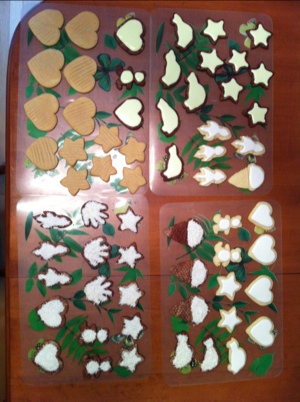
I cut printed images to the scale I wanted and cut them out on ivory fondant (the visible skin tone) the same way you can see here. For painting I used a toothpick and Wilton food gels loosened with a bit of water, and a drop of White White to get the opacity. These figures are small… as you can tell by the toothpicks inside them. If you try it, don’t get stressed if they don’t look ‘right’. Finishing details, like the whites of the eyes and jewelry/touches really make a difference, and they can only often be added once the base layer is dry. Also, no matter how I think they look at 3am when I’ve finally finished… I’m ALWAYS pleasantly surprised the next morning when I look at them again.
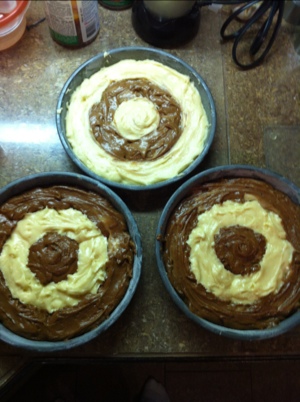
 The cake was another case of “I don’t know what I want to do so I’ll bake the cakes and figure it out later”. I started by baking 3 cakes, a vanilla round and chocolate 9×11 and 8×8.
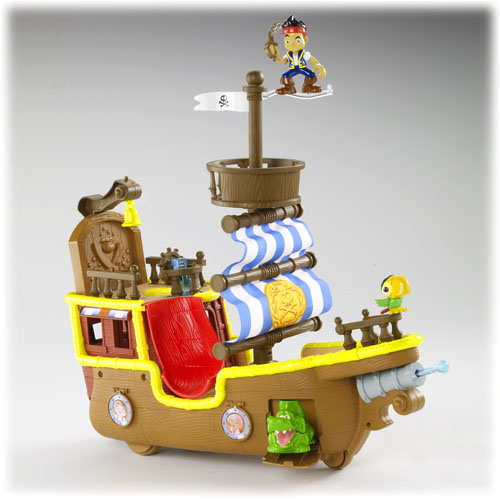
I used this toy ^ as a model for Bucky. Easy enough, since we own it and I could have it on the table next to me.
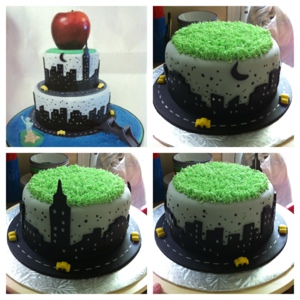
The sand and sea is the vanilla round, torted with buttercream, the ship was made from the chocolate cakes and store-bought chocolate icing.

The accents are all rolled fondant, bought white and tinted to the colors I needed.
I did the “sand” first. After crumbcoating the round I put some fresh vanilla icing over half the cake and quickly covered it with crushed graham crackers. For the sea I covered the other half with a thick layer of blue icing, stopping just shy of the white border. I waited for the icing to crust a bit then chopped up where the white and blue met, for sea froth. (Similar to the top of the Betty Boop cake’s hot tub). The sails are paper flags I made in Excel (for the stripes) and topped with a graphic of a gold doubloon. The crow’s nest is a cupcake/muffin liner. The mast is a straw covered with brown fondant, with some wooden skewers down the center and through the cakes. There’s a disk of fondant under the crow’s nest and a smaller one inside it, to hold it in place.

The cannon is made from gray fondant and also stuck on a toothpick/pressed into the cake for support. There are also toothpicks in the outer 2 legs of each of the 4 railings, and I allowed them to dry for a day before standing them in the cake, so they wouldn’t risk sagging. Finally there was the …what’s that called? Captain’s area? (lol). If you notice in the above pics, that’s the one piece that’s not in place elsewhere. That’s because that solid plaque of fondant was so darn heavy that when I set it in place it made the whole back of the ship start to slide back. I only ended up adding it at the party, RIGHT before serving… and even with that delay I still had to have my hand hovering behind it as I brought it out, so it wouldn’t fall.
I also waited until serving to insert the figures, but that was mostly because I was worried they’d break.
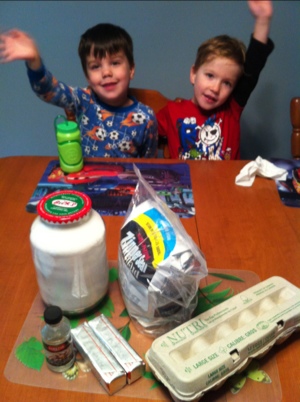
 And of course, the birthday boy and his brother at the party, right before the best part- digging in!
(And you can see my hand supporting the large fondant piece).
By the way- this technique for the figures is really practical if you need to make items in advance. This party was 2 years ago (!) and I had the figures in a tupperware in the back of my fridge until a few months ago, and they looked just as good as they did that day. (I probably wouldn’t EAT them, though…)
—
Throwing your own pirate party? Try these easy pirate craft ideas as party activities or loot bag stuffers!
—
Henri’s other birthday treats
- Henri’s 1st birthday – football cake
- Henri’s 2nd birthday – The Wiggles cake
- Henri’s 3rd birthday – Dora and Diego cake
- Henri’s 5th birthday – Skylanders cookies & cake topper
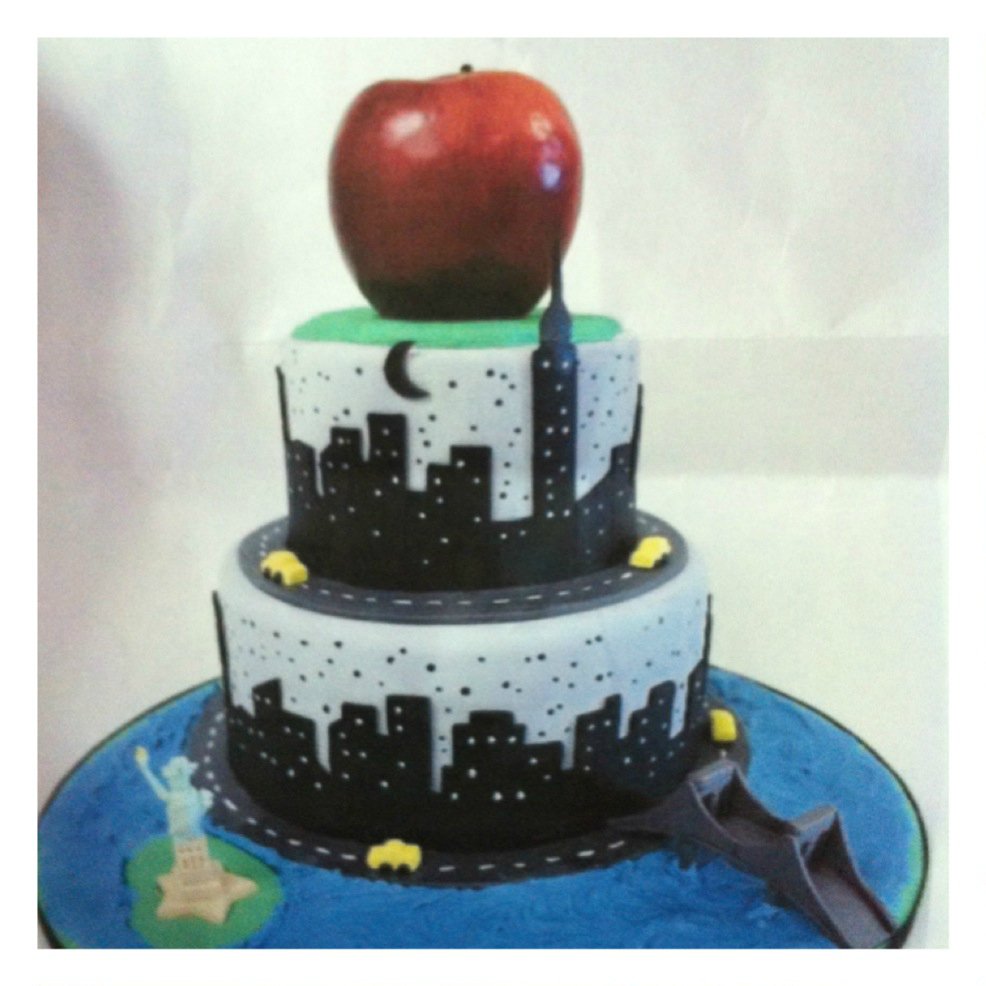
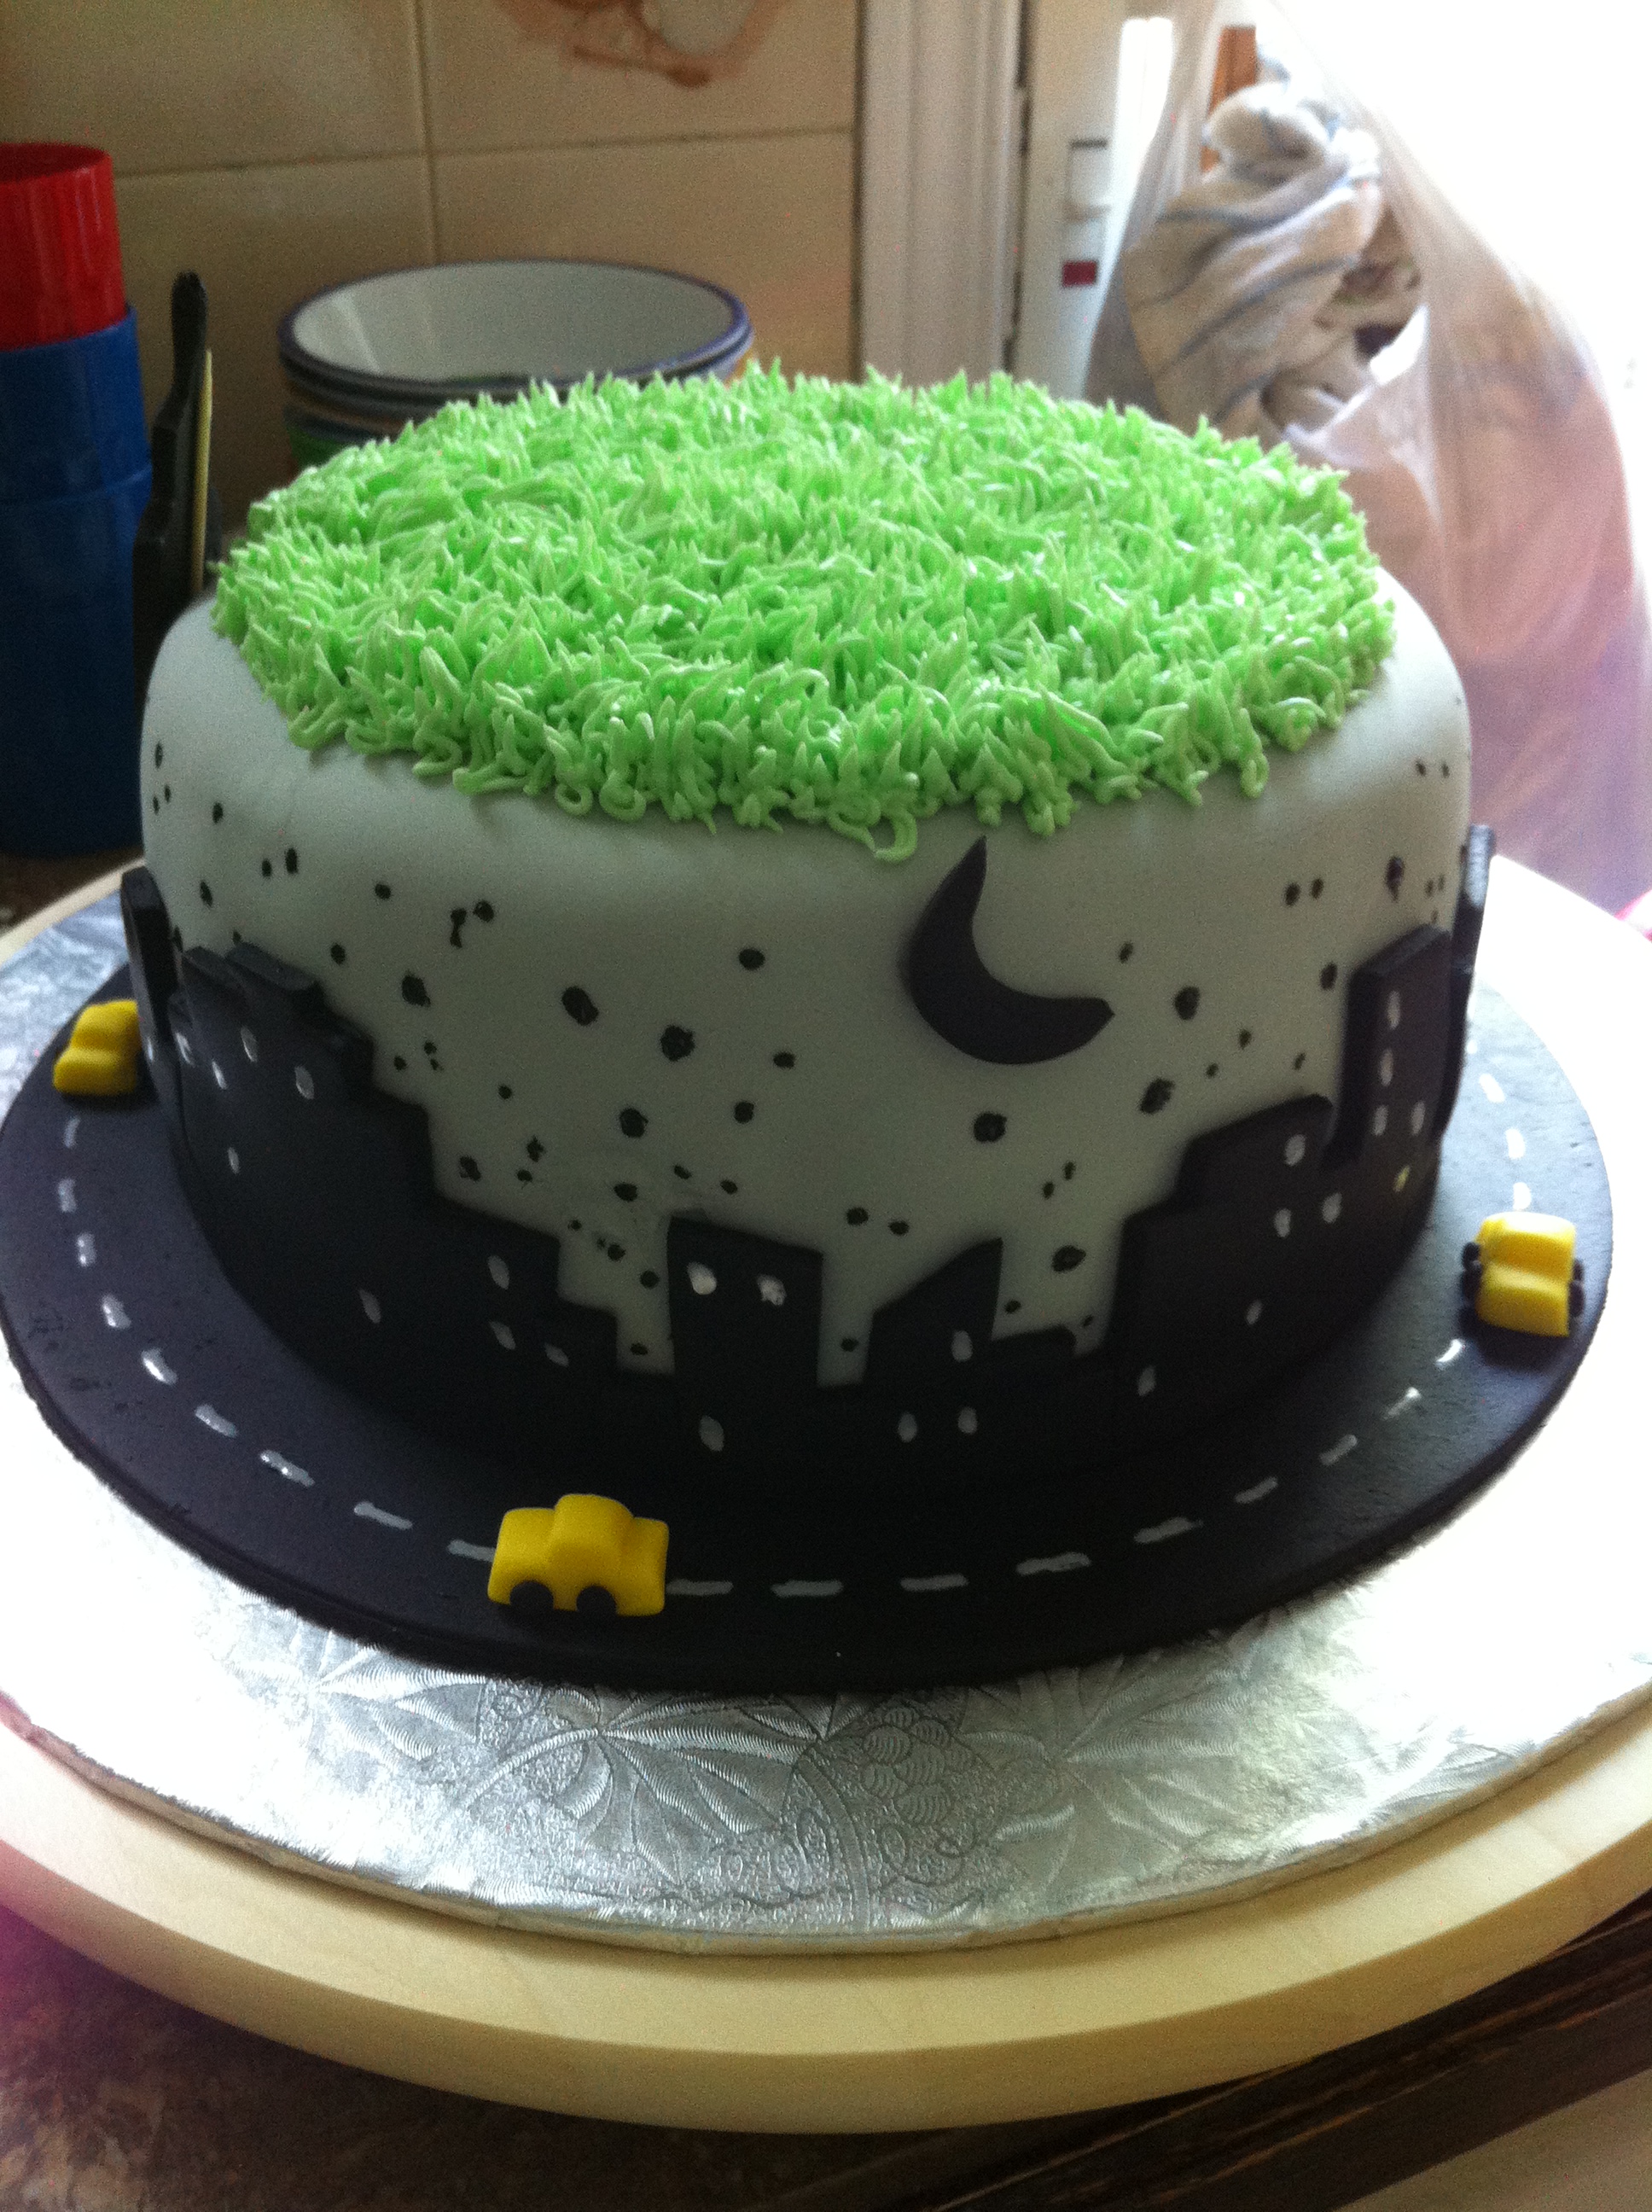
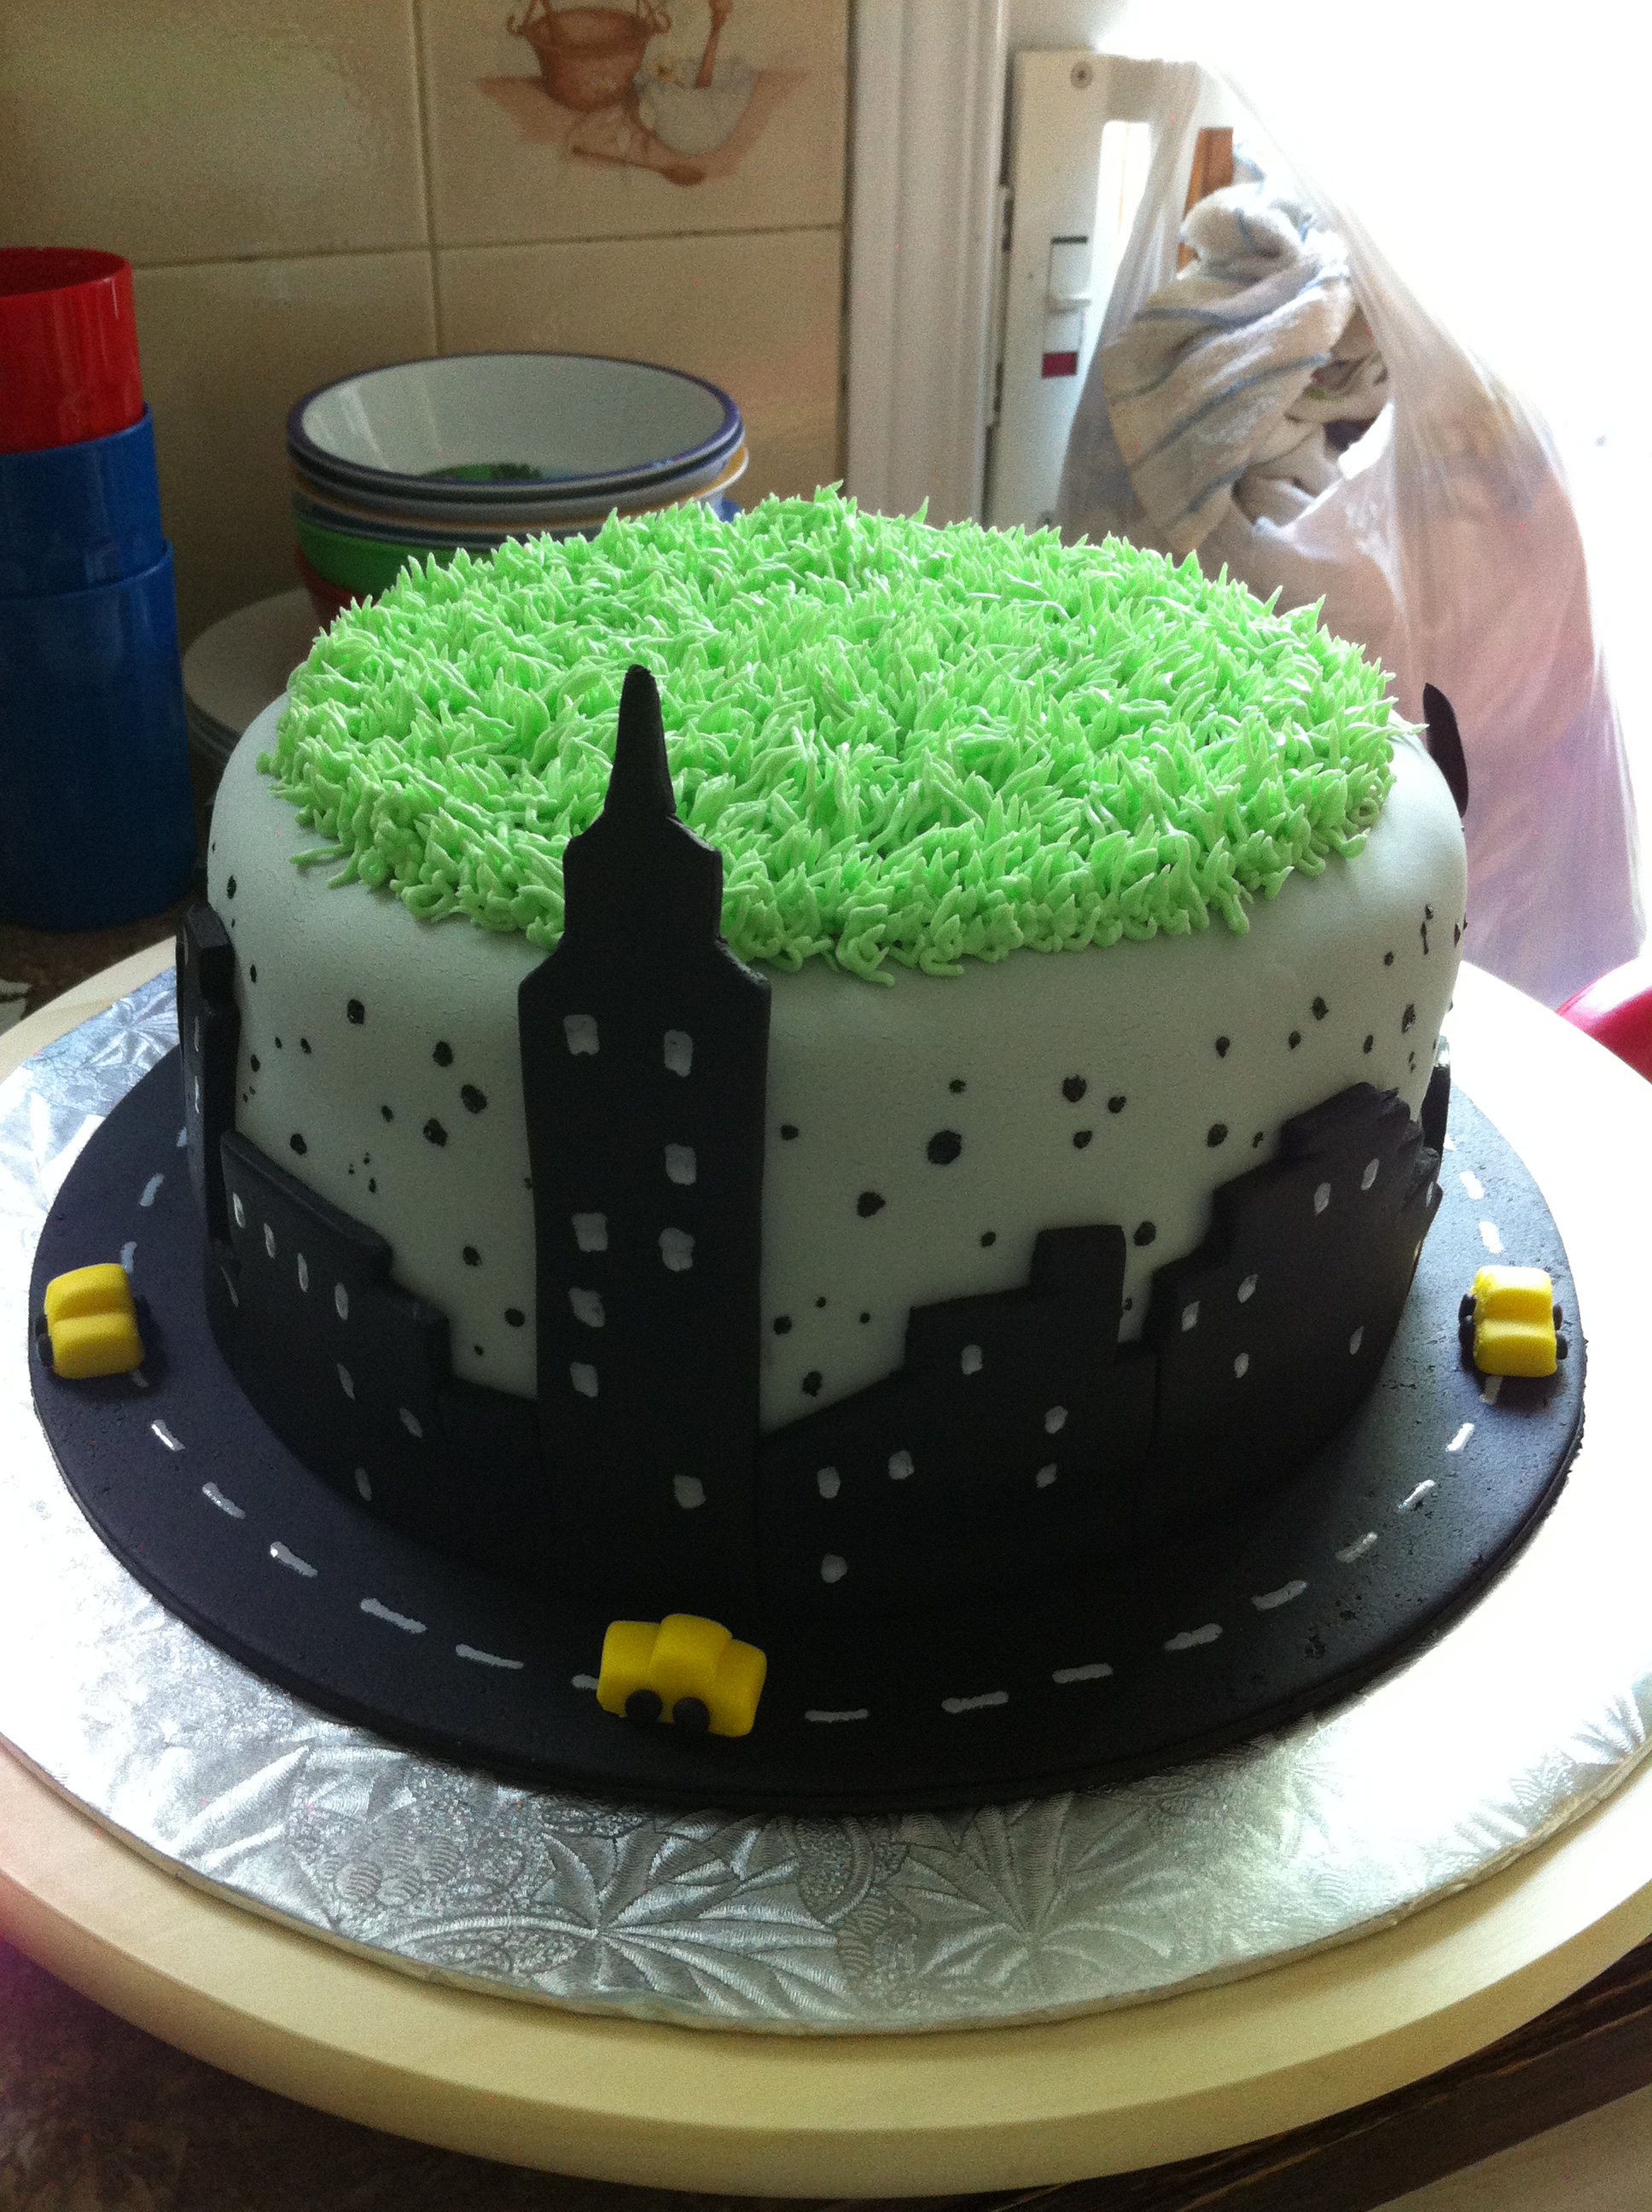
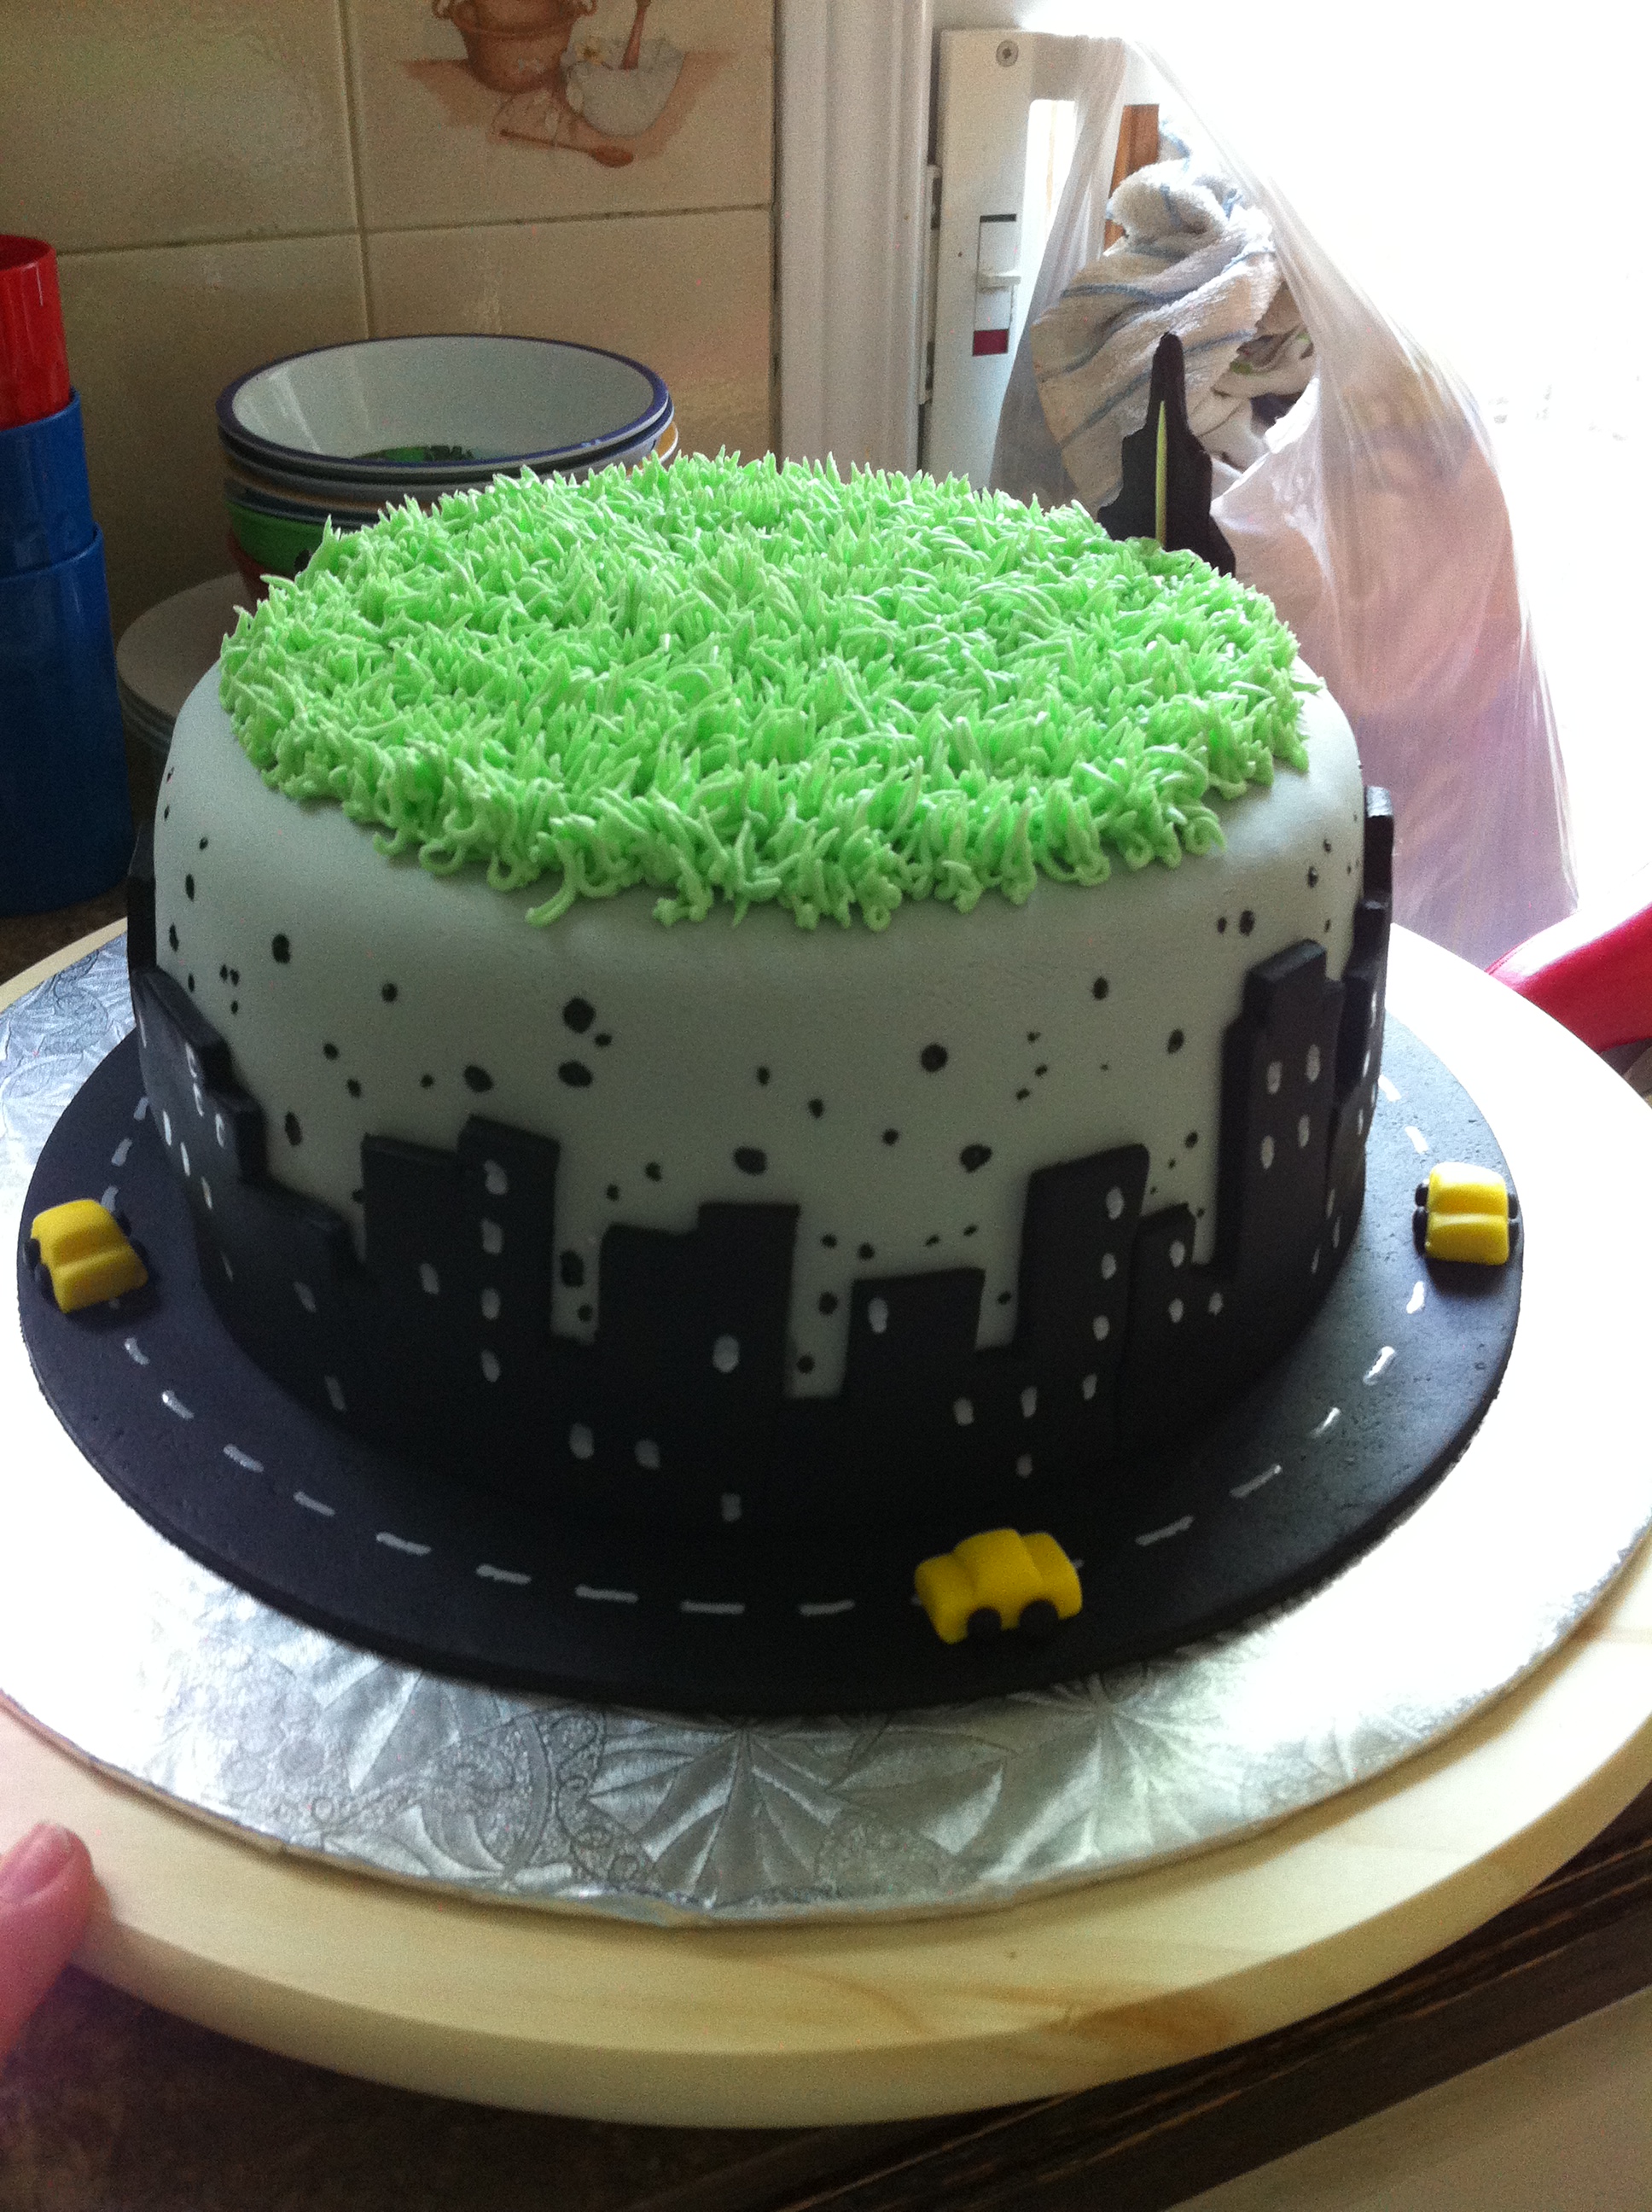
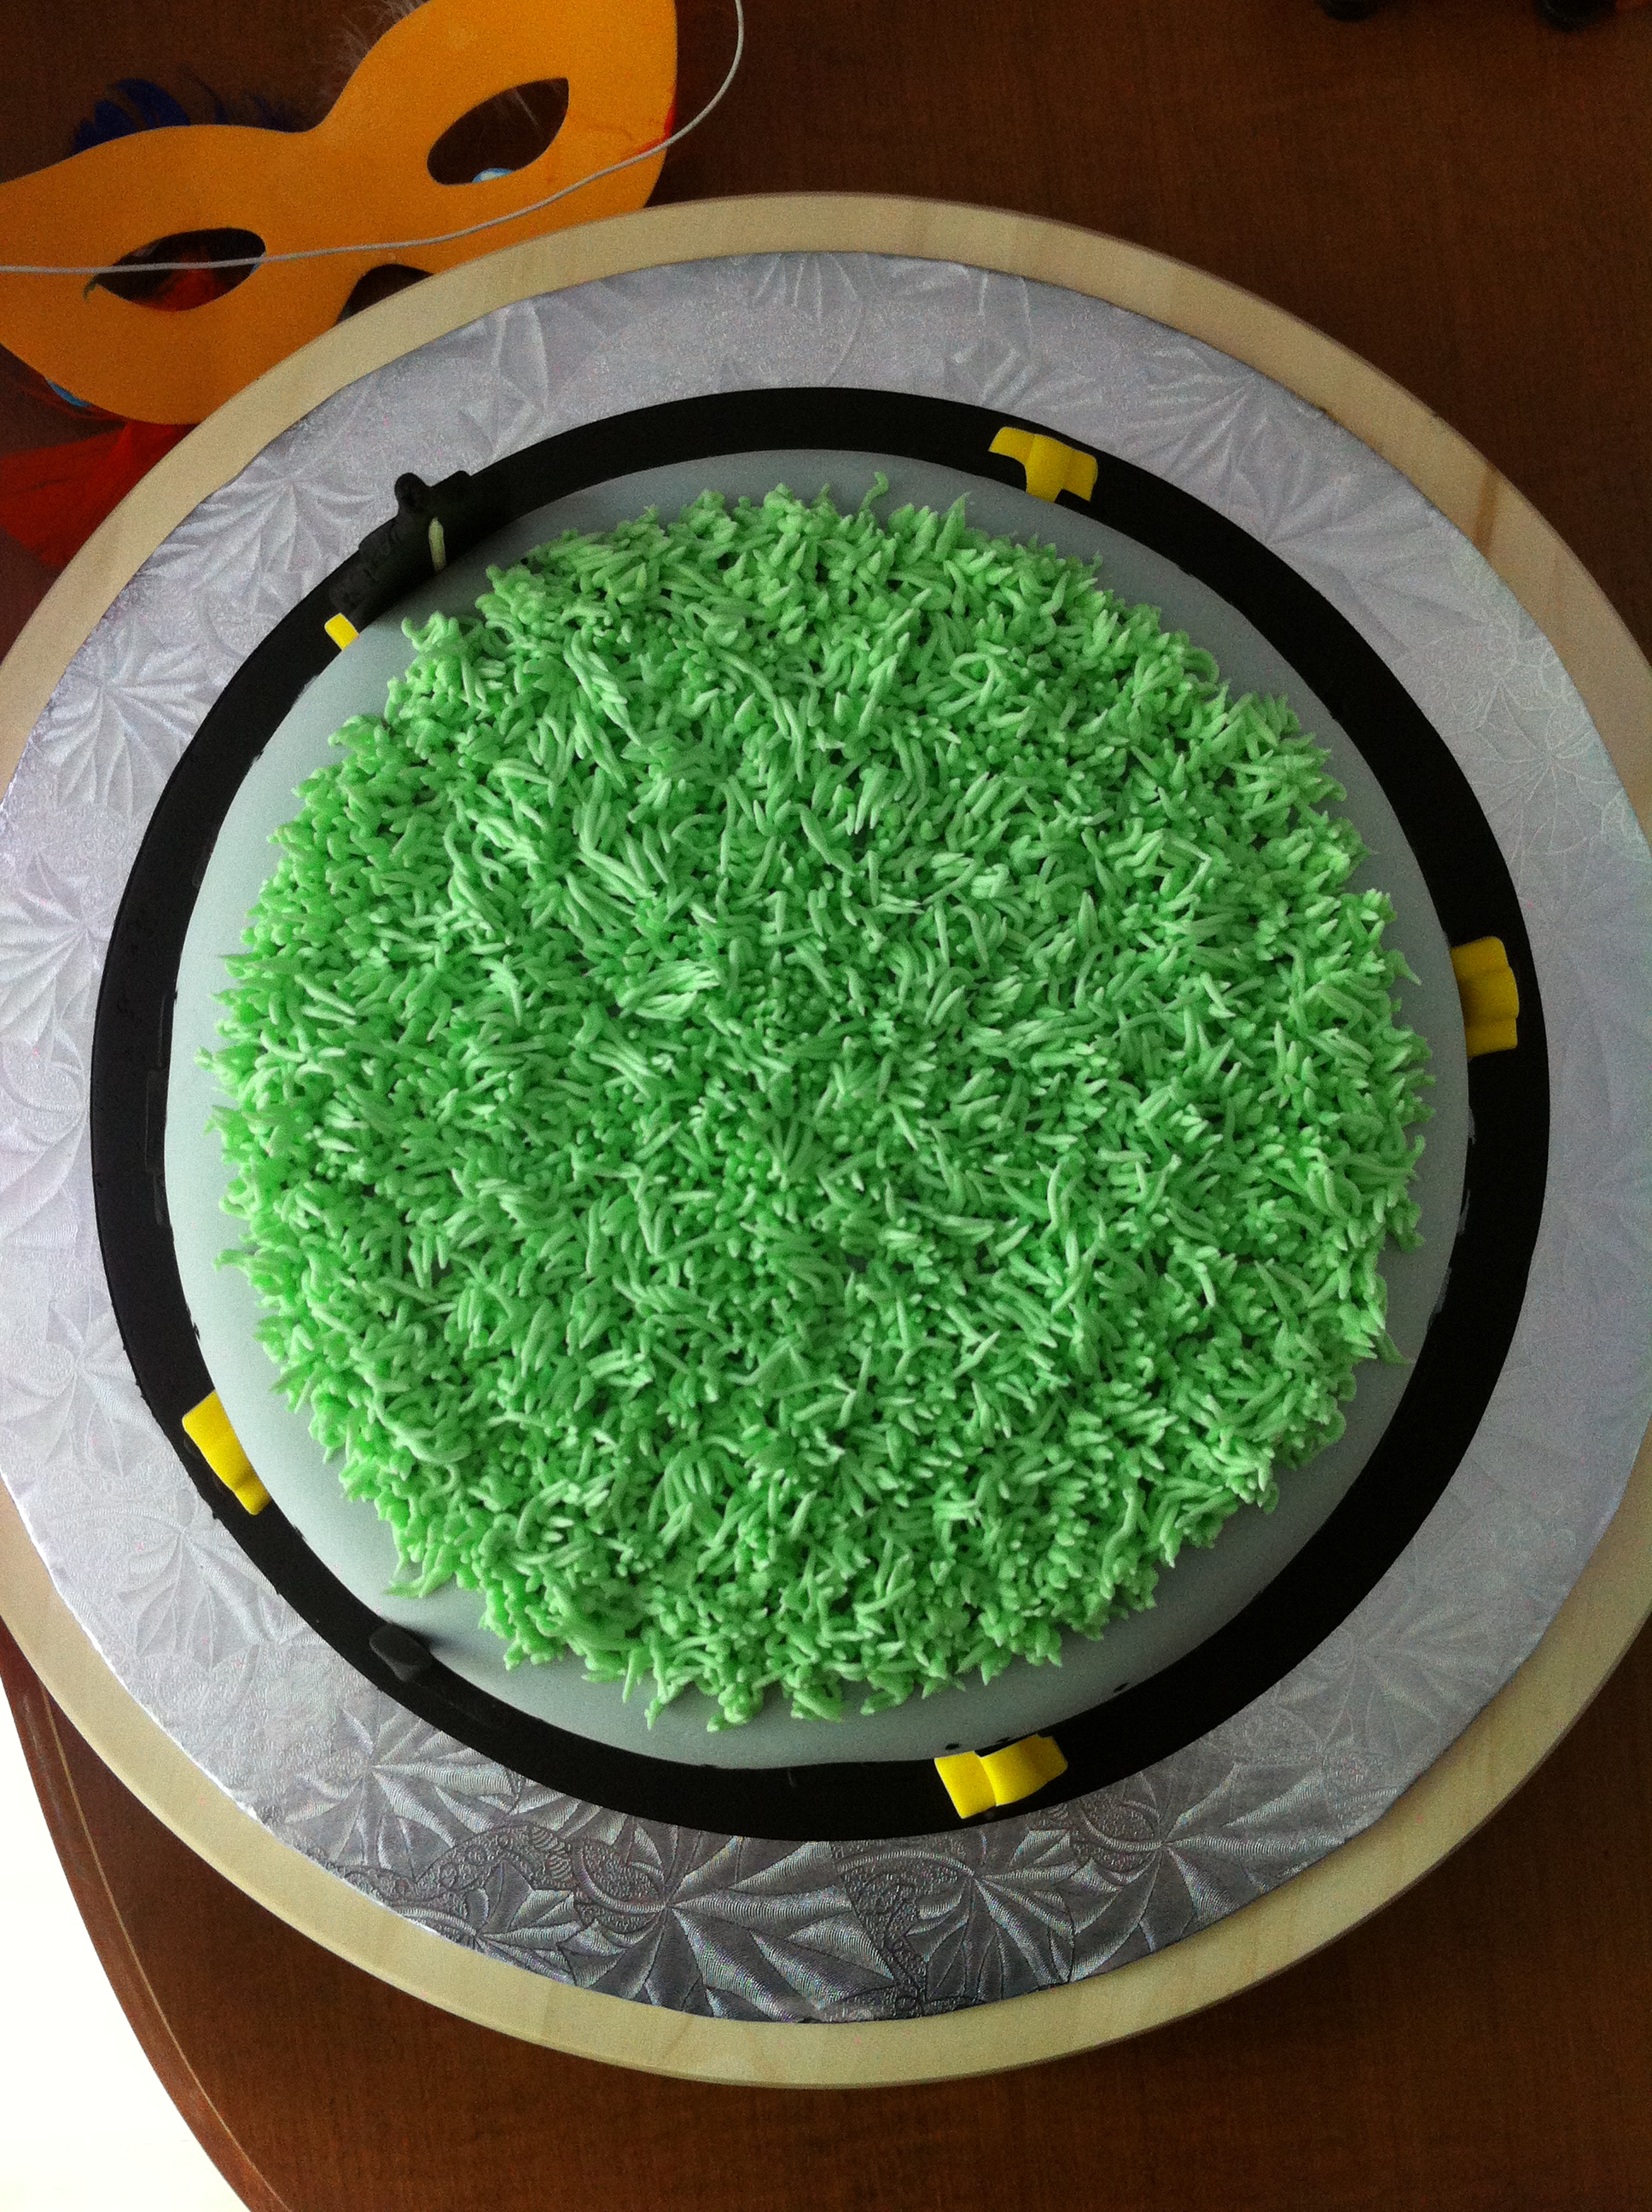
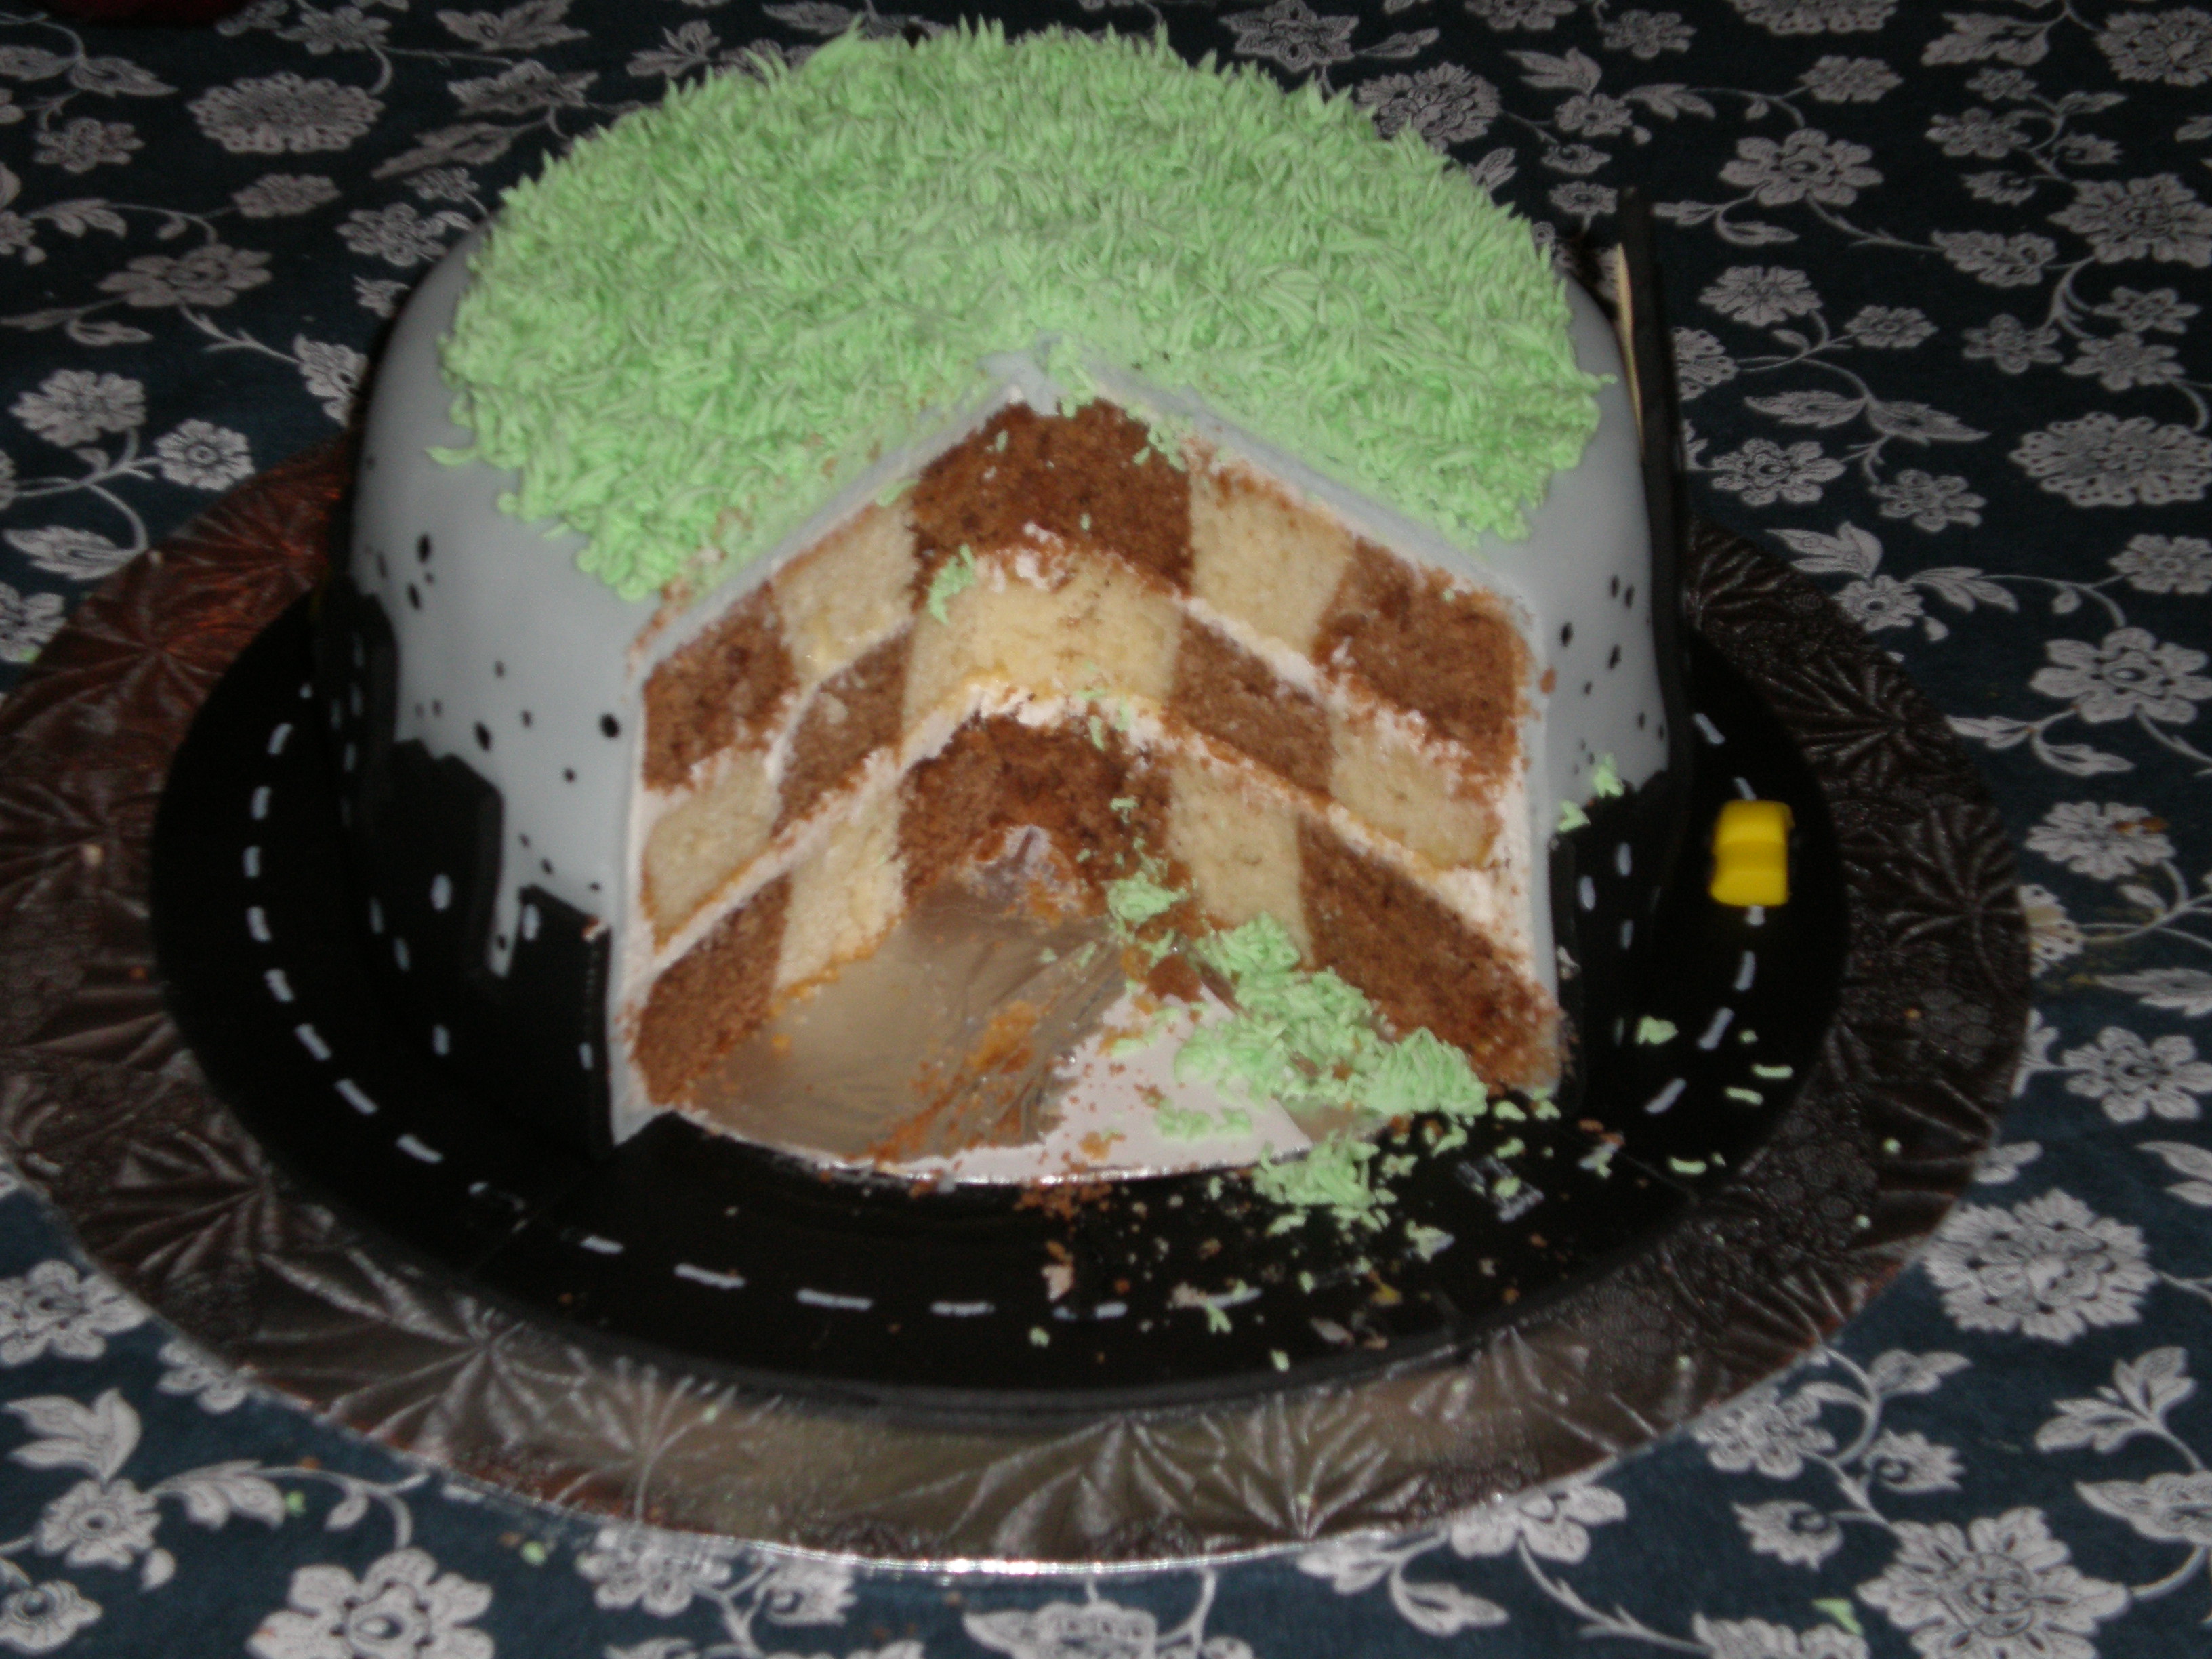
- Henri’s 6th birthday – Minecraft plains biome cake
- Henri’s 7th birthday – Pitfall: The Lost Expedition cake
- Henri’s 8th birthday – Undertale Tem Shop cake
- Henri’s 9th birthday – candy cake (family party)
- Henri’s 9th birthday – Neko Atsume Snowball cake
- Henri’s 10th birthday – Fortnite Loot Lake cake
- Henri’s 11th birthday – The Legend of Zelda BotW Master Sword cake
- Henri’s 12th birthday – Among Us cupcakes