Leave a comment

Cake & Brownie “Sliders” with Cookie “Fries”

In today’s post I’m going to show you the super easy steps to make these yummy cake/brownie mini “sliders” that you can pair with sugar cookie “fries” for this adorable tromp l’oeuil dessert platter. While they’re a fun surprise for any occasion they work especially well for Father’s Day which happens to be tomorrow. Since they can be made with all store-bought supplies they can be whipped up last minute meaning you still have time to make them yourself!

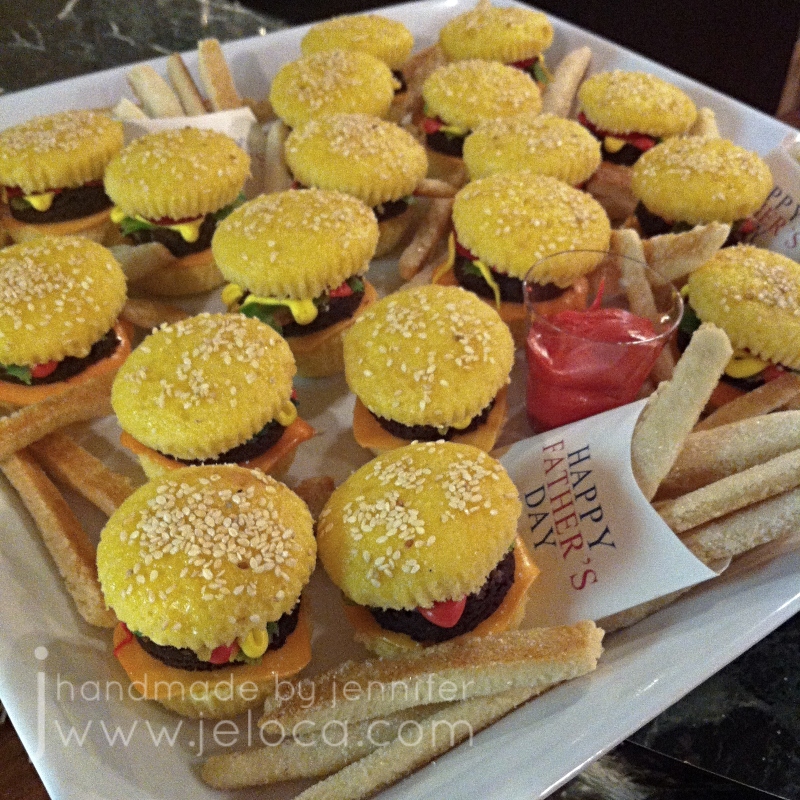
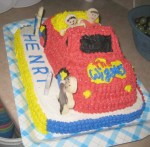
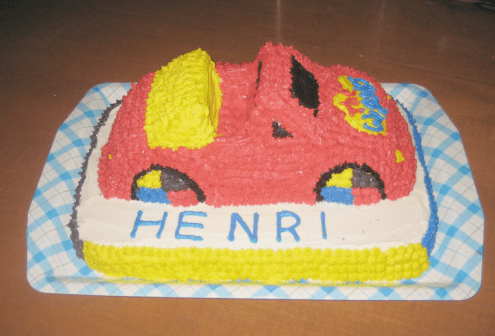
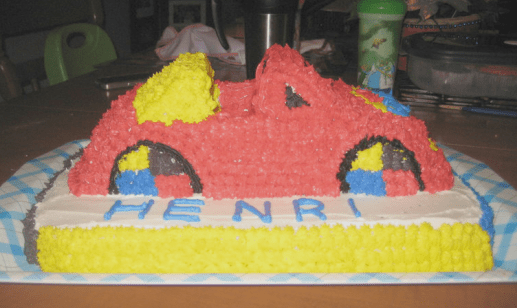
These sweet treats have been around the internet for a LONG time, so this is by no means my idea. I actually got the idea from Bakerella’s blog back in 2009 and made my version pictured here for Father’s Day for my dad in 2014.

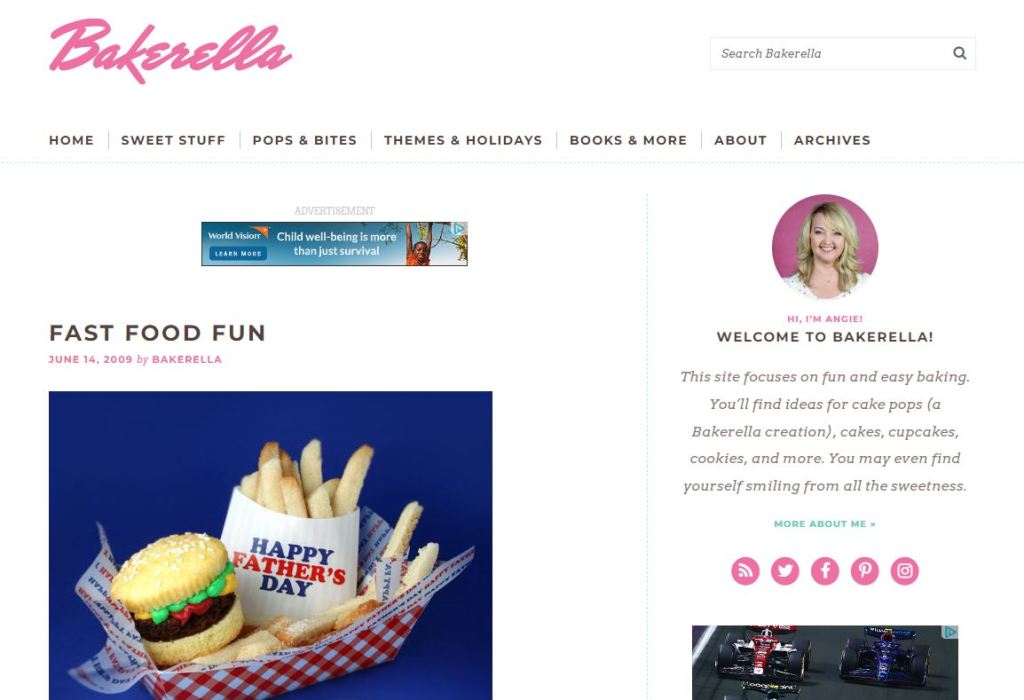
Angie’s original post is linked above, and she reissued it here with updated templates for other holidays and occasions including birthdays, Canada Day and the 4th of July.

Foodstuffs you will need:

  • vanilla cupcakes – “buns”
  • brownies – “burgers”
  • sesame seeds
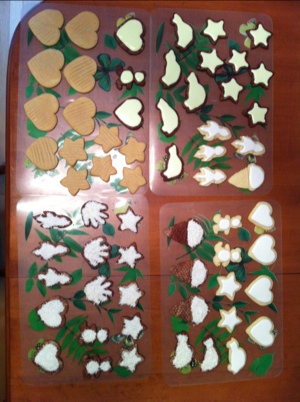
  • sugar cookie mix – “fries”
  • Toppings: (all optional as desired)
    • icing – “ketchup” & “mustard”
    • granulated sugar – “salt”
    • orange starburst (or other taffy-type candy) – “cheese slices”
    • red gummy candy – “tomato slices”
    • green gummy candy – “pickle slices”
    • green candy tape/roll up – “lettuce”
  • Other candies to make any other desired burger toppings

I forgot to take pics of the fries-making process, but you can find the full instructions at the Bakerella blog post. Basically you bake vanilla or sugar cookies (I used Betty Crocker Sugar Cookie mix) and bake the cookies as wide rectangles which you slice into “french fry” strips once baked and then toss in or sprinkle with granulated sugar to simulate salt crystals.

Most versions of the faux sliders start with vanilla cupcakes for the buns and brownies for the burgers.

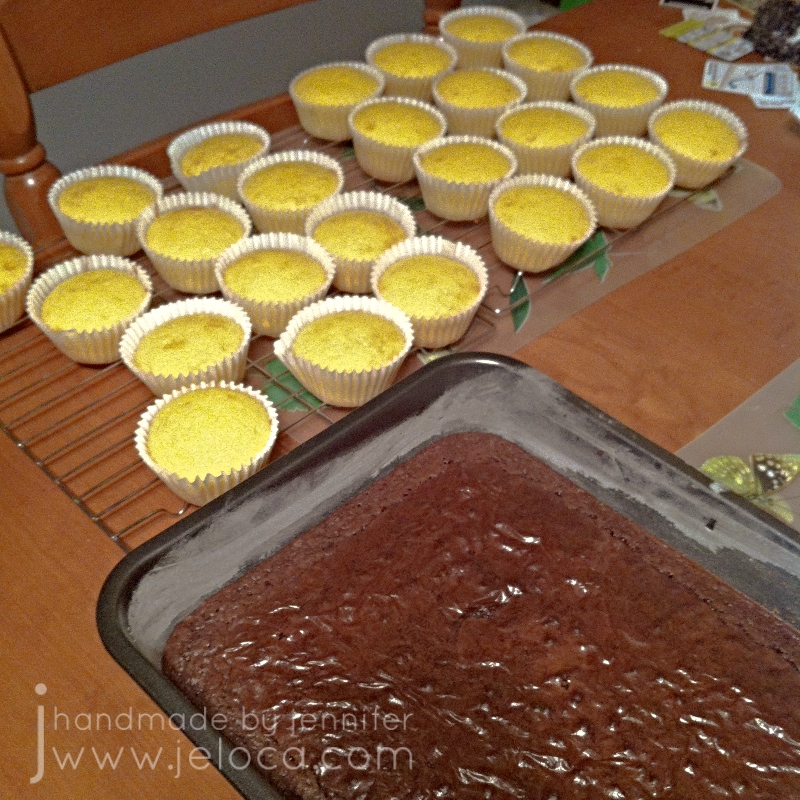
I baked mine using store-bought box mix but you can go an even easier route and purchase ready-made plain cupcakes and brownies to skip this baking step completely. Slice all cupcakes in half horizontally and then use a cookie cutter that best matches the bun diameter to cut burger “patties” from the brownies.

For the burger toppings I’d basically wandered the aisles at my local bulk store looking for candies that could pull double-duty as other foods.

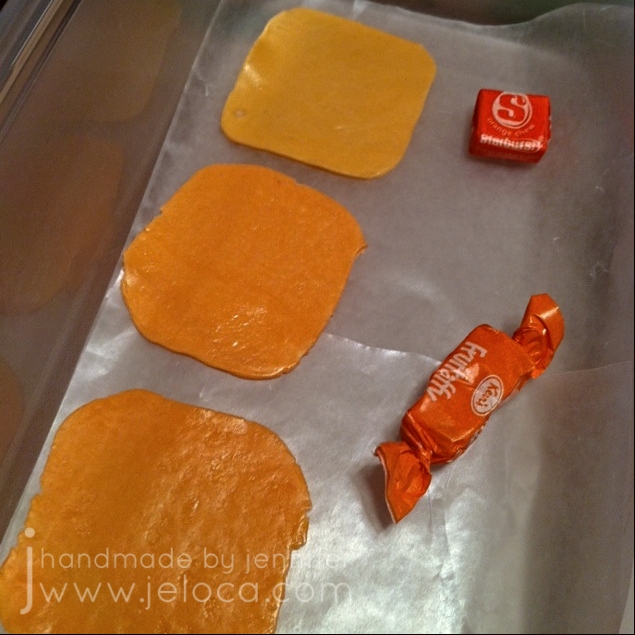
I tested out a few orange taffy-type candies for the cheese slice and in the end went with orange Starburst. Laffy Taffy, Airheads or any other orange taffy that can be rolled flat would also work well. I found it easiest to squish the candy flat and then roll it out between two sheets of parchment paper. You can also use wax paper if necessary, as I did here for storing the candies and keeping the layers from sticking together.

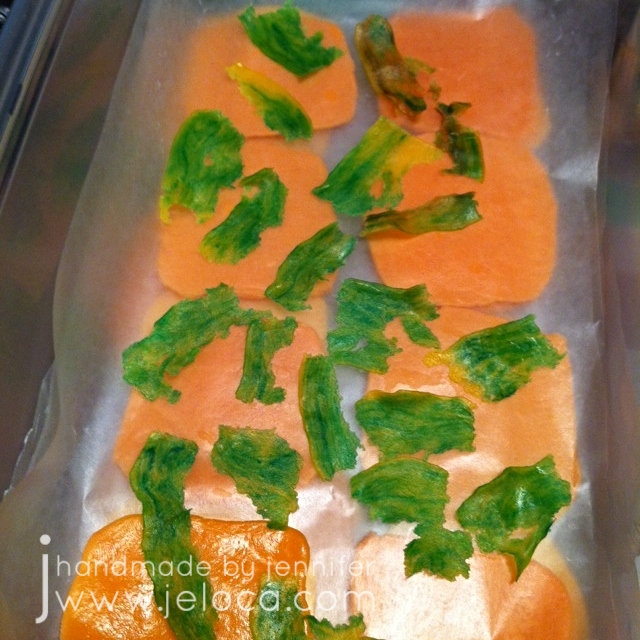
I used the green portion from rainbow Fruit by the Foot to simulate lettuce by tearing it into jagged strips. If you can find an all-green version that would be even better, though my kids didn’t mind eating the other colors that were left over after I harvested all the green bits!

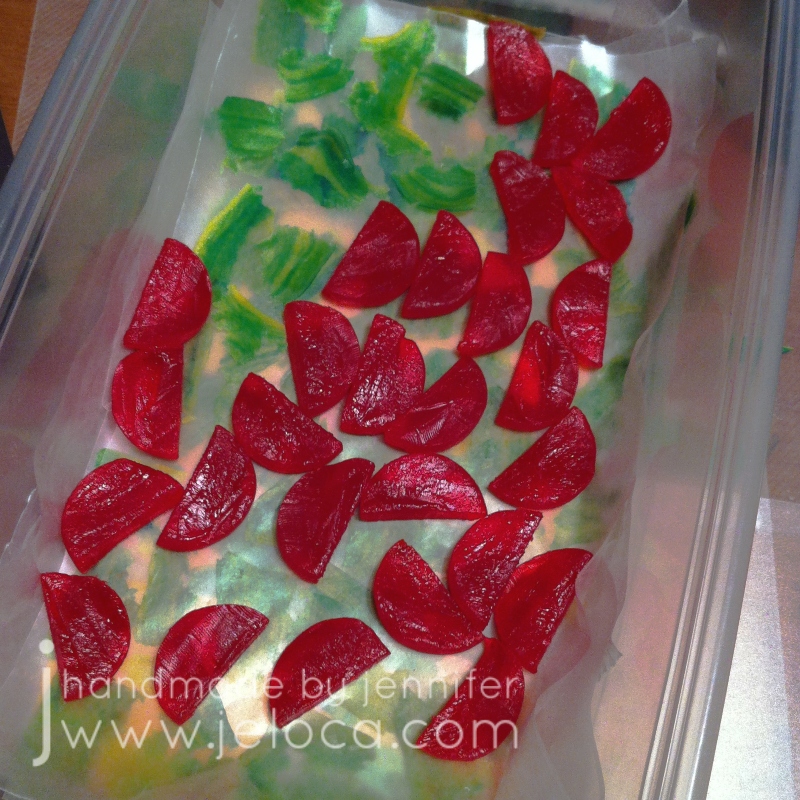
I used red gummy disks for tomato slices, first cutting them in half widthwise to get thinner discs, then I cut those in half again as a full circle of red candy would be a bit much with all the other candy.

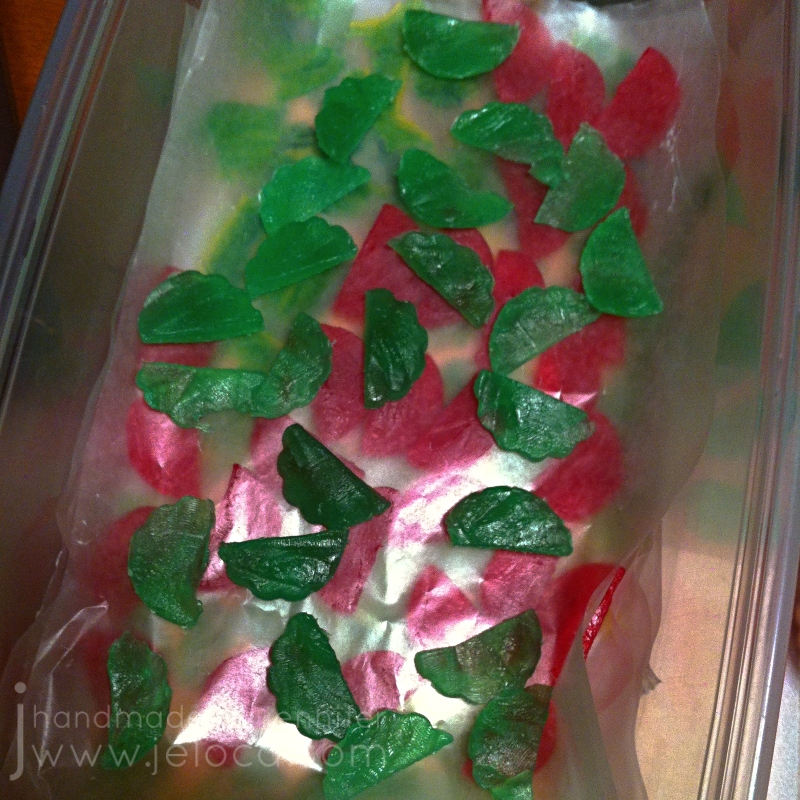
My store didn’t have plain green gummy rounds to use for pickle slices, so I cut up some mint-leaf shaped ones instead.

Once you have all your toppings ready, tint some icing red and yellow to simulate ketchup and mustard, and then assemble your burgers as desired.

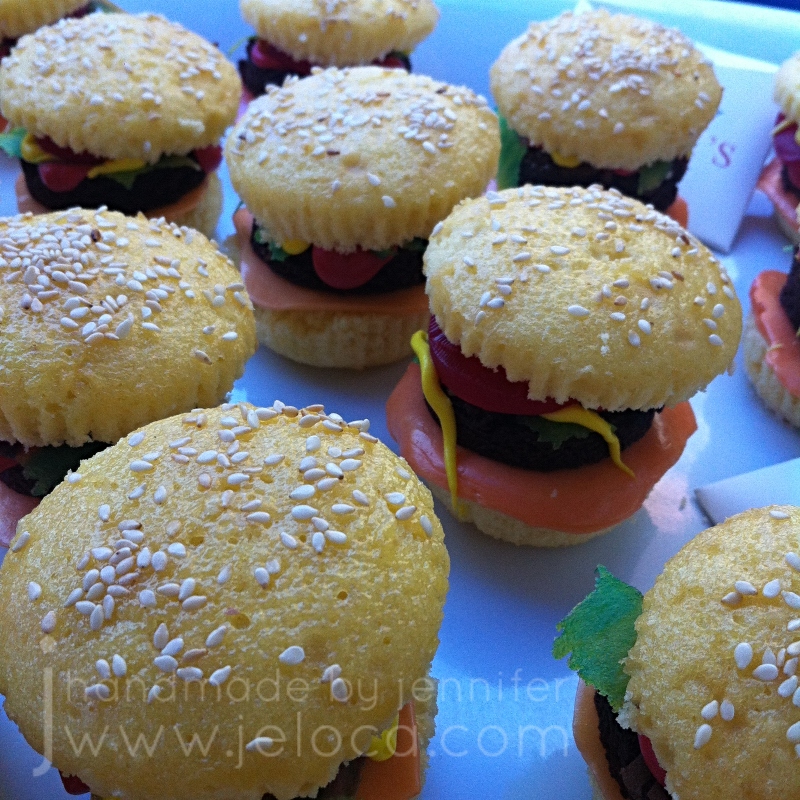
Mine had a slice of “cheese” on the lower “bun”, then the patty, and then tomatos, pickles and lettuce, all arranged to slightly overlap the sides so they’d be visible.

A drizzle of “ketchup” and “mustard” was the last step before placing the top half of the “bun” on top.

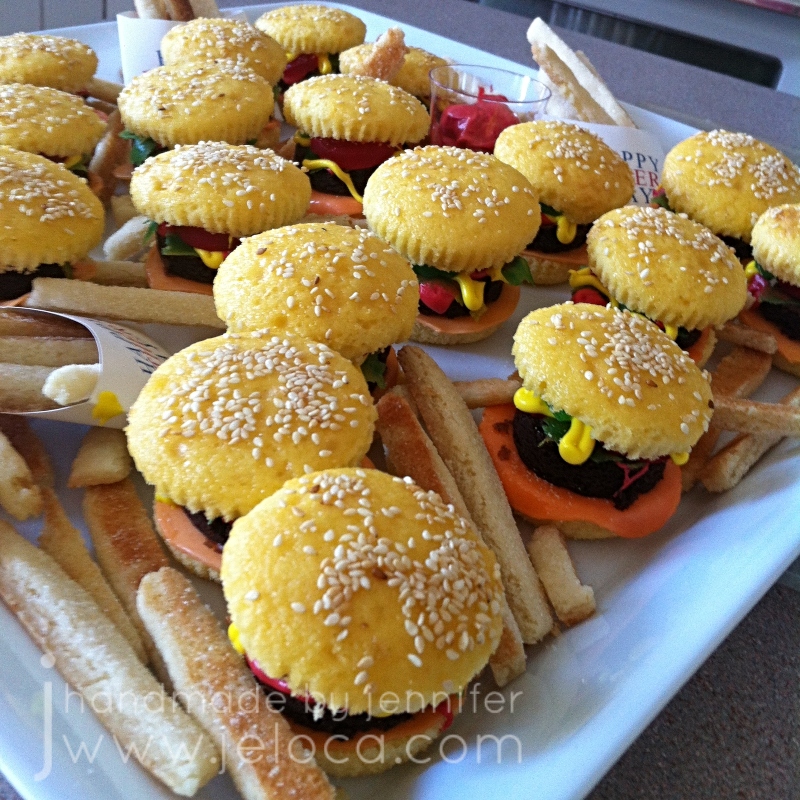
To really finish the look brush the tops of the cupcakes with a bit of water and then sprinkle on some sesame seeds.

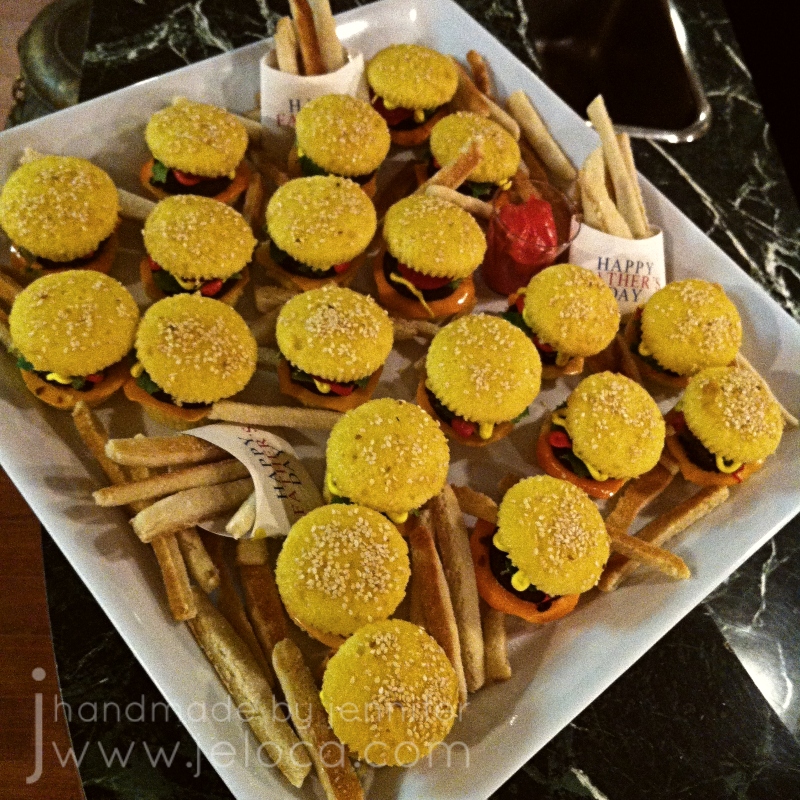
Arrange them on a platter and sprinkle the faux fries around. If desired you can add condiment cups or little puddles of “ketchup” and “mustard” for dipping the fries into. These were as much fun to eat as they were to make and all these years later Henri still keeps asking me to make them again, which is the real testament to how much of a hit these were!

This post may contain affiliate links. This means I might make a small commission on purchases made through the links, at no cost to you.


2 Comments

Bowling Cookies

It’s National Homemade Cookie Day in the USA today, and even though I live in Canada, who could say no to cookies? They’re tasty, versatile, and in these mid-pandemic days, a great way to provide individual portions per person.

Here’s an easy way to make a set of fun bowling cookies that you could even bowl with!*

I made these a few years ago for Father’s Day, as bowling has been a family sport since I was a kid. My dad was on a league through until Covid, and most of my siblings and I were on leagues at various times as well.

Back in the blogging heyday I used to follow a handful of cookie decorators (Sweetopia, The Bearfoot Baker and SweetSugarBelle were 3 favorites) and a big lesson I learned was how to use cookie cutters in creative ways. After deciding on “bowling cookies” I went through my bin of cookie cutters and pulled out 3 that would be perfect for this project.

The square cutter is from a nesting set similar to this one. Using it to create the lanes, choose the size that works best to fit as a multiple on the serving tray you plan to use. Rectangles would also work just fine. In my case I used the roughly 2″ square. The circle cutter is from a set similar to these. Used for the bowling balls, choose a size that looks appropriate on your size lanes. Mine is roughly 1″ in diameter. As for the bowling pin, this is where you have an opportunity to be creative! They do make actual bowling-themed cookie cutters, but I don’t have any so I used a Christmas bulb from a set similar to this one.

Step 1: Bake your cookies. You can use your preferred recipe of choice; I used my standard sugar cookie recipe adapted to taste years ago from this old Martha Stewart recipe. You want to avoid your cookies spreading while baking so be sure to chill your dough (before cutting works but after cutting is even better). Make enough squares (or rectangles) to fill the shape of your bowling lanes, plus a few extra to account for breakage. Bowling uses 10 pins so you’ll need to make at least that many, plus again extra to account for breakage. Finally, use the rest of your dough to make as many round cookies as you’d like. You really only need one to be the bowling ball, but I was serving a crowd so I made as many as I could with the dough that remained.

Step 2: Fondant toppers. If you prefer royal icing you could certainly line and flood the cookies and decorate them that way, but I find fondant a quick and easy way to get them done faster. Another example of this technique is here, where I used fondant to turn round cookies into records for a music-themed set.

Roll out white, ivory or cream fondant and use the same square and pin/bulb/etc cutter that you used for the cookies to cut a topper for each one. Moisten the back of the fondant (or the top of the cookie) with a bit of water and press the fondant into place, one topper on each cookie.

The bowling balls are a great place to use up leftover scraps of fondant. Roll out some black fondant then tear little pieces of your other colors and place them randomly on the black. Then roll over it some more to blend out the colors. Once you have it looking the way you like, use the same circle cutter to cut out enough toppers and place them on the ball cookies in the same way as above.

Step 3: Turn your base cookies into lanes. Start by using a yellow, orange or brown edible marker and a straight edge to draw stripes down your lanes to represent the individual planks of wood. I used a yellow Wilton FoodWriter and the edge of my transparent cutting mat. I generally prefer these AmeriColor edible markers so I tend to save them for when I’ll be needing to draw details because the Foodwriters are more broad-tipped.

Step 4: Wood grain, part 1. Using a paintbrush that’s ONLY ever used for food, dip it into a pot of brown icing gel color and blot onto a paper towel to get most of the globs of gel color off. Cheap plastic paintbrushes like what come in childrens’ art kits are perfect for this, but it’s super important that the brushes are reserved strictly for food use. Don’t worry about the messy bristles- the messier the better for this technique! Splotch the brown gel color directly onto the fondant cookie toppers. Try to pounce in a direction in line with the stripes you’d drawn so your wood grain goes in the proper direction. Repeat until you’ve done one full vertical row. In theory you could repeat this process on all the cookies and then move on to the next step, but I didn’t want to take a chance on the gel drying too much to reactivate so to be safe I did one strip at a time.

Step 5: Wood grain, part 2. Dip the same scrappy paintbrush into water and then brush lightly over the cookie to reactivate the brown tint and spread it across the fondant. Ensure to always brush in a vertical direction to create a faux woodgrain texture. Make sure to thin down the color just enough so that the stripes you’d painted earlier just barely show through.

Once you’ve completed the entire vertical stripe, repeat steps 4 and 5 on the remaining stripes of cookies.

Here’s the final look.

If you’re a longtime follower of this blog you’ll remember I’ve used this technique before, to make the hot tub for the Betty Boop cake for my mom’s birthday.

Step 6: Marker details. Use a red edible marker to add the characteristic stripes on the bowling pins…

…a black marker to add three dots to represent holes on the bowling balls…

…and the red marker again to add the triangular lane markers onto the lanes.

And that’s it! Assemble your pins into place at the top of the lanes and your set of bowling cookies is complete! I added a quick fondant ribbon sign to mark the occasion but that’s completely optional.

*Can bowl with them: If you take “bowl” to mean “stand up the pin cookies and flick a ball cookie at them, hoping to not get caught on the lip of one of the lane cookies”

This post may contain affiliate links. This means I might make a small commission on purchases made through the links, at no cost to you.


1 Comment

Record, Star and Music Note Cookies

Last year was my first year performing with the Becket Players.  Actually it was my first time performing on stage since college, roughly 18 years prior.  :O  In addition to being one of the actors (the performers are divided between singers, dancers and actors) I also made most of the props for the show.  I ended up making some really cool things for us to use, and I’ll be posting tutorials for all of it over the coming months.  I’m part of the show again this year, and tonight is our first prop/set design meeting, so I figured it was as good a day as any to post these cookies I’d made last year and never showed.

Last April the cast got together for a costume parade at one of our homes… to eat, drink and try on all the costumes for every song, skit and dance number, take pics and see how everything looked cohesively, what worked and what needed last minute changes.  Everyone was asked to bring a little something to eat, and I decided to make these cookies.

2015-04-11 record star music note cookies 01

I made my standard vanilla plain/shortbread recipe and rolled the dough pretty thick, as I wanted them to remain somewhat moist in the center.  I cut the shapes from star, music note and circle cookie cutters and then after they were baked I left them to cool overnight. 2015-04-11 record star music note cookies 02

The next day I used the same cookie cutters to cut out some thinly-rolled fondant, yellow for the stars and black for the music notes.  I moistened the top of each cookie slightly with water and then smoothed the fondant down over the cookie, making sure the edges were well stuck.  The records were done the same way, only I used 2 sizes of smaller cutters than the base cookie, and a straw for the tiny center dot.  If I were to redo these I’d actually cut the black circle with the smaller cutter and inset the yellow label into it, and do the same for the black center, as that would be more accurate… but for a quick design, the layered version works too.
2015-04-11 record star music note cookies 03

The final touch was to write on the labels with my black edible ink marker.  The theme of our show last year was Legends, Fads & One-Hit Wonders and I wrote all the names of the songs we did in the show on individual record cookies.  I’d say they were a hit… but they already are! 😀


5 Comments

The Wiggles cake

Continuing to add Henri’s backdated birthday cakes as we count down to this year’s party, here’s the cake I made for his 2nd birthday, which had a The Wiggles theme.

I’ve posted about the party before, but sorta glossed over the cake, so here are some more details.

the wiggles big red car cake

The first thing I did was to cut out a LOT of man-shaped cookies.  Each invitee was going to receive their own set of Wiggles characters in their lootbags, and I needed to have extra for the cake, and in case of breakage.  Once the cookies had baked and cooled I tinted up some homemade royal icing and got to work.the wiggles cookies

A little while later I had these guys.  (The black icing marker details were added a few days later, to make sure the icing had dried enough).

the wiggles cookie lootbags

Once thoroughly dry, the cookies were packaged up and attached to assorted coloring books to be given out after the party.

Then I was on to the cake.  I had rented a Wilton 3D Cruiser cake pan from our local cake supply store.  I baked the car-shaped cake out of chocolate cake mix, and for the base I baked a 9 x 13 sheet cake out of vanilla cake mix, as I wasn’t sure the car cake pan itself wouldn’t be enough to feed everyone.  It took 1.75 boxes of cake mix, but it’s an odd shape, so I couldn’t guarantee it would be cut in a way that would give enough slices.  It took me about 3-4 hours to make my own buttercream icing, tint the colors I needed, crumb-coat and then decorate the cake.

the wiggles big red car cake 01

The cake as baked wasn’t a convertible, so I used a knife and carefully cut it into a more appropriate shape for what I was trying to duplicate.the wiggles big red car cake 02

I remember being panicked that I wouldn’t be able to ice the cake smoothly, which is why I’d ended up filling it all in with a star-tip in my piping bag.  the wiggles big red car cake 03

I copied the Big Red Car’s colors off a DVD case we had at home, and used leftover of the 4 main icing colors to cover the sides of the base cake.the wiggles big red car cake 05

The logo and the front windshield were the only two spots I dared attempt to smooth over.  After the basic shape was down, I piped the letters with a narrow round icing tip.the wiggles big red car cake 04

I waited until right before serving to add the 4 cookies I’d reserved, as I was afraid they would absorb moisture from the cake and crumble or break at the attachment points.  So I brought them to the party in a flat tupperware and stuck them in at dessert time.the wiggles big red car cake 06

I let Murray have a chance to drive. 🙂

the wiggles big red car cake 07

Henri’s other birthday treats


6 Comments

rainy day cookies

Yannick was away this weekend, and today was too rainy and lazy for me to want to take the boys anywhere after their morning swimming lessons.

20120930-230440.jpg
Who wants cookies??

20120930-230504.jpg
I made a double batch of basic vanilla cookies, and divided it in 4 to flavor it up. The boys helped me cut out the shapes…

20120930-231027.jpg
…and after they had cooled, and the boys played, I iced them. There’s chocolate/mint cookies with mint icing, almond cookies with royal icing, chocolate/coconut that were tapped onto a plate of coconut while the icing was still wet, and peanut butter (un-iced).

20120930-231249.jpg
Once the boys came down from their sugar rush and went to bed, I knit for a bit. It takes so long per row that I feel like I’m not getting anywhere, but I’ve now done 14 rows since restarting to work on it, and I remind myself that once I finish this blue section I’ve only got 1 red section to do. (I’m trying to ignore the fact that those rows will be 616-728 stitches each).