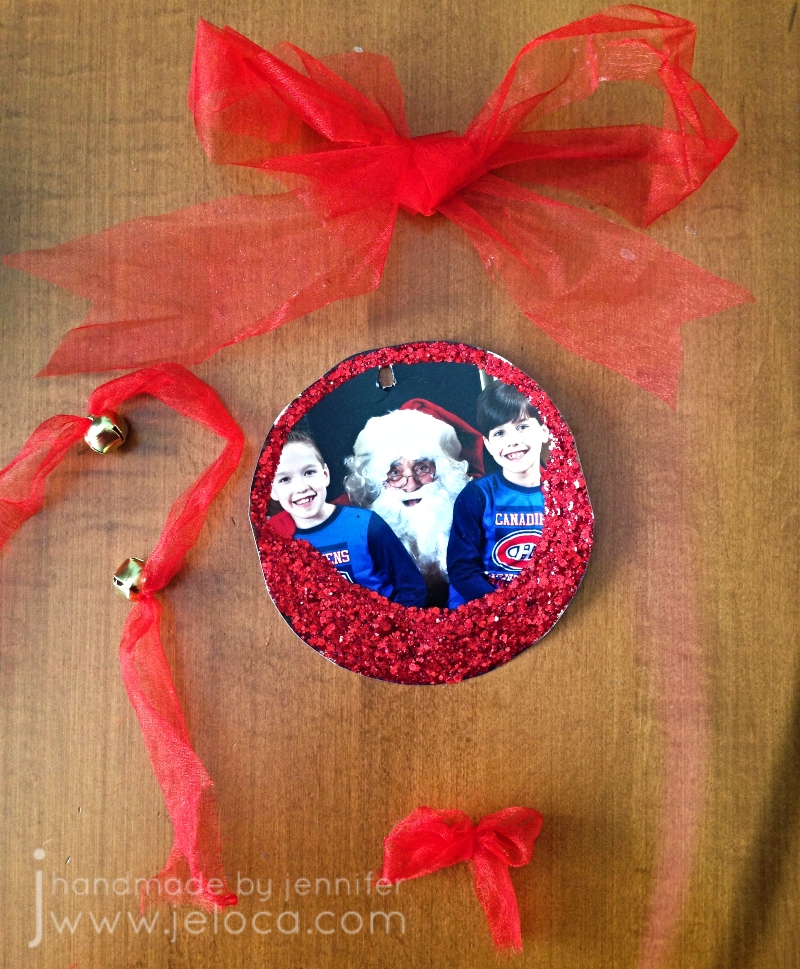
It’s December 1st, and although stores have been in Christmas mode since even before (American) Thanksgiving, we’re now “officially” close to the holidays. Here’s a quick holiday project that’s easy enough for kids to make (with minor supervision). These easy photo ornaments are a great way to share cute images and make great gifts for grandparents. They can even be used as gift tags!
I used extras of my kids’ Santa’s lap pictures, but you can use school photos, family portraits, even pet pics!
Materials needed:
- Ribbon or tulle (I used tulle)
- Yarn
- Glitter glue
- bells
- Scissors (not shown)
- Optional: craft needle (not shown)
- Optional: hole punch (not shown)
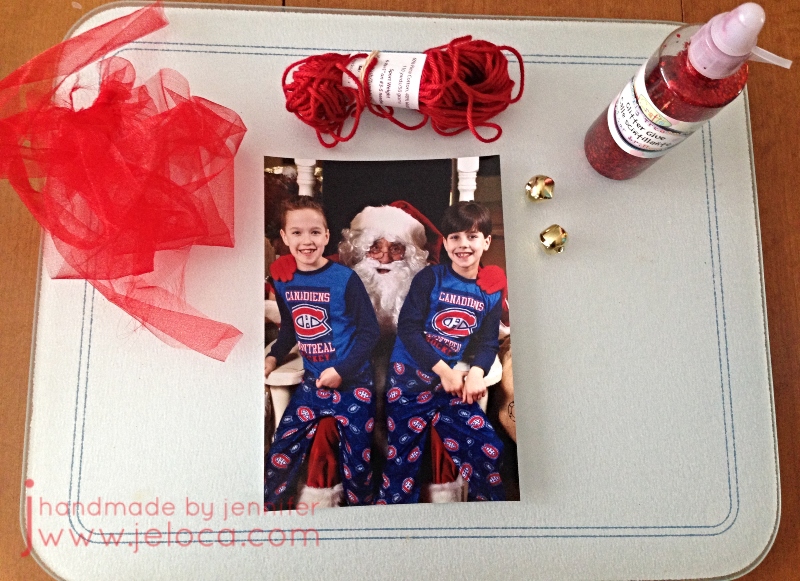
All materials as shown were found at my local Dollarama, though I’ve linked Amazon’s versions for delivery convenience.
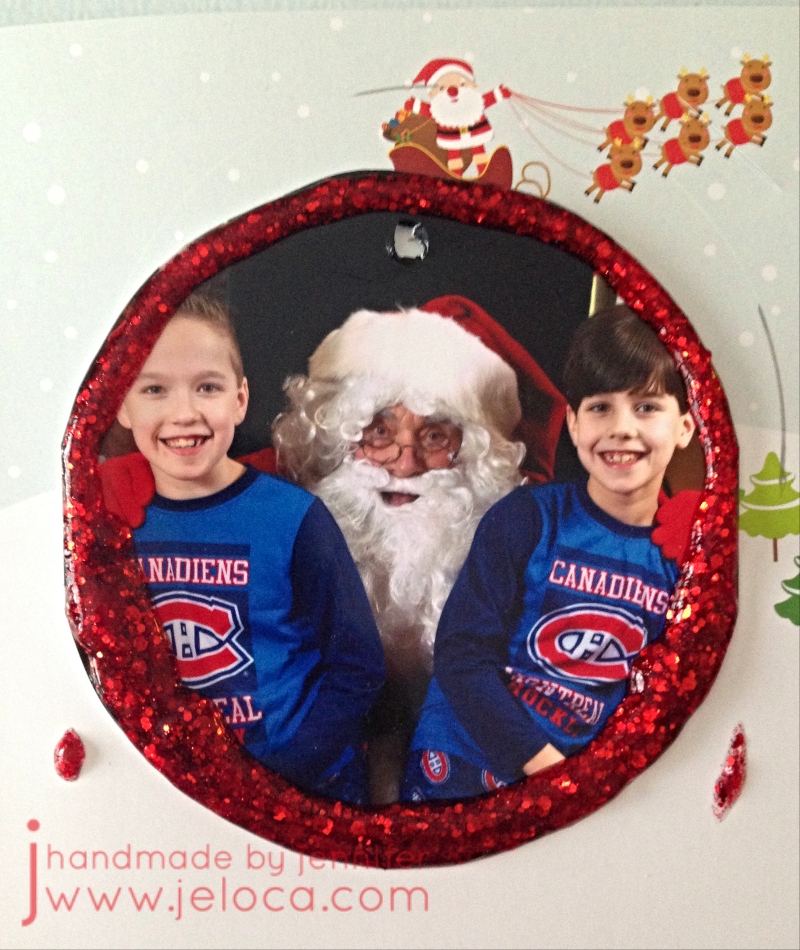
For an ornament style, have draw or trace a circle around the desired part of your image. You aren’t limited to circles, of course, and can draw any shape you like. Cut out your shape and outline it with your choice of glitter glue. You can add other embellishments if desired, can trace only the outline as above or a later pic below, or fill in a part of the image as seen in the following images. Set aside to dry fully – at least a few hours, or overnight.
Prepare your tulle or ribbon as follows: make one large bow, one small one, and then tie two bells onto a 10″ length of tulle/ribbon, leaving about 3.5″ between them. You can trim the tail ends later. If unable to thread the tulle/ribbon through the bell’s loop, a yarn needle can help. You can also use the yarn needle (or the scissors or a hole punch) to make a small hole in the top center of the image.
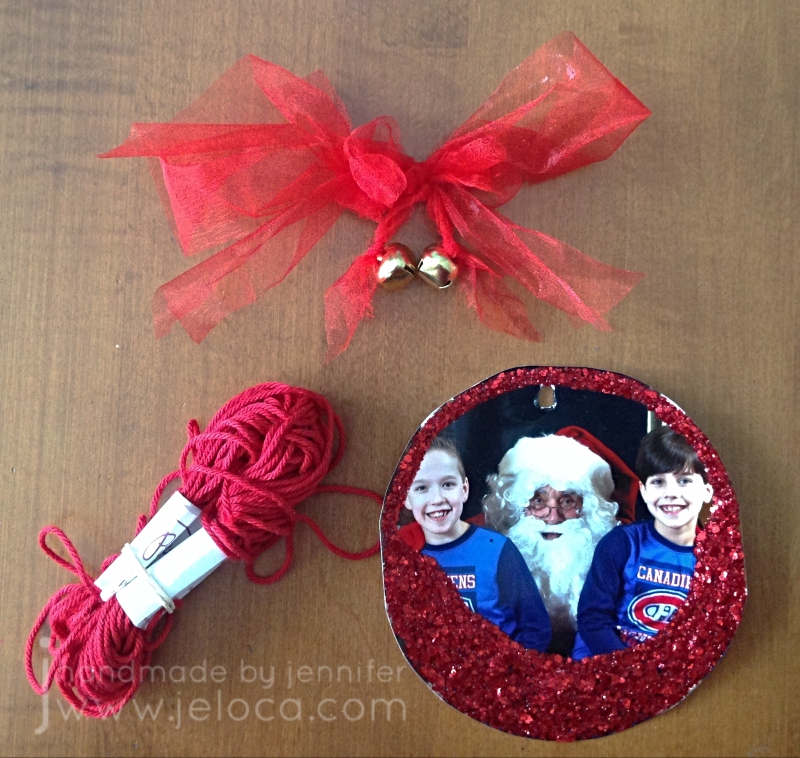
Stack the small bow on top of the large bow and use the tulle/ribbon with the bells to tie them together, allowing the bells to dangle below. Cut all tails to desired length.
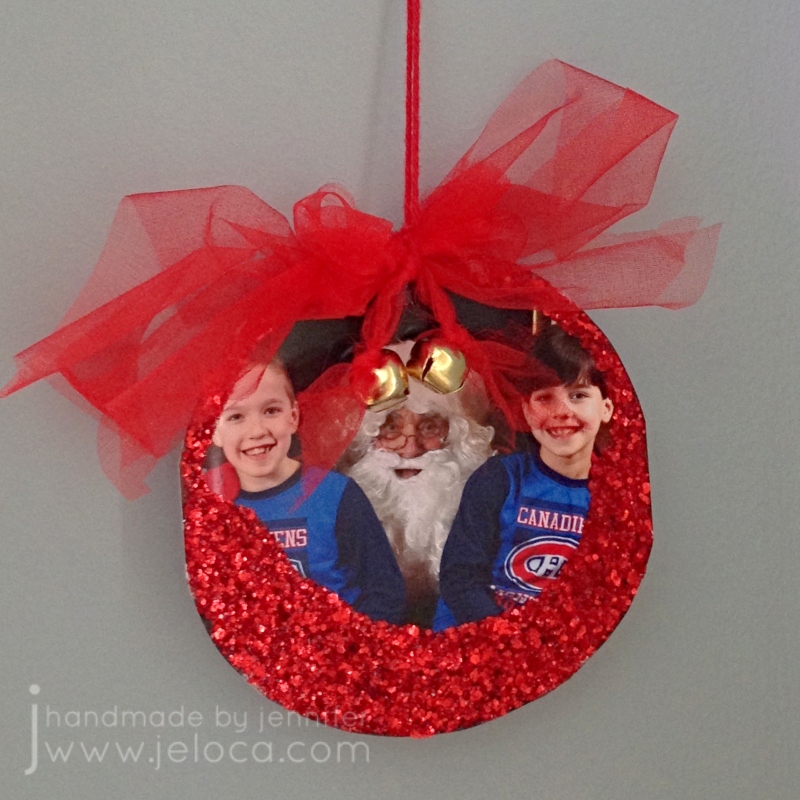
To assemble: Cut a 10″-12″ length of yarn. Loop through the hole in the ornament. You can use the yarn needle to thread the yarn ends through the knot of the large bow, or tie the yarn directly around the center of the bow bundle, between the two bells. Knot the two ends of the yarn together to create a hanging loop.
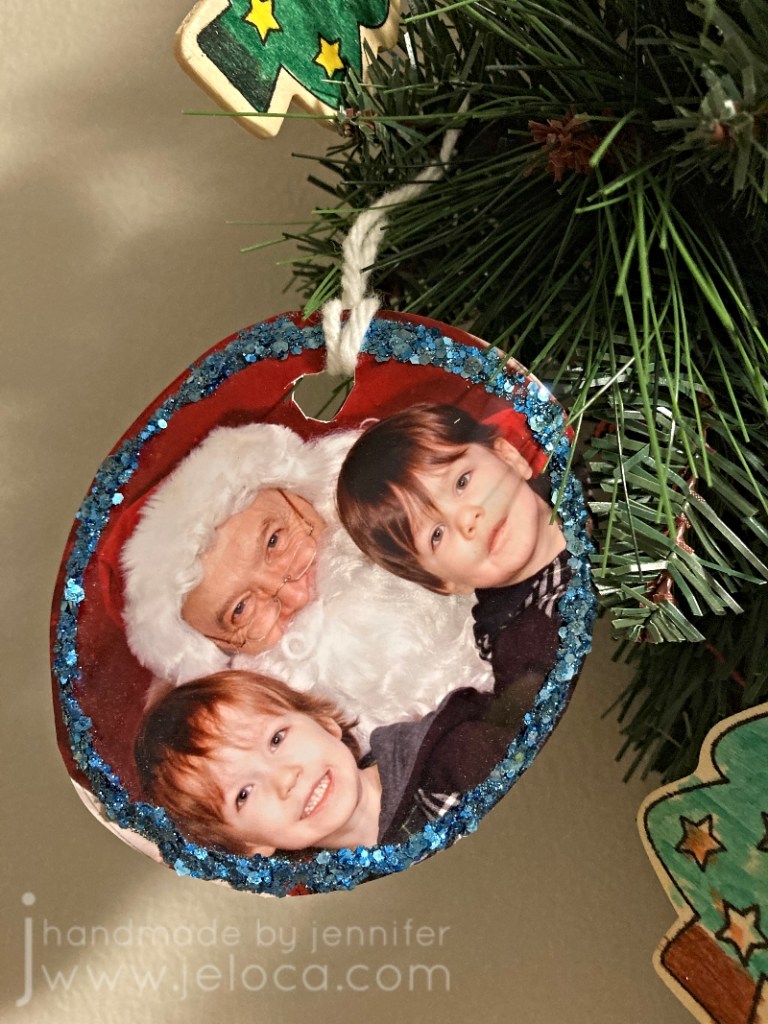
These hold up pretty well! While the step-by-step images were taken in 2017, the photos from here onward were taken in November 2021. This is an early, more simple version I’d made in about 2015.
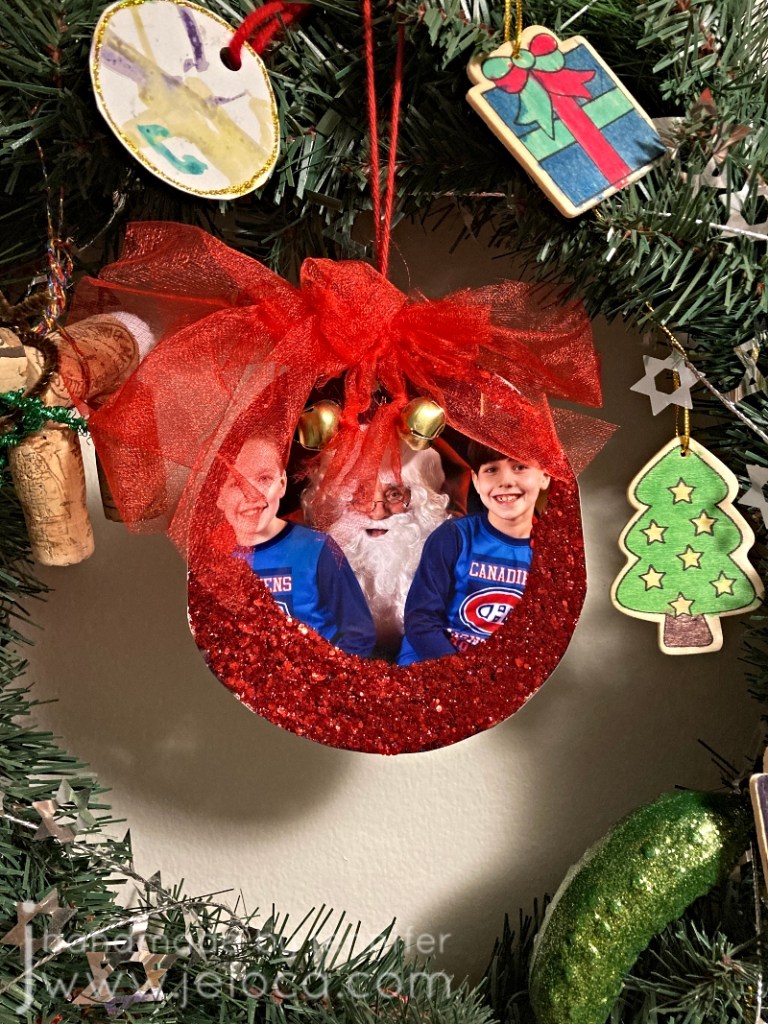
The example ornament has the center spot in our wreath and it’s lasted quite well. I’ve written the date and kids’ ages on the back, and they create a nice memory during the holiday season.

Happy holidays!