It’s January, so that means out with the old, and in with the new… challenge. While I didn’t get as far as posting my backlog of projects and tutorials, the monthly posting (self-imposed) commitment did keep me going, and I’m going to take it a step further in 2021.
But first- let’s close out the current challenge. For the 12th and final time: each month in 2020 my 11yo son Henri and I chose a page from Moriah Elizabeth‘s Create This Book (vol 1) and each of us completed the page in our own books. Now the year has gone by, Henri will be 12 next week, and there’s a link to all past pages at the bottom of this post.
For December Henri chose the “Create Art with Wax” spread on pages 52-53.

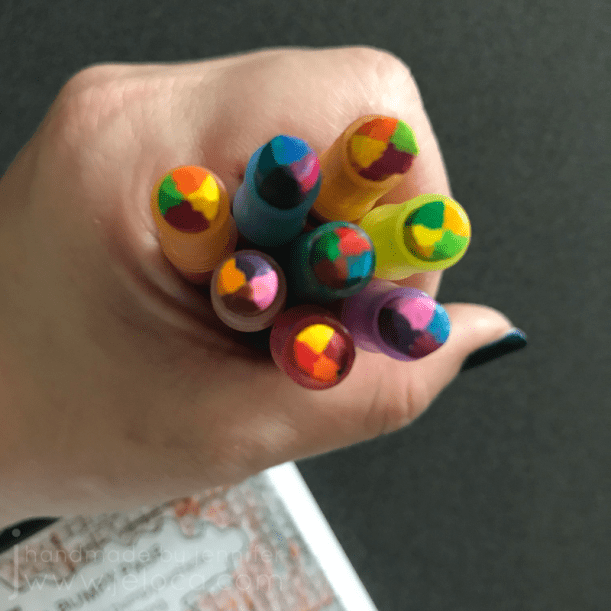
Instead of coloring with the crayons, he wanted to try a heat-and-drip method. He used regular Crayola and Cra-Z-Art wax crayons, and I decided to get “fancy” and go with the Crayola Twistables I’d used back in May.

Note- don’t do this. First of all, if you don’t twist the crayon out enough, you can start melting the plastic. Secondly, the glitter ones kept making strands (like when you use a glue gun). Thirdly, they don’t melt that great before starting to scorch, and finally – they burn. As in, like a candle. As in they hold a flame and now you’re just holding fire. I was able to time how long to heat them for, but I wouldn’t allow my kids to try to heat these. Stick to using them on paper.

We used the candle as our heat source and started playing around. Looking back at this pic I remember how well I thought it was starting. It wasn’t great by any means – they didn’t melt well and they dried super fast so I only got one dab onto the paper before having to re-heat… but it seemed like it would be ok…

<cough> …and then this mess happened. I have no words. Like, it’s just… ugly. I tried to embrace the “no rules, just go with it” but then also tried to do… something? The combination doesn’t work. These crayons for melting doesn’t work. Nothing you see here works LOL

In fact I like the blotting paper I kept on the side better than the actual “artwork”.

I even like the dusting page where we swept up all the wax bits better than the actual art!
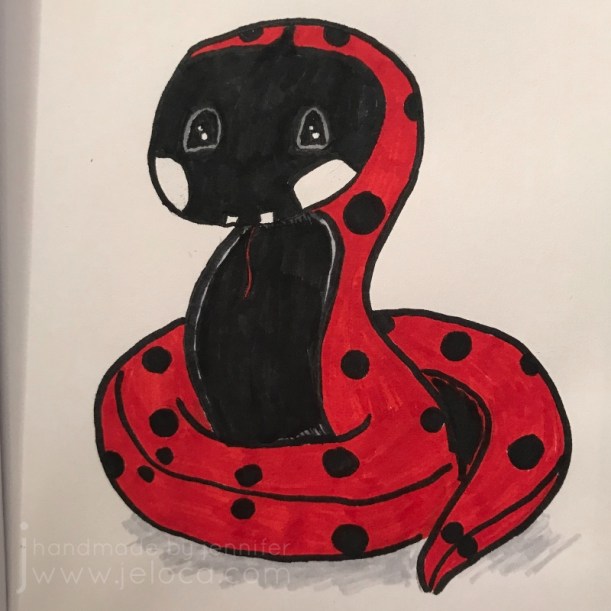
So it’s no surprise that once again Henri kicked my ass!

Seriously. The kid made a freaking sunset over water.

How cool is that??? I love it. I’m tempted to give him a canvas and a lighter and ask him to make me one for my wall. (Kidding).
(Mostly).
And that’s a wrap on the year!
Complete list of 2020 Create This Book Challenge pages:
- January – page 163 “Create an Empty Setting“
- February – page 208 “Decorate This Page With Food”
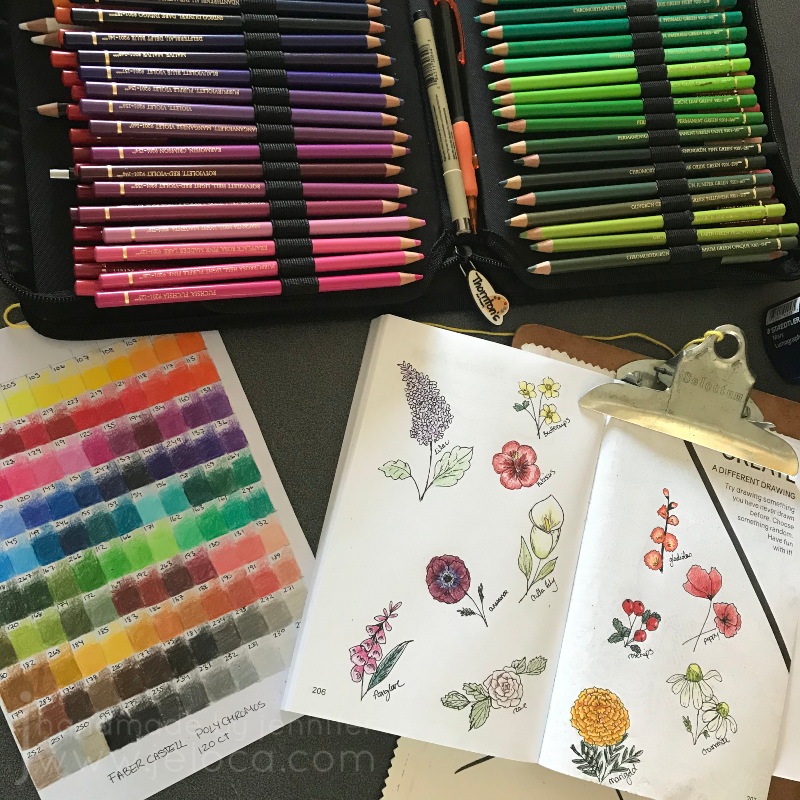
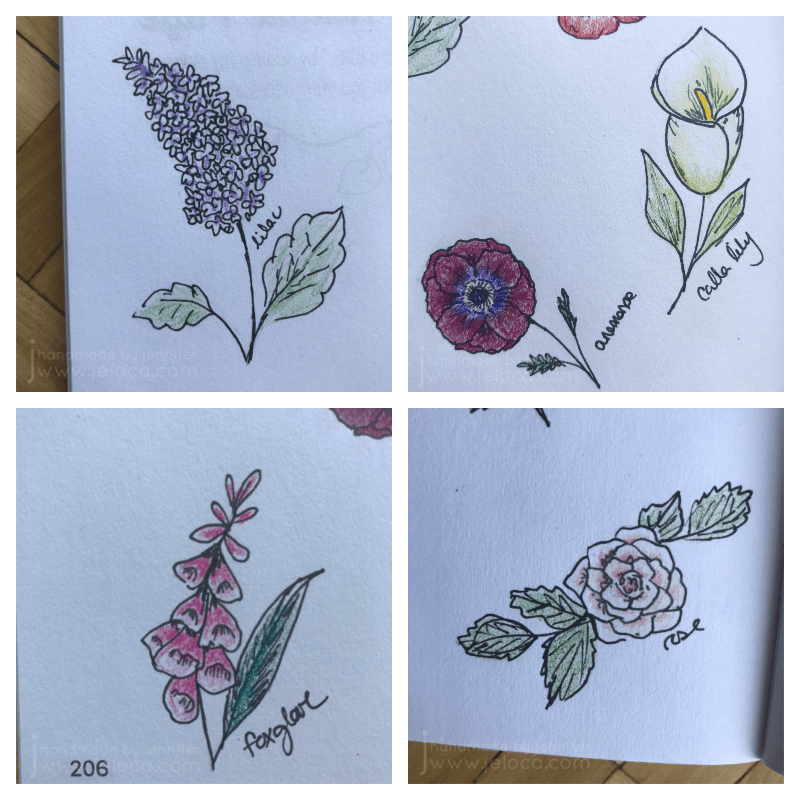
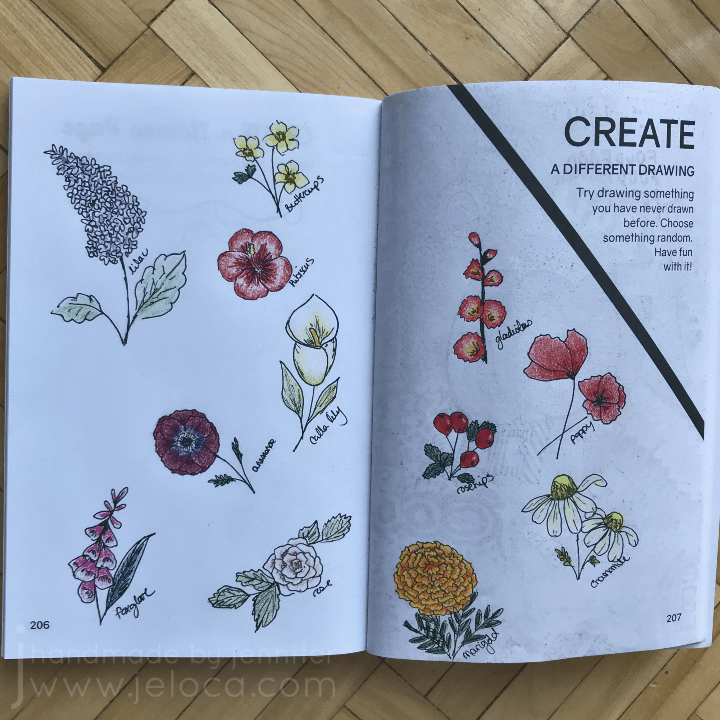
- March – pages 206-207 “Create a Different Drawing”
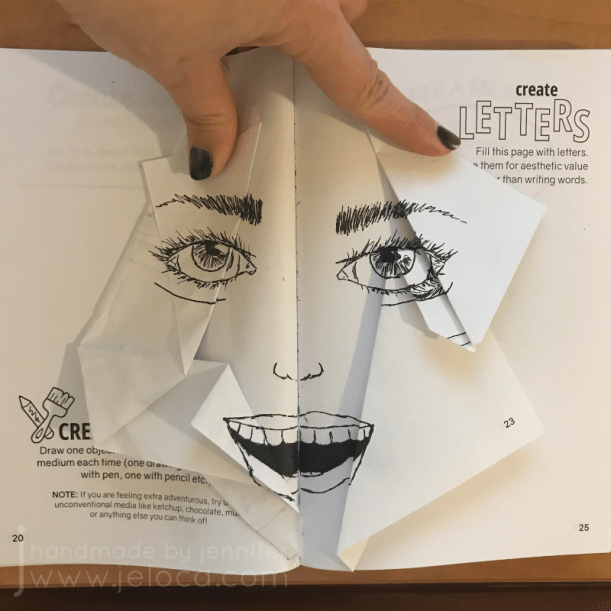
- April – pages 22-23 “Create Folds”
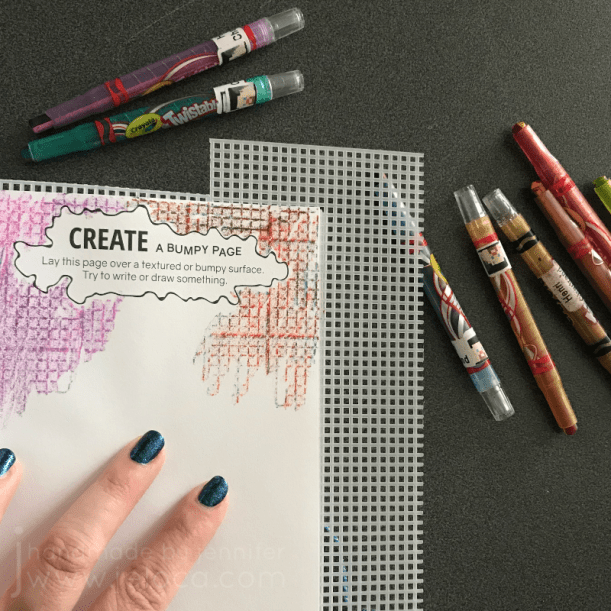
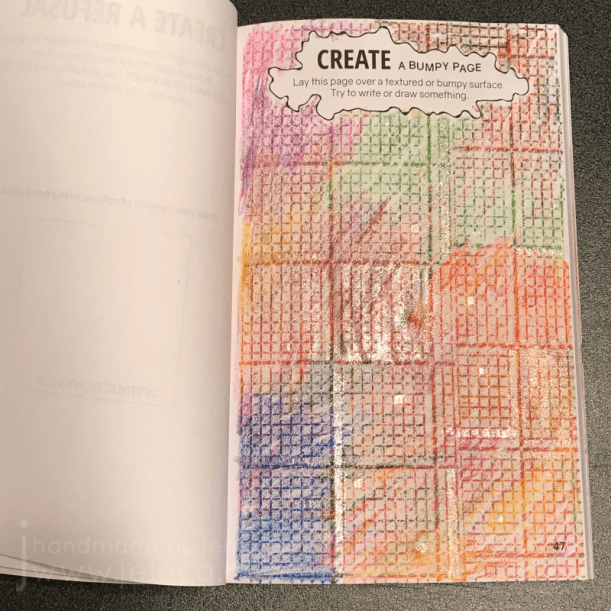
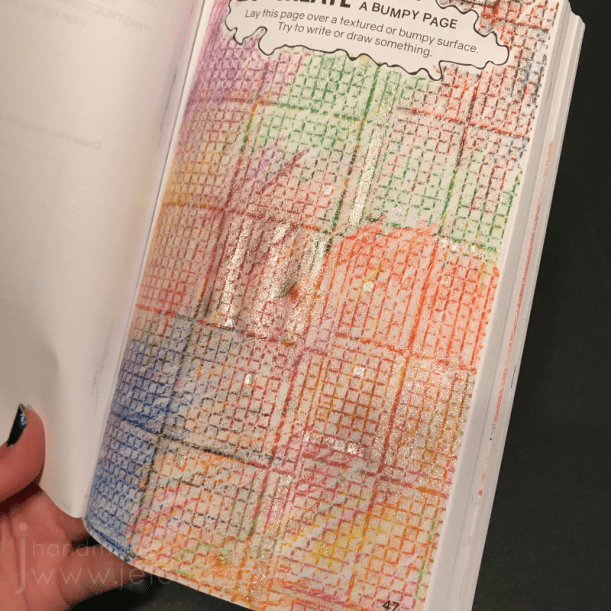
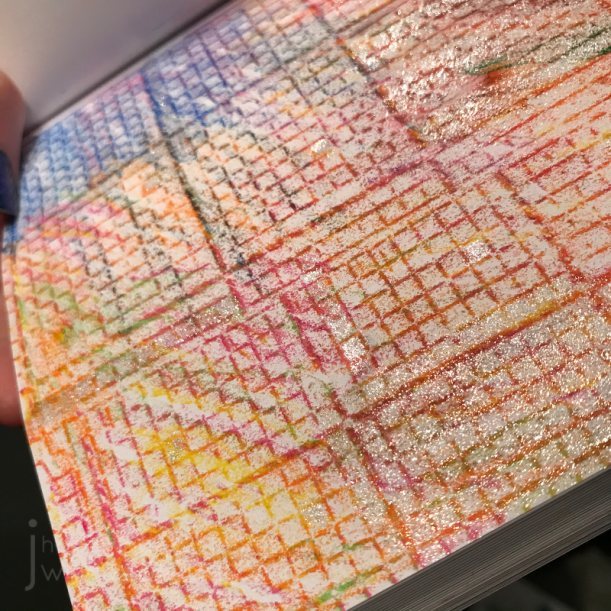
- May – page 47 “Bumpy Texture”
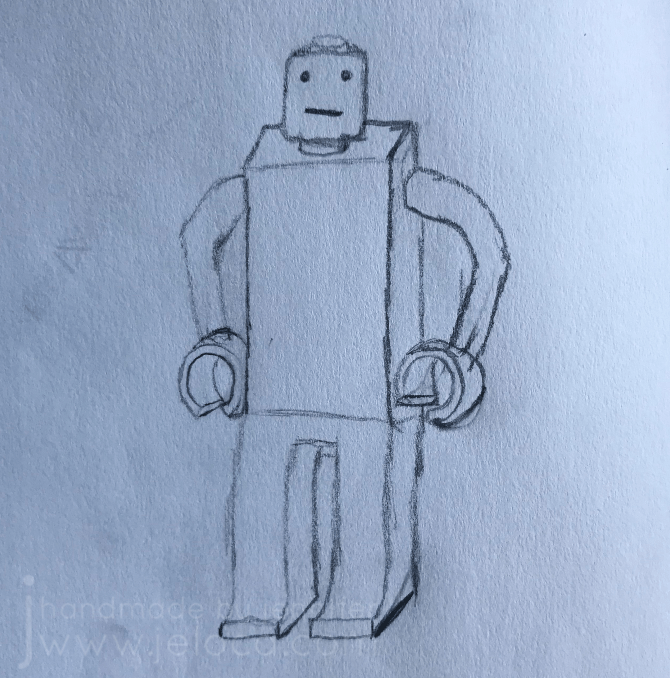
- June – page 39 “Create Quick Sketches”
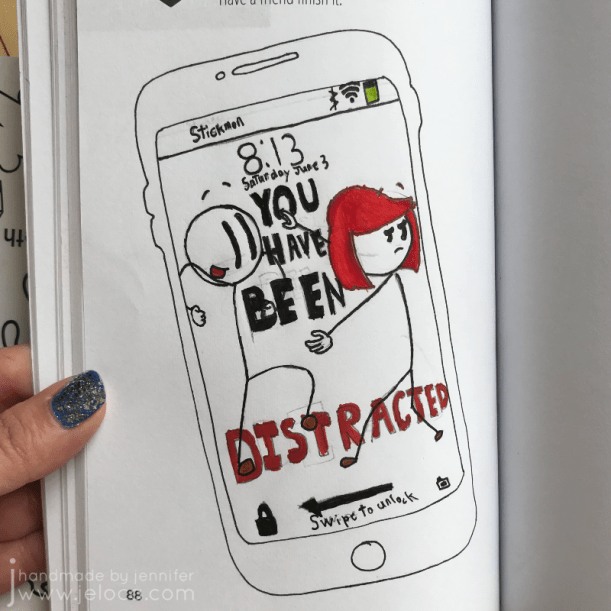
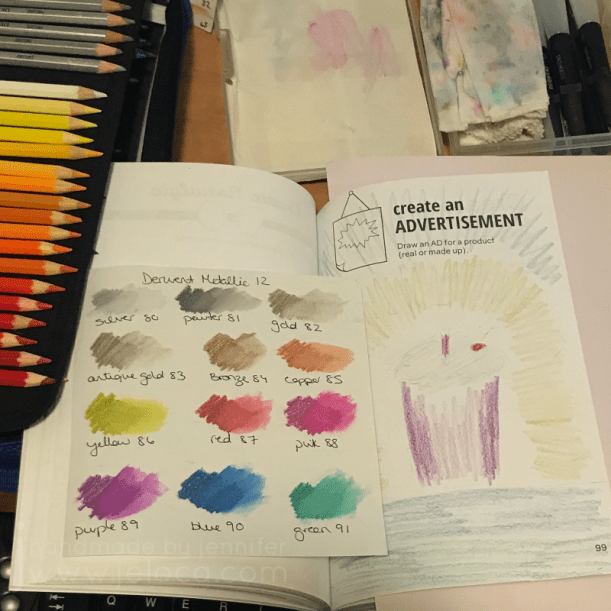
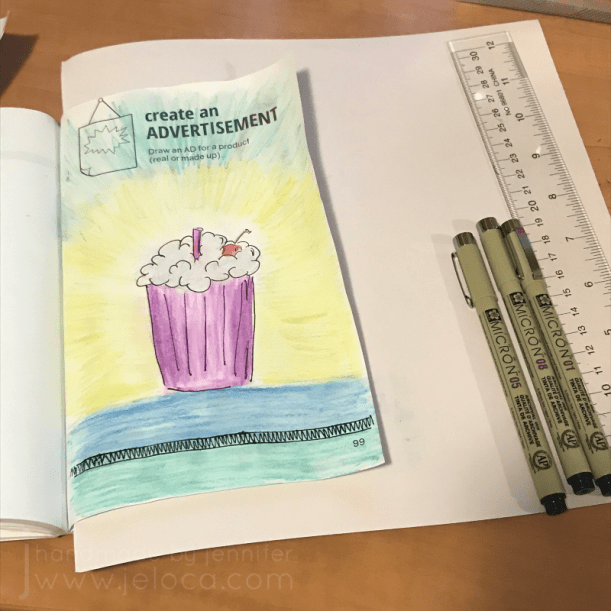
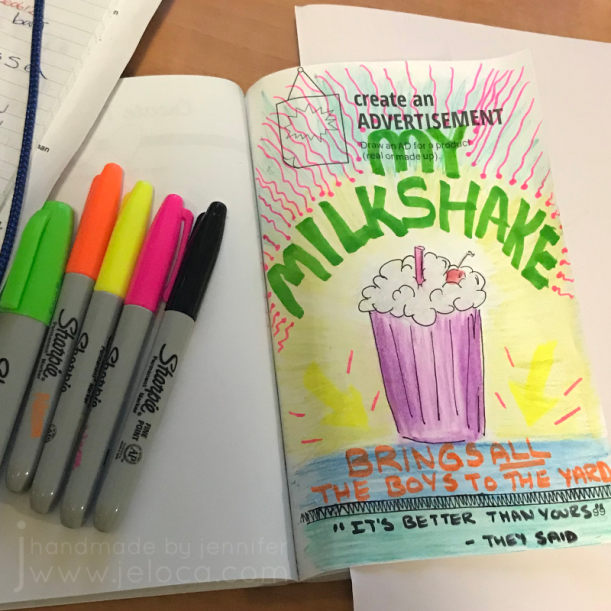
- July – page 99 “Create an Advertisement”
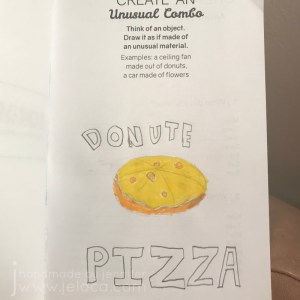
- August – page 35 “Create an Unusual Combo”
- September – page 88 “Create a Shared Drawing”
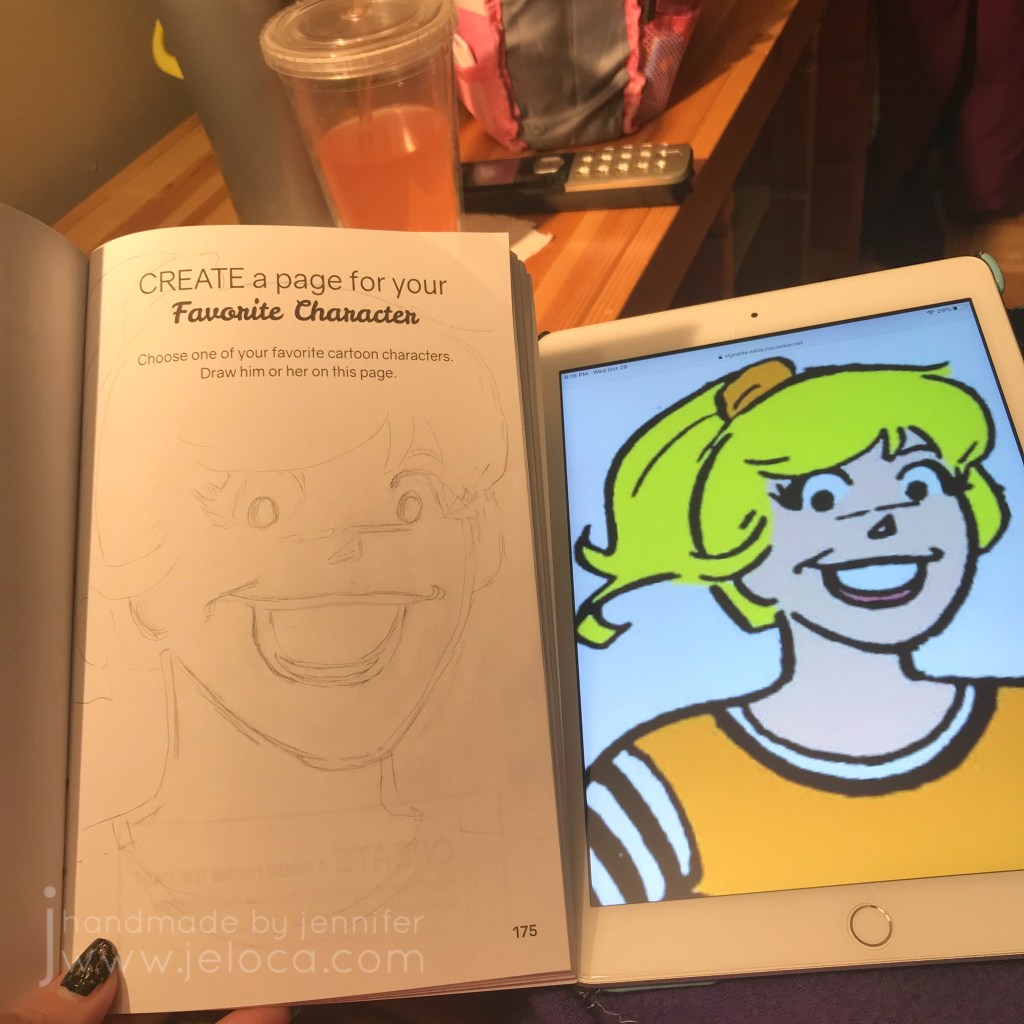
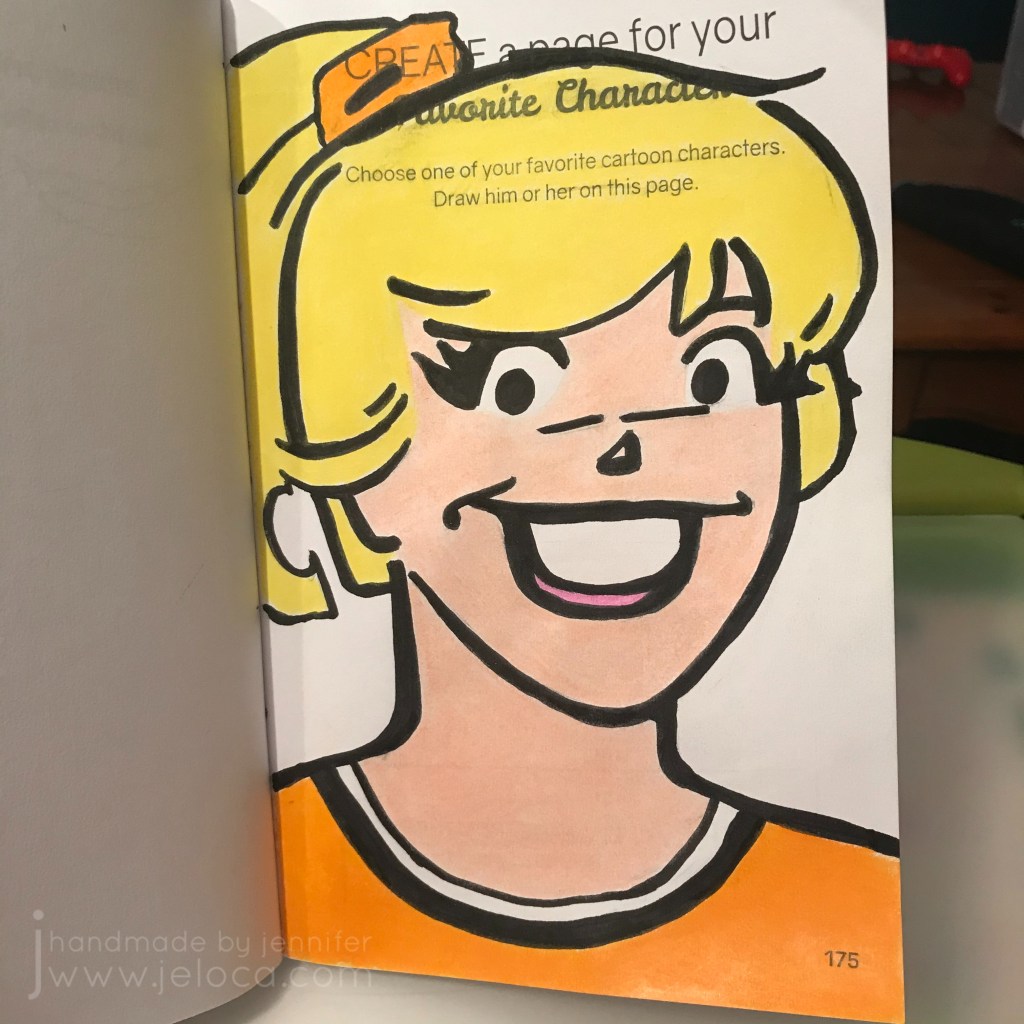
- October – page 175 “Create a Page for Your Favorite Character”
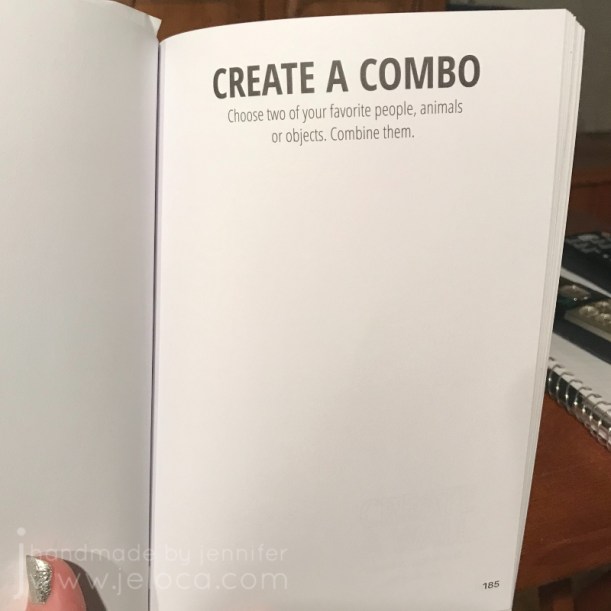
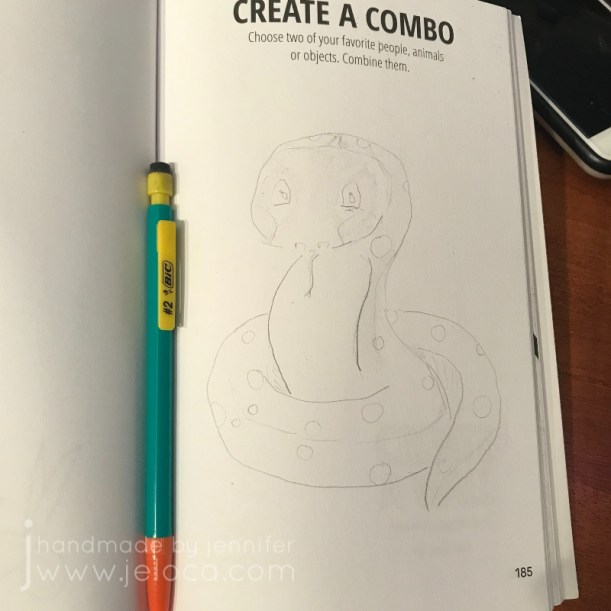
- November – page 185 “Create a Combo”
- December – pages 52-53 “Create with Wax” – this post

Final thoughts: this was a really fun experience to do all year. I loved having an art challenge with my child, and getting to see his creativity and the ways it can be similar or different from my own. I loved watching him hunched over the book or getting excited over an idea, and I love that I have the book as a memento of his talents at this point in time (and future ones as we keep filling in the pages).
Favorite page(s) of Henri’s: I love his February because it’s got so many weird and random elements (pooping apple?!?) that reflect his sense of humor. Speaking of which, I LOVE his September page! Not only the idea but the execution. Oh, and his July! He made it look like a full magazine spread!
Favorite page(s) of mine: I think March was my most “professional” page, so the part of me that feels like the art I present to the world needs to be reflective of skill, I’m proud of that one. April takes me back to my childhood, as a card fold I learned in an early art class when I was about 8 or 9 is one I still use today for fun “talking” cards, and this page will always remind me of 2020 and social distancing and quarantining and cuddling with my boys and giggling over cool TikTok videos. I also really like my October. I haven’t freehand drawn anything publicly (outside of Becket stuff) and it felt good to flex those muscles again.
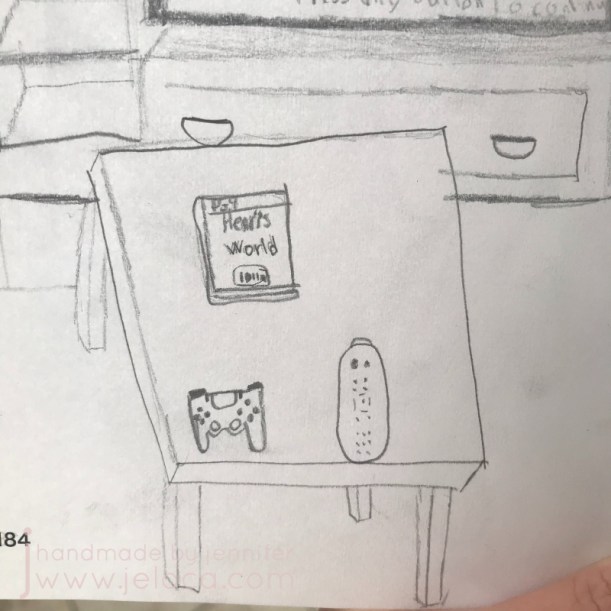
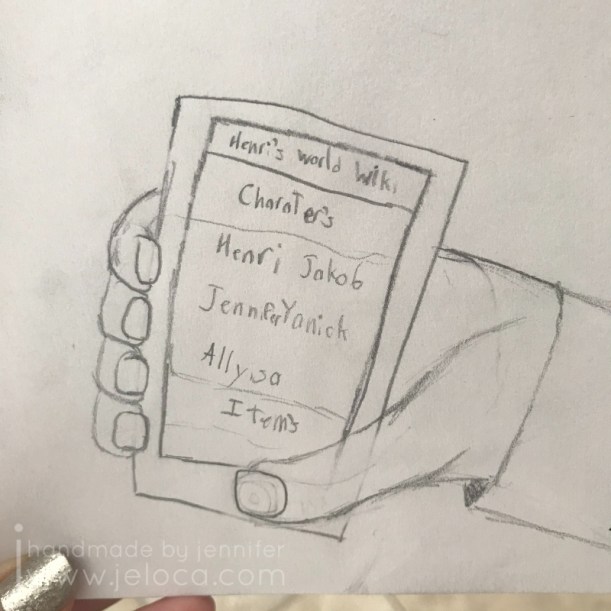
Finally I think I like November for both of us. I created my first OC in years, and he wow’d me with the details and thought he puts into his drawings. He doesn’t miss a thing.
So now that 2020 is done, it’s time to reveal my 2021 challenge. It’s actually one I was looking into about a year or so ago, but then forgot about. When it came to mind on Jan 1 I knew it was a sign, because one of my current goals is to teach myself Procreate, and this challenge can be either physical or digital. I sprung for the digital version, and on January 1st 2021 I sat down and did my first square in the One Year Doodle Challenge by Jennifer (SeaLemon on YouTube).
My short explanation is that it’s a year (undated, so you can start anytime, any year) of doodle prompts, but you can watch her full explanation video:
I’m going to do my best to do one doodle per day and then post the full month somewhere in the first week of the following month.
As a little preview, here’s my January 1 square “balloon”. I was going to draw a regular balloon but went for a balloon animal instead. If I’d been sketching by hand on paper, I’d have put in the actual 3D perspective with the other legs and ear behind the ones shown. But I’m still learning layers and shading and didn’t want to have the extra elements to get me frustrated. As it was I should have used the function that smooths the lines, because my balloon would look way better without wonky edges, and the smudge function annoys me because it doesn’t smudge like I feel it should… Nonetheless I’m quite pleased with my little doodle and looking forward to seeing how far I come by Dec 31.

Happy New Year!