Good thing it’s a leap year, because that means I can get mine and Henri’s February Create This Book pages posted on time!
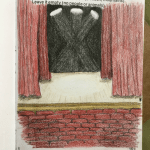
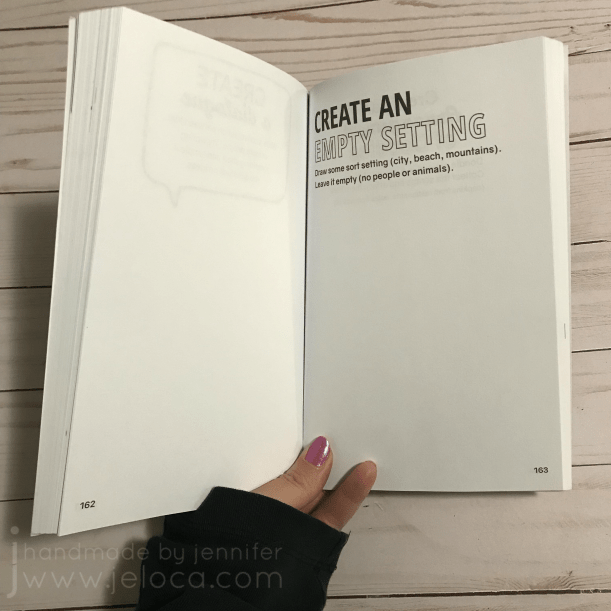
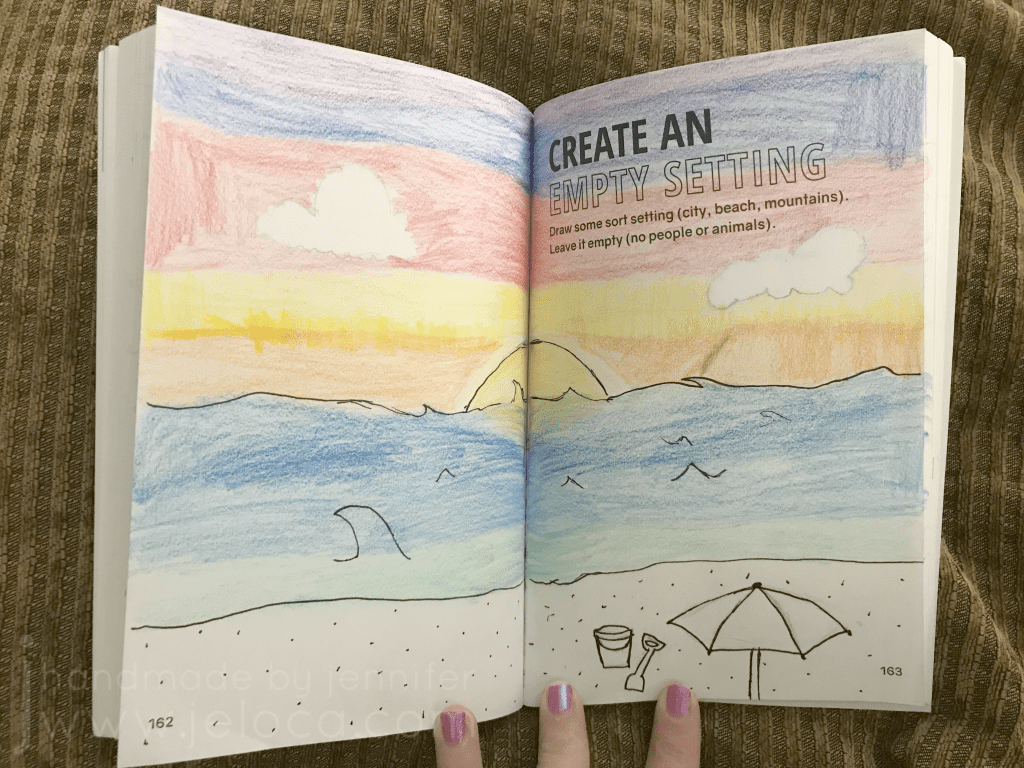
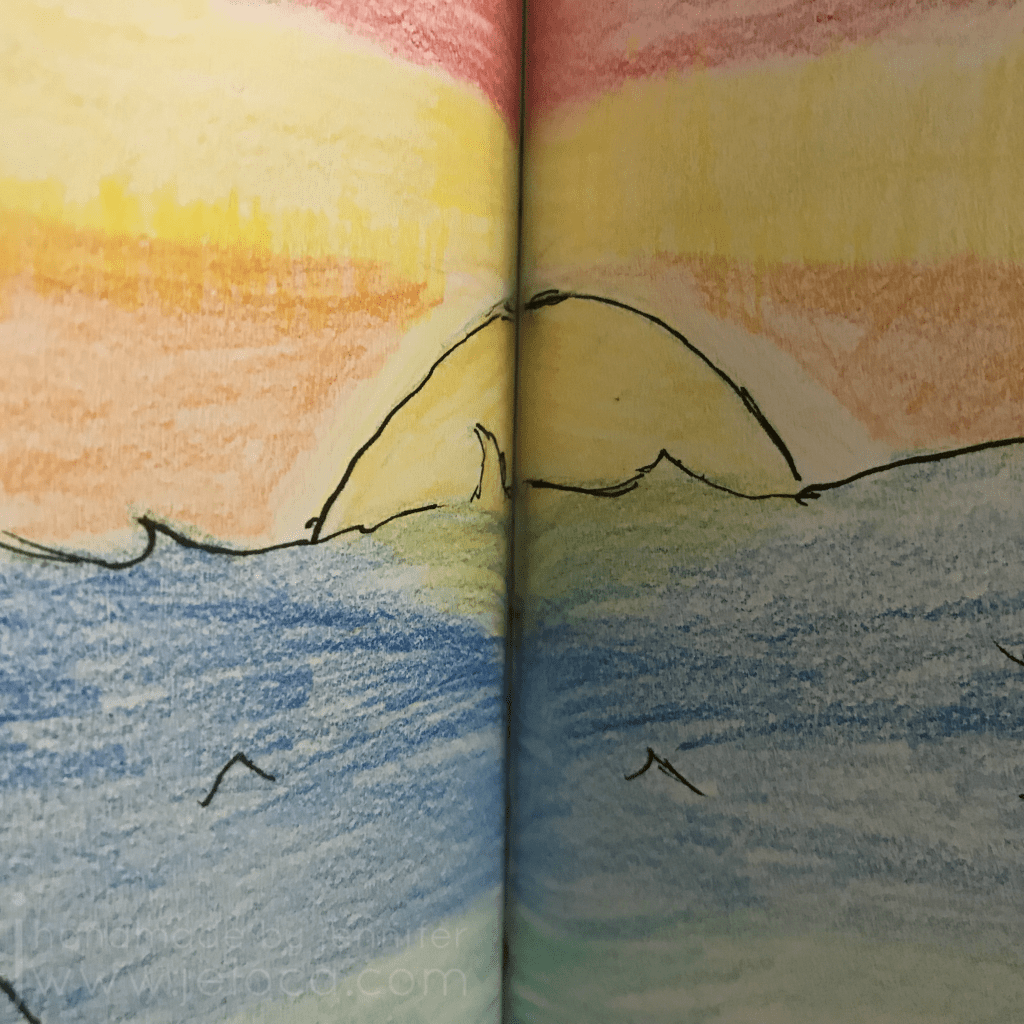
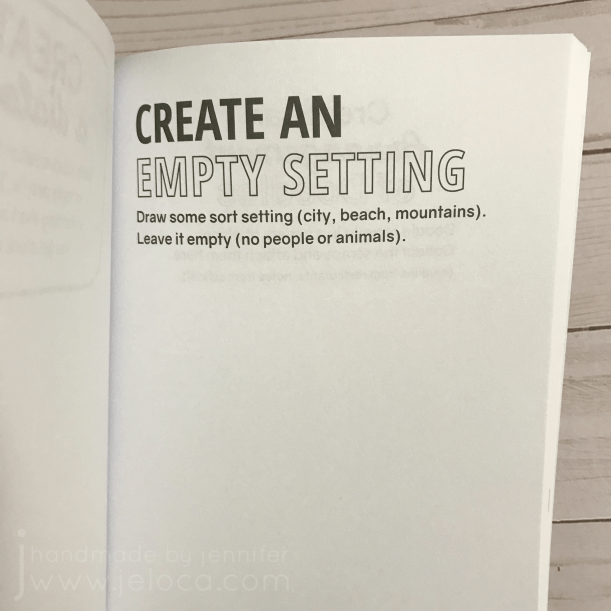
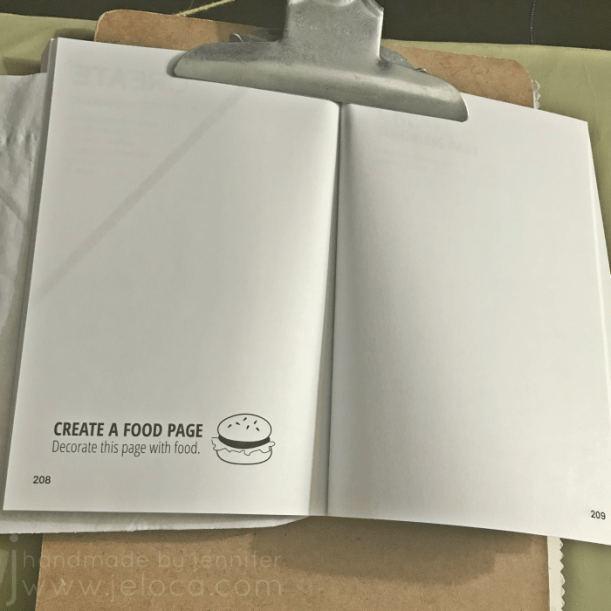
As I mentioned in my intro post, every month in 2020 my 11-year-old son Henri and I will be completing a challenge from Moriah Elizabeth‘s Create This Book (vol 1). For January we choose the “create an empty setting” on page 163, and for February Henri decided he wanted to do the “food” page seen here on page 208:
This is no surprise to anyone who knows Henri. It’s a running joke that my almost-13-year-old son Jakob’s favorite food is “bananas”, while Henri’s favorite food is “food”.*

Henri completed his page first, working on it over a few evenings while watching The Masked Singer.
He started with the little taco near the top and worked his way down the page, but I’m showing his close-ups in reverse order. For reasons.

Even though he’s just turned 11 Henri has been drawing for years, and I’m always impressed with the thought he puts into his art. The cheese, popsicle and donut are clearly meant to look 3D, and he even drew the complete bite with teeth marks in the popsicle instead of merely a chunk missing. The donut is especially well done, where he didn’t capture merely the glaze dripping down the top, but his rounded bite went through the donut to expose the hole in the middle- something I probably wouldn’t have thought of, tbh.

The top of the page is where he really went wild with the imagination. As I’d mentioned, he’d started with the taco, and before it got page-smudged it was really, really well done. Next came the hamburger, then the pineapple got a few minutes of detail work. Then- the apple. Oh boy that apple LOL
I’m not putting a more detailed close up because I’m already smh’ing that I’ve included it twice in this post…but what happened is this: Henri drew the apple. Then he decided that the bottom of the apple looked like a butt. So he made it pooping. Then, for dramatic effect, he added a pair of undies to the apple, with a torn flap of fabric hanging off the back because the apple’s poop was so explosive that it ripped right through the undies. His words. (Which is good, because I have none.)
When it came time for my own run at the page, I was stumped. I wasn’t in the mood to attempt something photo-realistic but nothing cutesy or cartoon-y was coming to mind. And then I looked at Henri’s page again and noticed his cheeky “FOOD” lettering at the bottom. He’d pointed that out to me joking “it says decorate with ‘food’, so I did!”. And so did I.

While Henri had used a regular pencil for his art, I switched over to Micron fineliners for mine. I swatched both a 01 and 05 tip on a blank page at the back of the book and while they both worked well on the paper, I think if I’d tried to color in any areas the 05 would have bled through to the page on the other side. So I stuck with the 01 and doodled my way randomly around the page, filling it in with the word “food” over and over.

It was really relaxing to tackle the page with no ideas in mind and allow myself to doodle the word however I wanted.

I listened to an audiobook (The Never Game by Jeffrey Deaver **) and kept a sheet of cardstock under the page while I worked. As previously mentioned, I do this not only to prevent ink bleed-through but also to keep the pages beneath from getting pressure impressions.
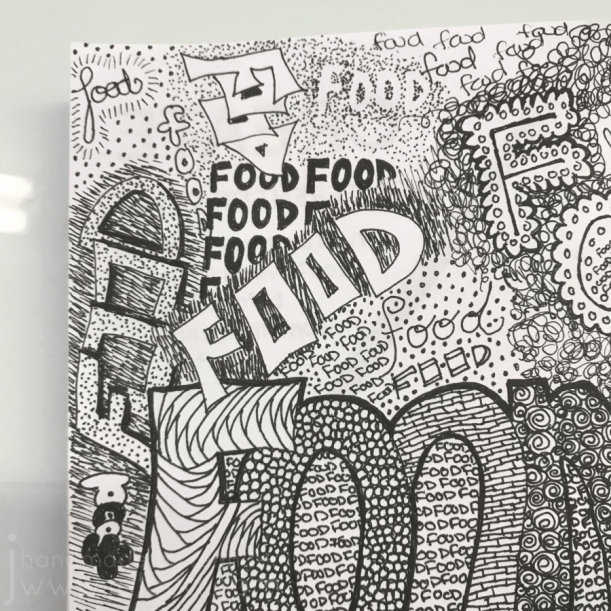
I usually didn’t have any idea what I wanted to do until I started drawing the letter “f”, though every now and then I’d turn the page a different way and try to remember to keep some areas light for some white contrast.

The only exception to this was the empty FOOD at the top of the page, in the dotted area. I had to consciously work the dots around the letters without an outline (I didn’t use pencil at all) and then fill in enough background dots to keep the word legible.

It was fun filling the page with swirls and loops and lines!

Periodically I checked the back of the page for bleed-through and was happy there was none. There was clearly shading of the dark areas to the back side, but I don’t believe this will interfere with future coloring of that page, especially if I work that one in color.

And that’s February done! On to March!
Complete list of 2020 Create This Book Challenge pages:
- January – page 163 “Create an Empty Setting“
- February – page 208 “Decorate This Page With Food” – this post
- March – pages 206-207 “Create a Different Drawing”
- April – pages 22-23 “Create Folds”
- May – page 47 “Bumpy Texture”
- June – page 39 “Create Quick Sketches”
- July – page 99 “Create an Advertisement”
- August – page 35 “Create an Unusual Combo”
- September – page 88 “Create a Shared Drawing”
- October – page 175 “Create a Page for Your Favorite Character”
- November – page 185 “Create a Combo”
- December – pages 52-53 “Create with Wax”
*Jakob is almost 13. He’s in high school. This… does not compute.
**I’m a big Jeffrey Deaver fan, and have been watching the new show Lincoln Rhyme: The Search for the Bone Collector. Fun show, but I can’t believe I’m about 6 episodes in to a LINCOLN RHYME project and haven’t heard the words “walk the grid” A SINGLE TIME.