1 Comment

A Review 6 Years in the Making- 3Doodler Start 3D Pen

Today is National Technology Day so it’s perfectly fitting to share this product review of the 3Doodler Start 3D pen. This is not a technical review – so if you’re looking for filament info or product specs you’ll have to look elsewhere. This is strictly a child-user review and to spoil the end right at the beginning – we love it.

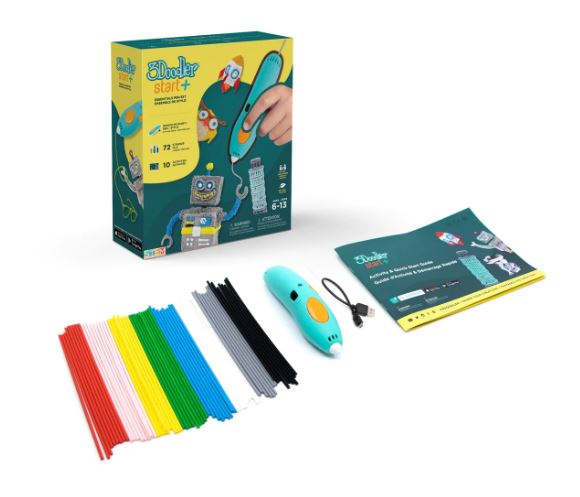
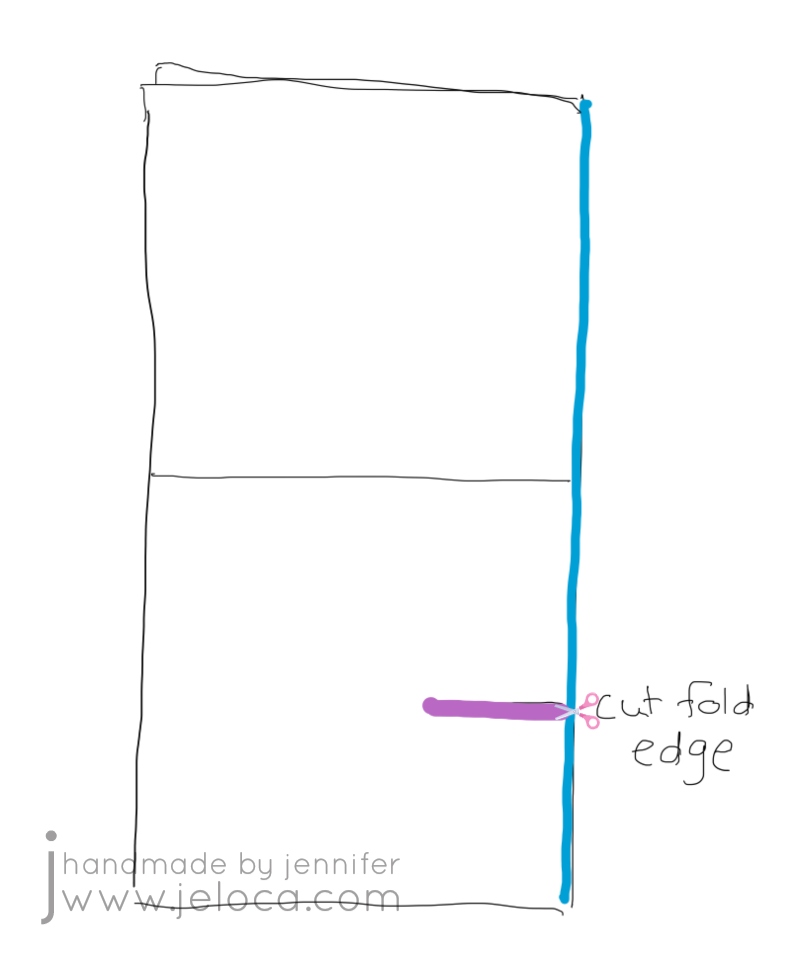
The 3Doodler Start + Essentials kit includes the rechargeable pen unit, a USB charging cable, as well as an assortment of filament sticks. It also includes an instruction book with a very unique feature – the paper is treated to make the softened plastic NOT stick to it. As such you can follow one of the many tutorials in the book by literally tracing the provided illustrations and your new 3D “print” will lift right off the page.

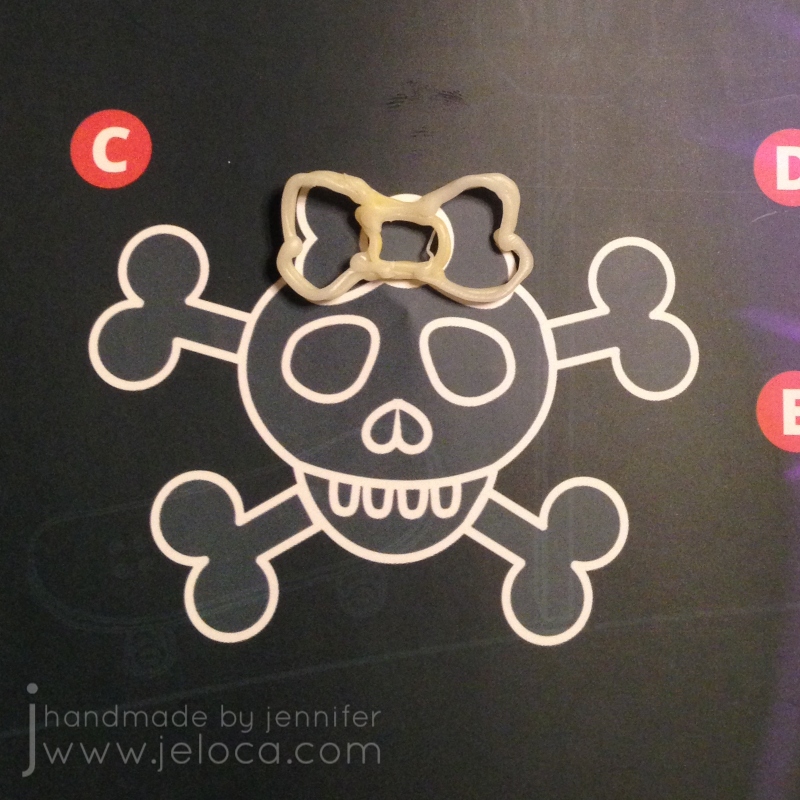
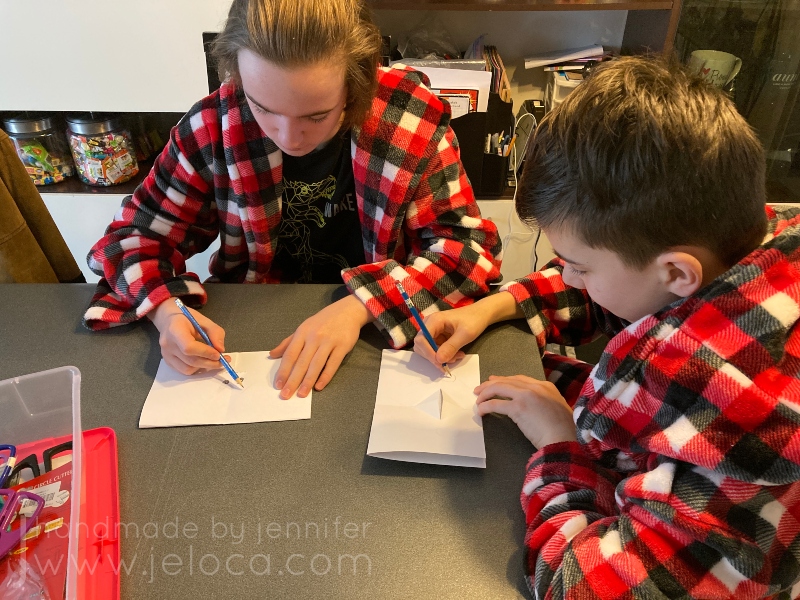
We wanted to start by trying it out on something small so Henri traced this skull’s little bow.

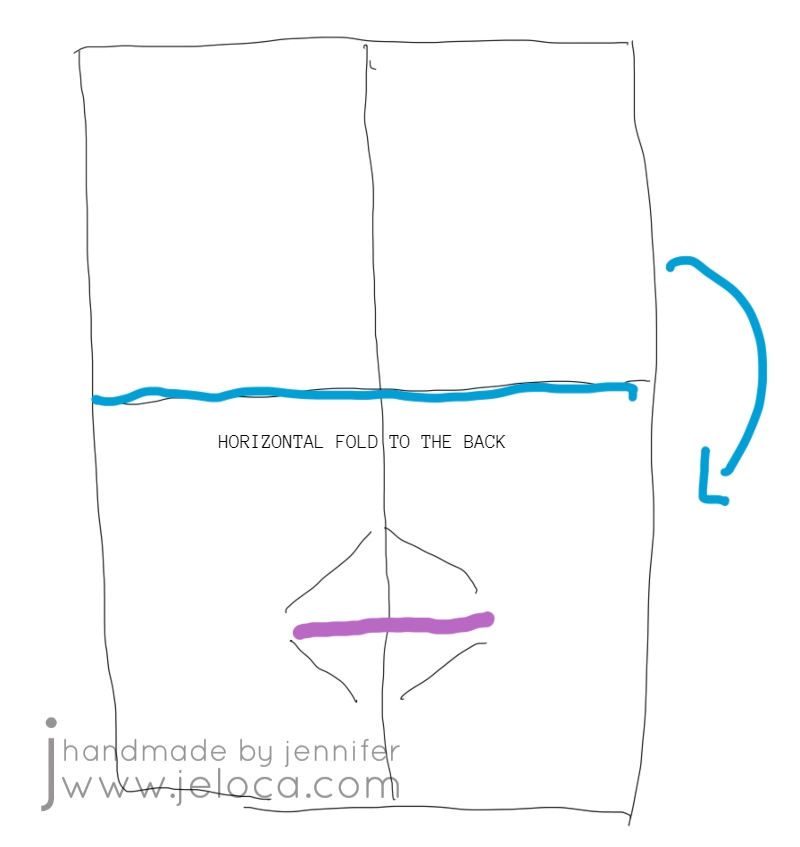
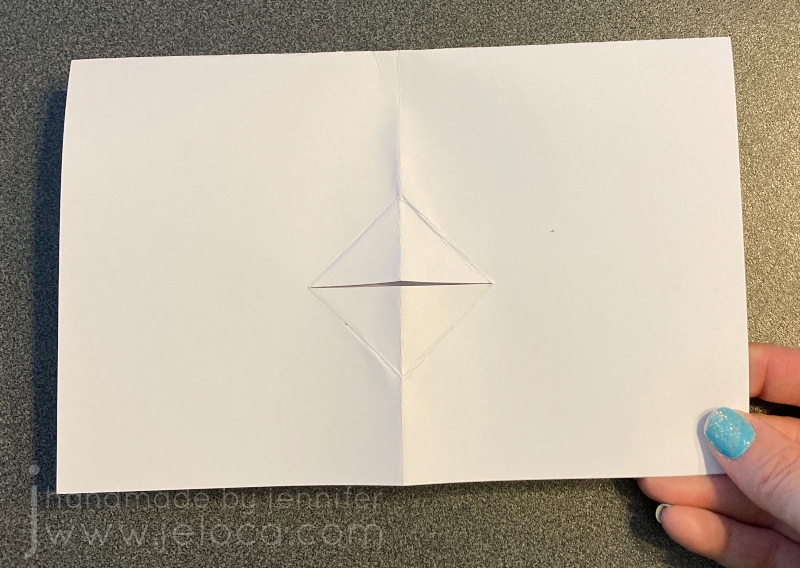
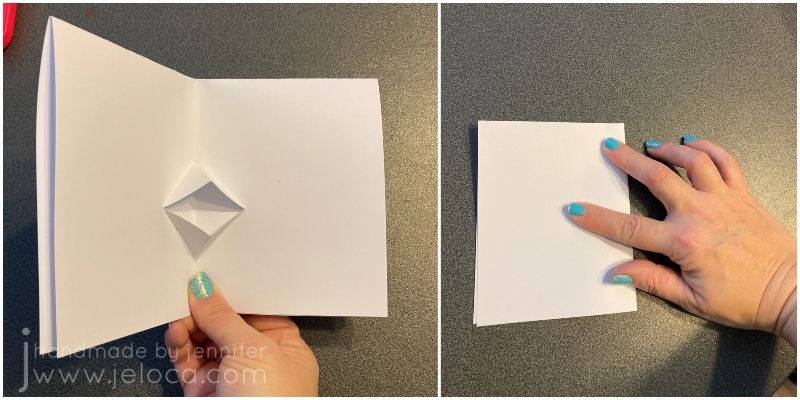
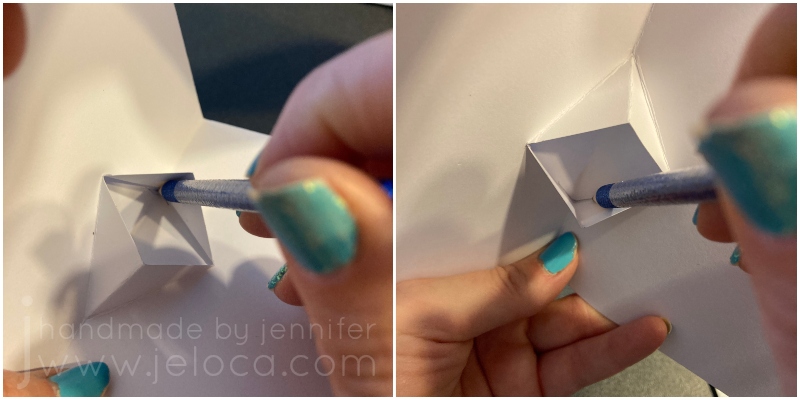
I then followed their clear, graphical instructions to write my name and turn it into a standing decor item.

At that point we both felt confident enough to tackle one of the real projects: these 3D glasses.

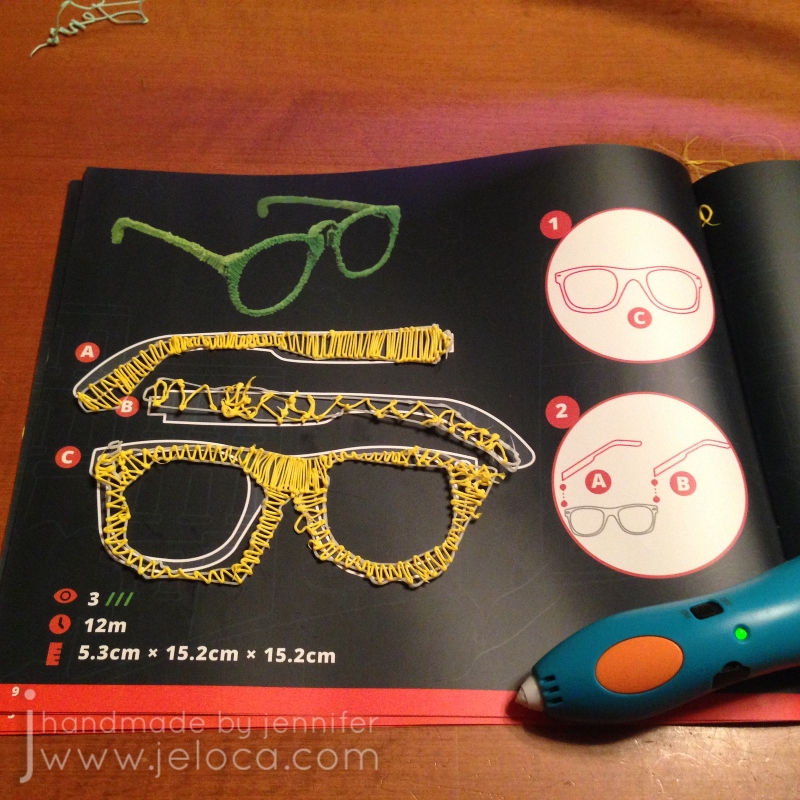
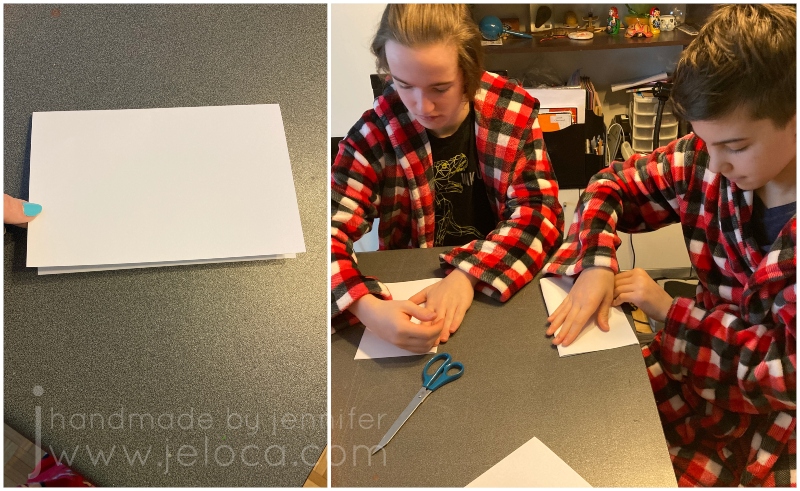
I traced the outlines of each piece with the light aqua filament and then we switched to yellow and began filling it in, taking turns between Henri and myself.

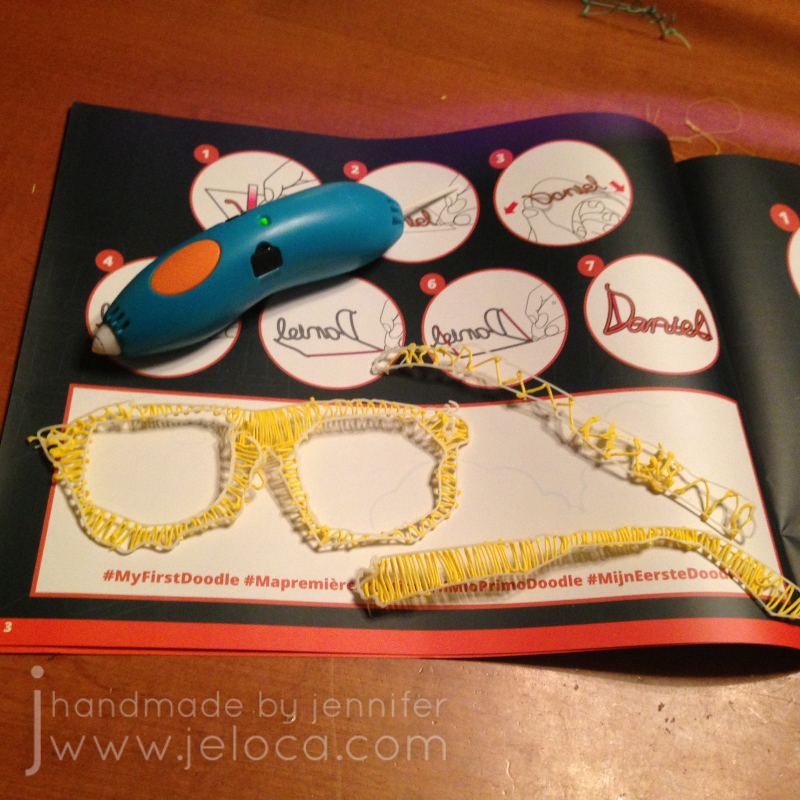
Before long we had all 3 pieces traced and filled, and since they don’t stick and solidify almost instantly they were able to be handled right away.

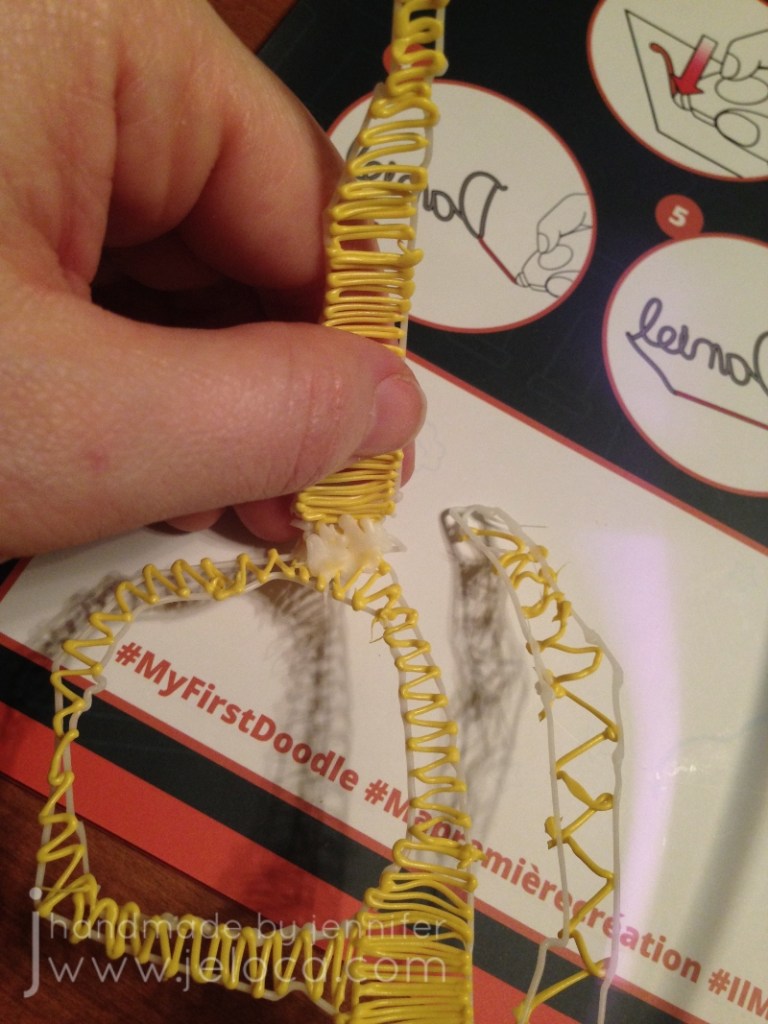
We used a bit more filament to join the arms to the front of the frame…

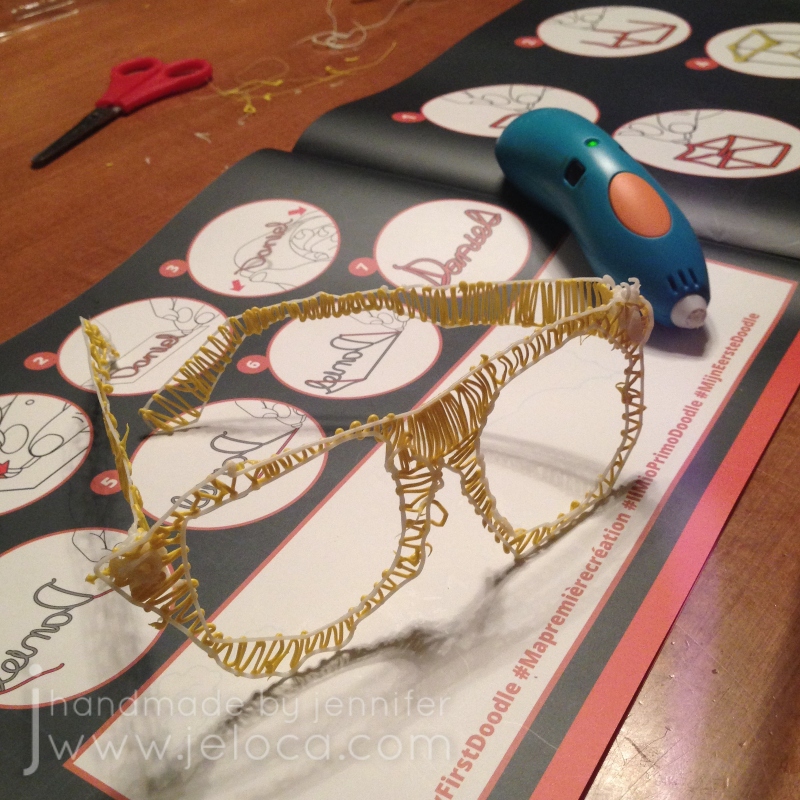
…and then we had a complete pair of glasses!

It was such a fast, easy project that really got Henri excited about the possibilities.

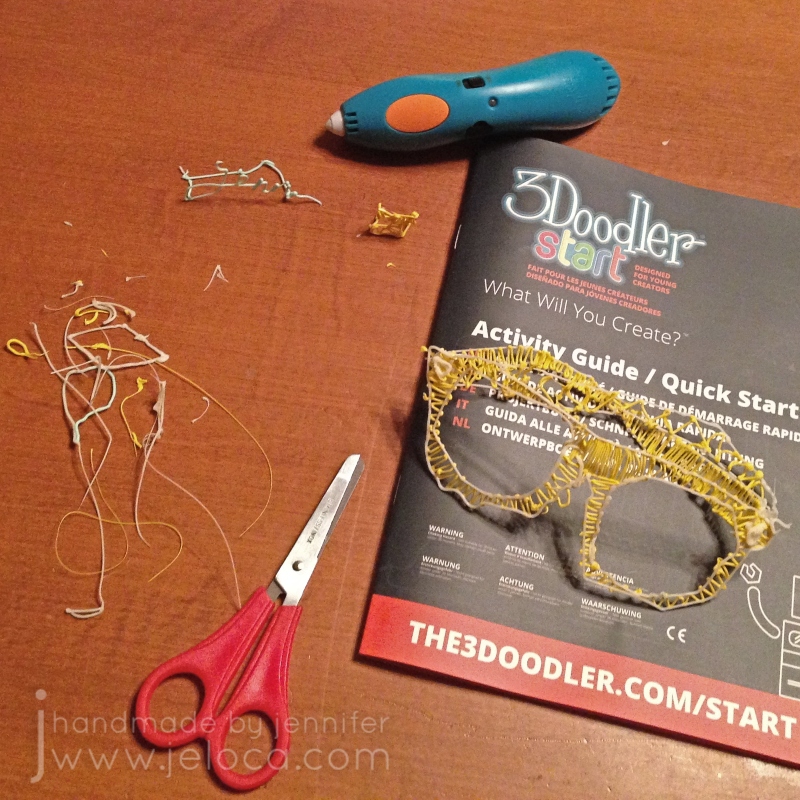
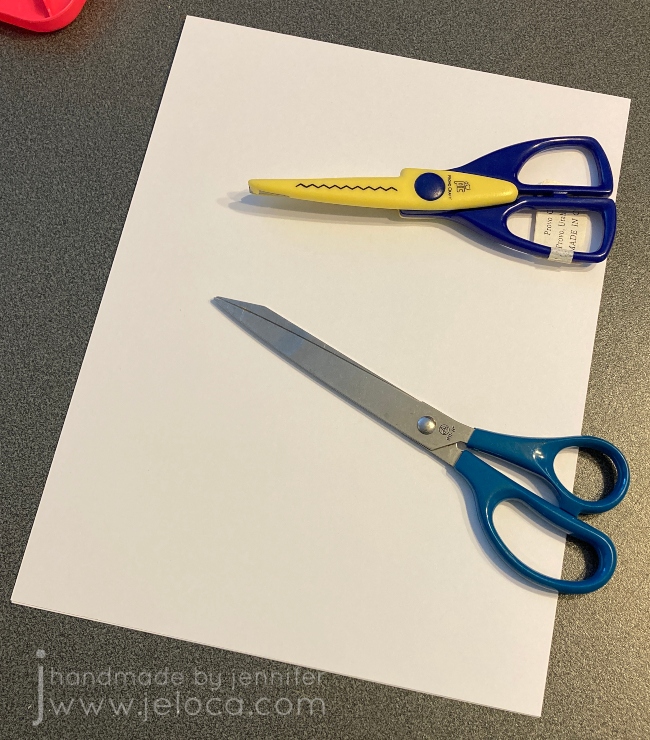
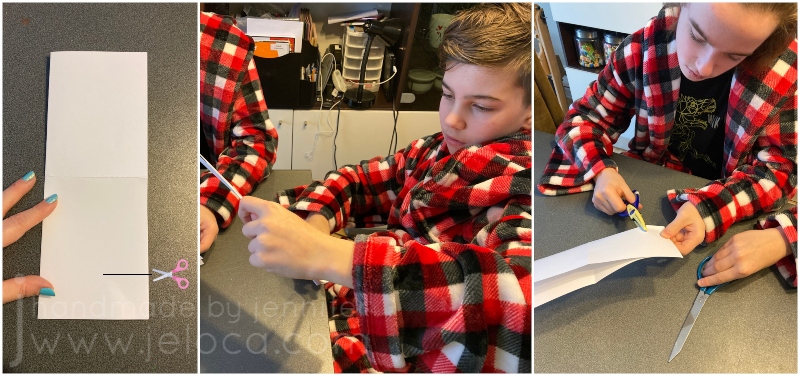
Just like when using a glue gun, the 3D filament can leave trails as you stop or switch colors. These trails are very easy to snip off with a regular pair of scissors and after playing around for a while on the projects we had very little filament waste.

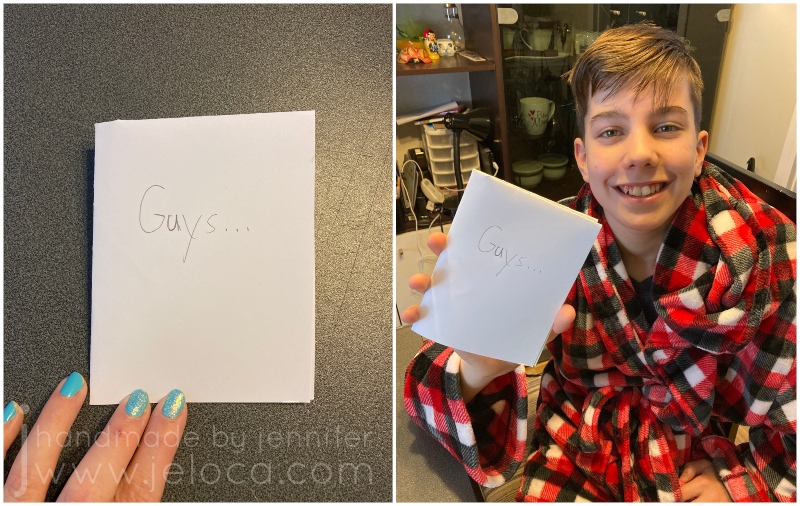
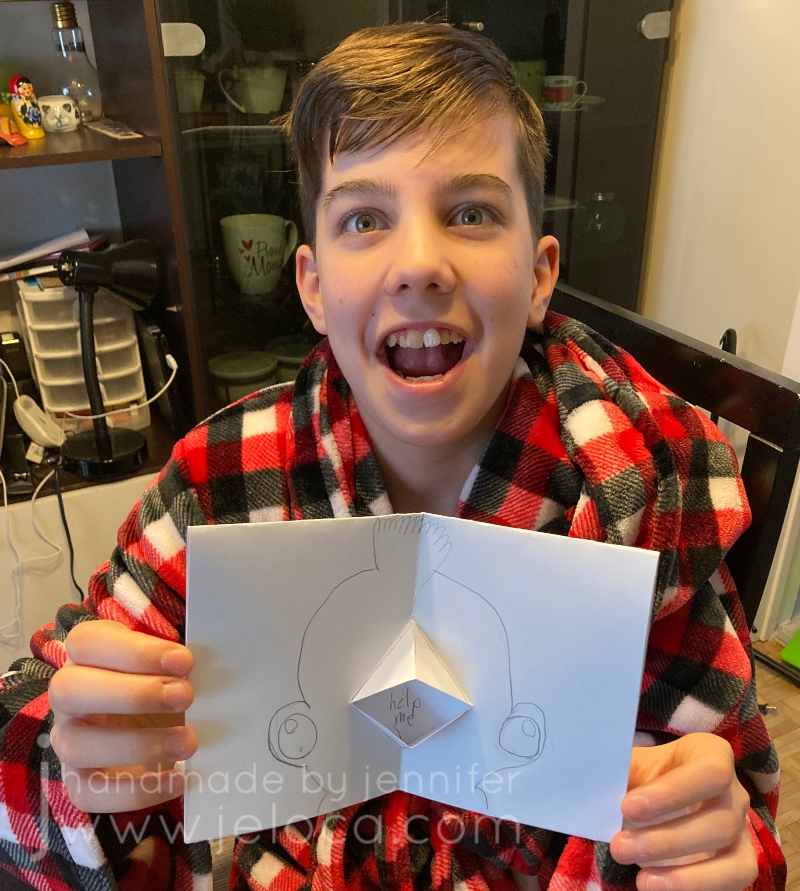
Henri was SUPER proud of his creation and couldn’t wait to make more things.

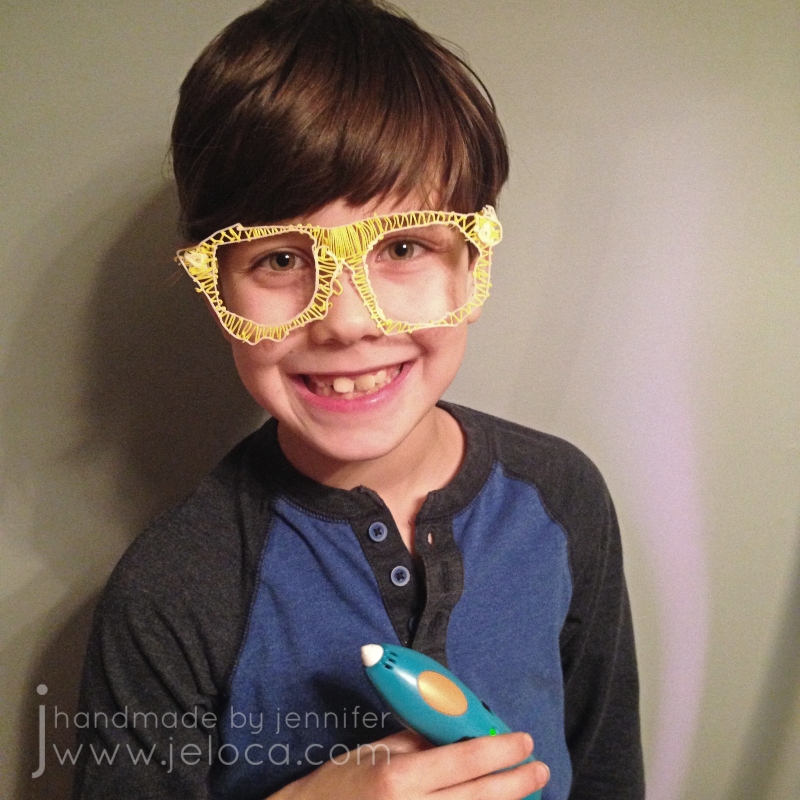
Long-time readers of this blog might be a little confused now, since Henri looks a little young in this pic. In fact I first shared this pic in this post, back in 2017. It’s true – Henri will be 14 on Sunday and this pic was taken 6 years ago right after he received this gift for his 8th birthday. So why am I posting this review now, alllllllll these years later?

Because he still uses it and it still works JUST as good as on Day 1. It’s true! Most toys, and especially most electronic toys, don’t hold up to long-term wear and tear, but the 3Doodler start is in semi-regular rotation around here and it’s still working great. We have a bunch of 3D “printed” items around the house, from a heart that he made me for Mother’s Day 2-3 years ago to a solid 1″ cube/die to an automated vehicle he’s been working on here and there during school breaks using an add-on motorization kit. A few times now he’s even used it for some minor household repairs!

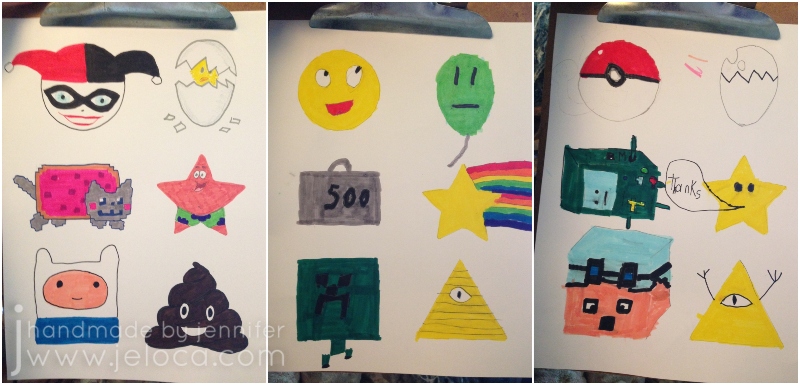
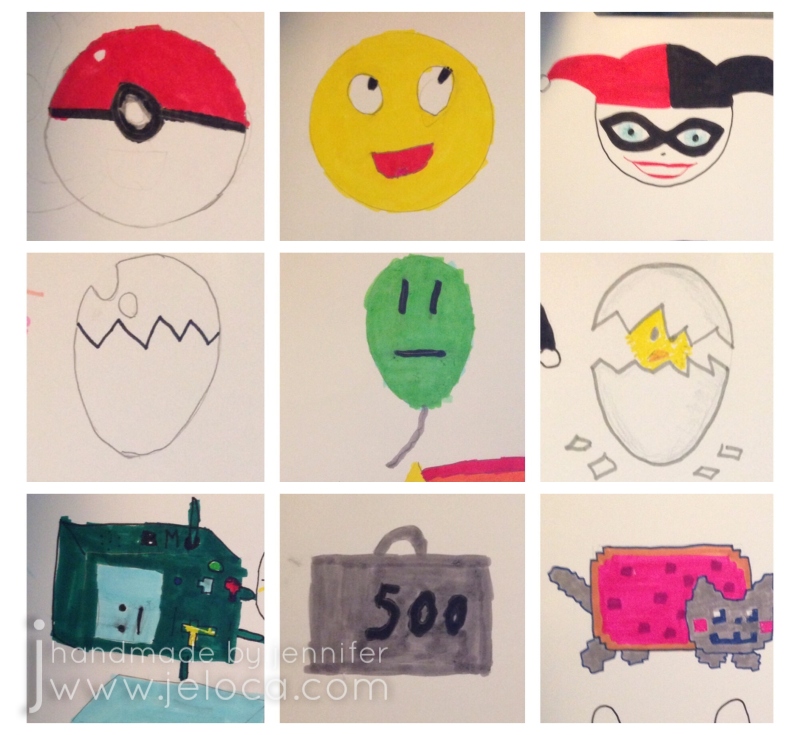
Not only is the pen still actively being sold and supported but you can also still get filament packs in all kinds of colors, including solids and variety packs. One fun thing we like to do is to use page protectors as “drawing” surfaces so we can put images or text inside to trace or use for inspiration. You can even get cases to hold your pen, charger and filaments to keep them compact and portable!

All in all we both agree that the 3Doodler Start is a great entry-level 3D pen for kids or adult beginners to allow you to experiment with 3D creations without breaking the bank. Plus, it’s durable, allowing us to use the same one without issue or repair for almost 6 years now.

This post may contain affiliate links. This means I might make a small commission on purchases made through the links, at no cost to you.


Leave a comment

Coloring with Kids: Cookie Cutter Coloring Game

If you’re home during the holidays and are looking for a kid-friendly and fun craft activity for your family, this boredom-breaker I came up with a few years ago could be just the thing. It’s quick and easy to set up and can be done with nearly any supplies you have on-hand.

What you’ll need:

  • paper
    • Any writing surface will work: computer paper, cardstock, construction paper, even the back of all that wrapping paper from holiday gifts. We used cardstock.
  • something to trace
    • This is perfect for using the cookie cutters you pulled out to bake holiday cookies. Use simple shapes like we did or have fun and find unusual ones! If you don’t have cookie cutters you can get creative and trace tissue boxes, tape rolls, erasers, little toys, etc… We used the shapes from a large assorted set like this one.
  • something to trace with
    • Anything you have on hand! We used a pencil.
  • something to draw/color with
    • Once again anything you have handy will work. Crayons, markers, colored pencils…even ballpoint pens will work just fine. We used Crayola Super Tips.

Start by assembling your materials. I used a ruler to divide our pages into even sections but that’s unnecessary.

Figure out which cutters (or household objects) you want to trace and lay them out in a pleasing manner on your paper of choice.

Trace the objects and repeat so you have one set of tracings for every child or adult participating.

That’s it! That’s all the prep work you need! The goal of the game: be creative and turn each traces shape into something new.

It was fun to do and kept the kids occupied for ages while they tried to “out-think” the rest of us and come up with the most unique, original ideas. (Though as you can see from our sheets they managed to think themselves right into some similar outcomes!)

There’s no desired outcome so you can have fun and see where your kids’ (and your own!) imaginations run. In our case we ended up with:

Circle – a Pokeball, an emoji, Harley Quinn
Oval – an egg, an unimpressed balloon, a chick hatching
Rectangle – Adventure Time’s B-MO, a 500lb weight, Nyan Cat

Star – a Mario Bros star, a rainbow shooting star, Spongebob Squarepants’ Patrick Star
Square – DanTDM’s Minecraft avatar, a Minecraft Creeper, Adventure Time’s Finn the Human
Triangle – Gravity Falls’ Bill Cipher, another Bill Cipher (or general Illuminati reference lol), a poop emoji

Hopefully this easy coloring “game” can inspire imagination in your family like it has in ours.

Happy holidays!

This post may contain affiliate links. This means I might make a small commission on purchases made through the links, at no cost to you.


Leave a comment

Crafts with Kids: How to Make a Talking Card

Did you know that February 21st is “Card Reading Day”? According to Checkiday.com this is a day for reading and enjoying cards that you’ve received over the years, that you’ve held on to for sentimental reasons. Here’s a quick and easy card project you can make with your kids to give others something they can hold on to and re-read on future Card Reading days.

To make a talking greeting card you will need:

  • paper or cardstock
  • scissors (plain or with a creative edge)
  • bone folder (optional)
  • pencil
  • supplies of choice for decorating (markers, colored pencil, construction paper, glue, etc)

STEP 1- with your paper placed vertically in front of you (taller than wider), fold the top edge down to meet the bottom edge, then press fold flat

My kids decided to try out this project, so I talked them through it while making my sample and let them have full creative control over their own.

STEP 2- unfold your paper and this time fold it vertically, so the left edge goes behind and under the right edge.

I’d first learned this card at an art class when I was a bit younger than my boys are now, so it was cool to be teaching it to them now, and passing it on.

STEP 3- orient the card so the fold is on the right. Figure out where you want the mouth to be and make a straight cut.

Your mouth can be as high or low on the card as you would like, but remember that you will be folding the edges on the diagonal, so if you want to place it closer to the upper or lower edges, you will need to make your cut shorter. (So you don’t surpass the upper or lower edge of the inner card face – this will become clearer after the next step).

Henri and I used regular scissors for a straight cut, and Jakob chose ones with a pinking blade to get a zigzag edge to his mouth.

STEP 4- fold either side of the cut edges up, and press firmly. Repeat the same folds to the other side. If you think of the mouth as a bird’s beak, you are folding at the beak’s outer edges.

Our examples are shown with the folds at roughly 45 degrees but you can get creative with this. With a shorter cut you can fold at 45 degrees for a smaller mouth or you can fold at a narrower angle for a bigger mouth (with a small opening).

STEP 5- once you have folded the cut edges to both sides of the card, smooth them flat then fold the top half of the card down to the back.

This puts the 2 solid faces on the outside for the front and back of the card and the mouth on the inside.

STEP 6- use your fingers to tuck the mouth/beak folds outwards while keeping the card folding inwards. Then press the card flat and smooth over it a few times, to “set” that fold.

This is the mouth that will open and close as you open and close the card, making it look like your card is “talking”!

STEP 7- the final step is to use a pencil to lightly trace the inside mouth corners to mark off the boundaries of where you can put your “spoken” message.

You want to use a pencil for two reasons: 1) a pen or marker might bleed through your paper to the outside faces of the card, and 2) you can erase the border after creating your message, for a cleaner look.

From this point on you can decorate the card however you like!

We all ended up taking inspiration from the mouth looking like a beak, and created bird-themed cards.

Jakob and I went for sweet birthday messages…

…while Henri went a bit rogue!

Reinforcing how well he takes after his punny mom, Jakob made a cute BIRD-day card.

I think it’s really TWEET!

He was so proud he just had to CROW about it. (Ok I’ll stop)

I went for a similar theme with mine.

Because the inside of the card isn’t visible (except for where the message is) you can use alcohol markers or other media that might bleed through your paper. You can avoid the message area or glue in a clean bit of white paper after decorating the rest of the card, enabling you to get as creative as you’d like and not be limited to dry media.

I’m so glad I got to pass on this easy card-making method. I hope you (or your kids) make some cute, creative cards that can be someone’s sentimental memory to look at fondly in the future. ❤


Leave a comment

Crafting With Kids – Easy Photo Ornament

It’s December 1st, and although stores have been in Christmas mode since even before (American) Thanksgiving, we’re now “officially” close to the holidays. Here’s a quick holiday project that’s easy enough for kids to make (with minor supervision). These easy photo ornaments are a great way to share cute images and make great gifts for grandparents. They can even be used as gift tags!

I used extras of my kids’ Santa’s lap pictures, but you can use school photos, family portraits, even pet pics!

Materials needed:

All materials as shown were found at my local Dollarama, though I’ve linked Amazon’s versions for delivery convenience.

For an ornament style, have draw or trace a circle around the desired part of your image. You aren’t limited to circles, of course, and can draw any shape you like. Cut out your shape and outline it with your choice of glitter glue. You can add other embellishments if desired, can trace only the outline as above or a later pic below, or fill in a part of the image as seen in the following images. Set aside to dry fully – at least a few hours, or overnight.

Prepare your tulle or ribbon as follows: make one large bow, one small one, and then tie two bells onto a 10″ length of tulle/ribbon, leaving about 3.5″ between them. You can trim the tail ends later. If unable to thread the tulle/ribbon through the bell’s loop, a yarn needle can help. You can also use the yarn needle (or the scissors or a hole punch) to make a small hole in the top center of the image.

Stack the small bow on top of the large bow and use the tulle/ribbon with the bells to tie them together, allowing the bells to dangle below. Cut all tails to desired length.

To assemble: Cut a 10″-12″ length of yarn. Loop through the hole in the ornament. You can use the yarn needle to thread the yarn ends through the knot of the large bow, or tie the yarn directly around the center of the bow bundle, between the two bells. Knot the two ends of the yarn together to create a hanging loop.

These hold up pretty well! While the step-by-step images were taken in 2017, the photos from here onward were taken in November 2021. This is an early, more simple version I’d made in about 2015.

The example ornament has the center spot in our wreath and it’s lasted quite well. I’ve written the date and kids’ ages on the back, and they create a nice memory during the holiday season.

Happy holidays!

This post may contain affiliate links. This means I might make a small commission on purchases made through the links, at no cost to you.