Leave a comment

Skylanders Sprocket Cosplay – Vest Part 4

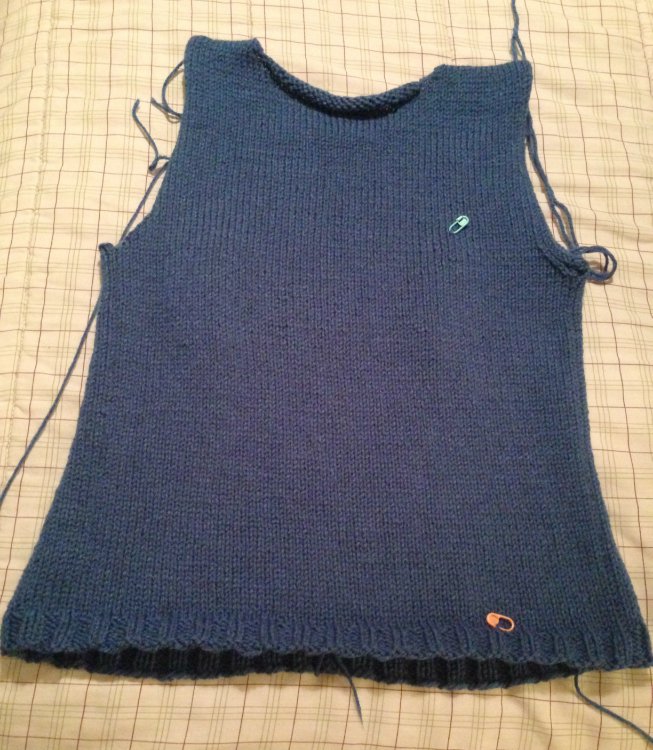
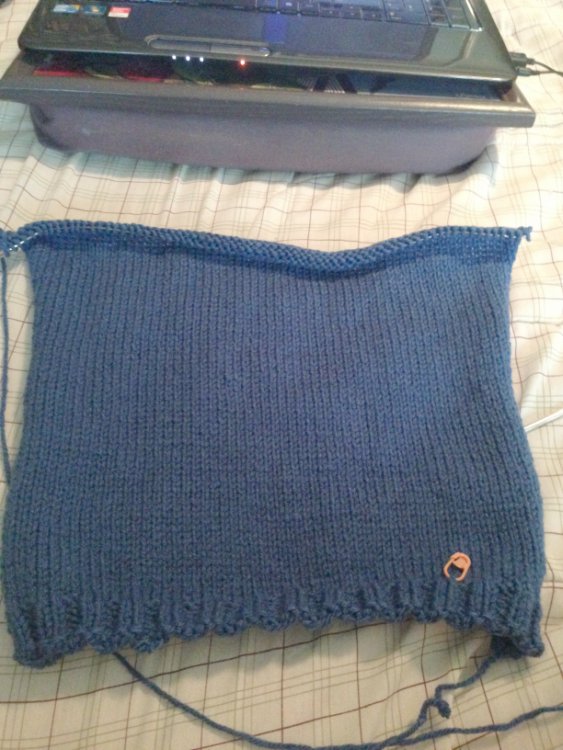
It’s done! On Tuesday I finished the vest, and was able to move on to the next part of the Sprocket cosplay.

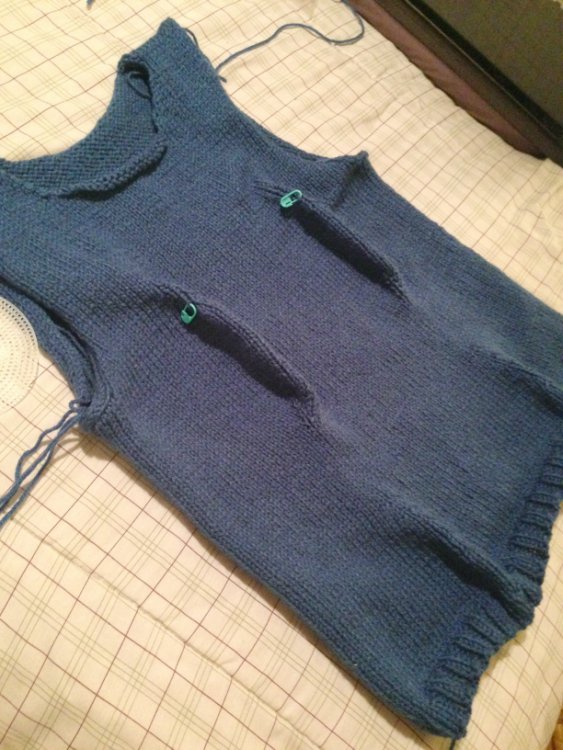
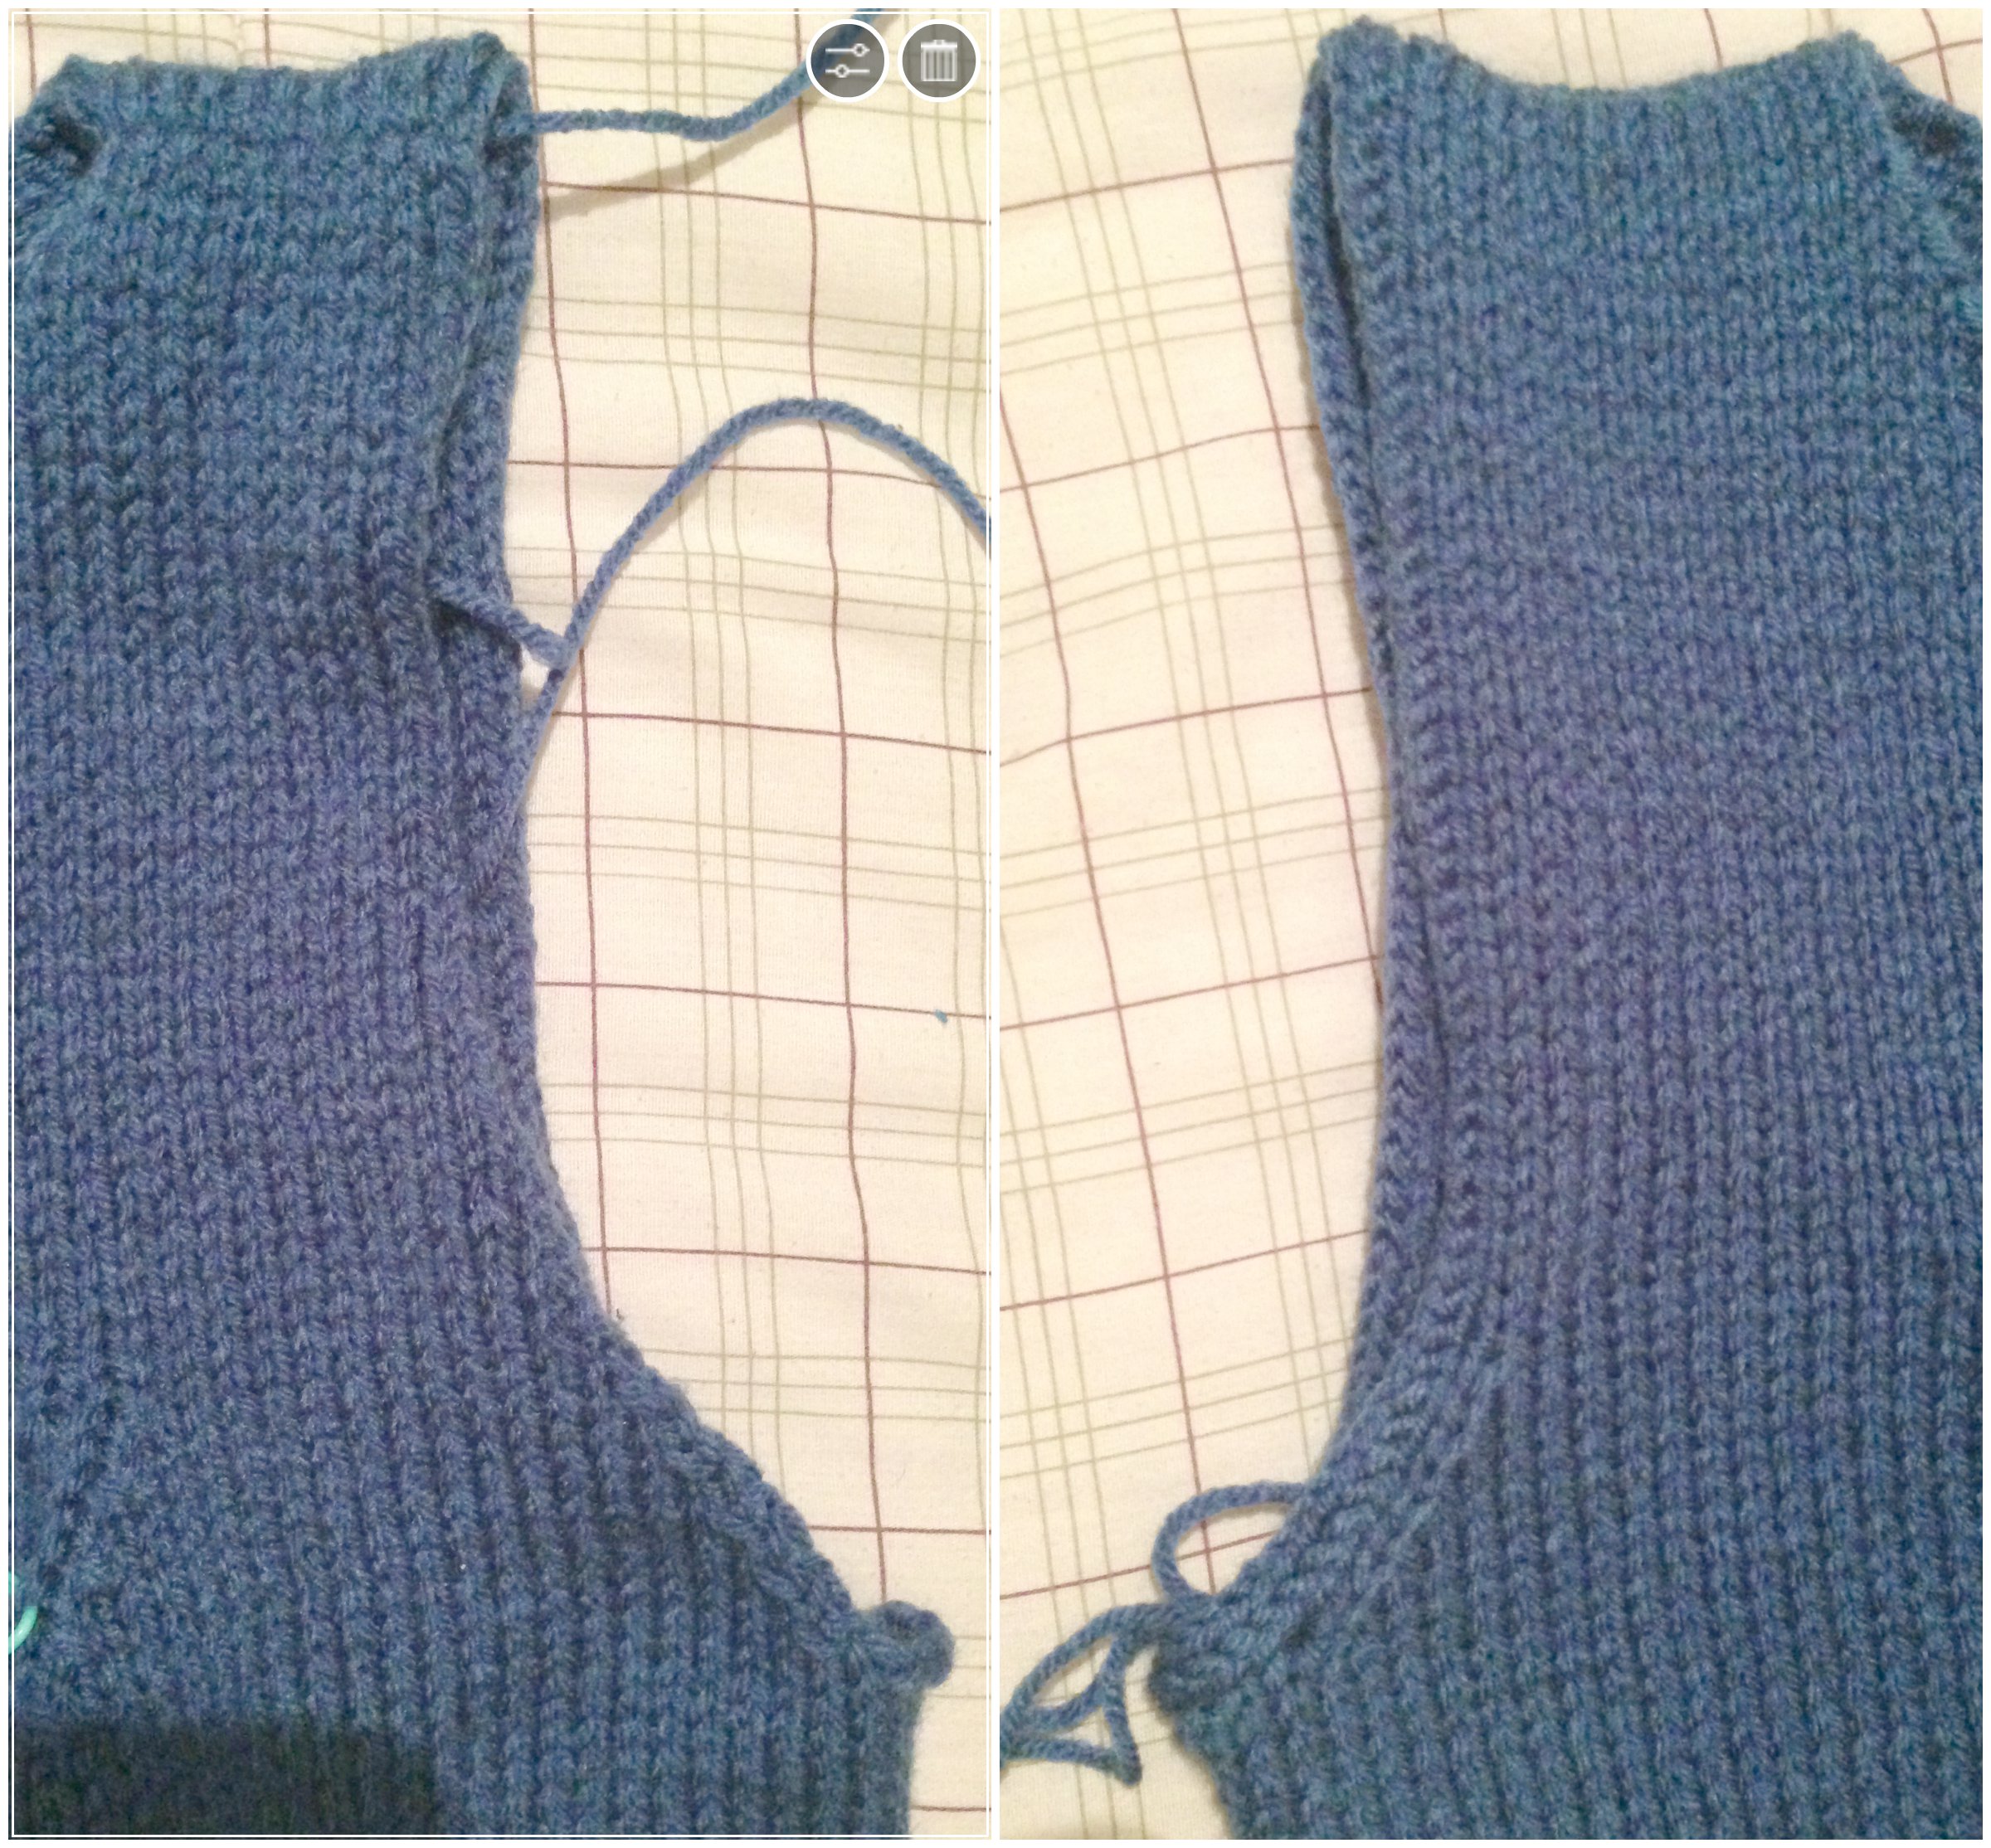
I ended up picking up stitches around the armholes then working a 3-st, i-cord BO/applied i-cord around the edge, grafting the ends together.  I didn’t bother with a provisional CO, I just used the yarn tail to duplicate stitch the join so it looked flush.  In this image you can see the difference between the before (left) and the after (right).

skylanders sprocket vest fo 01

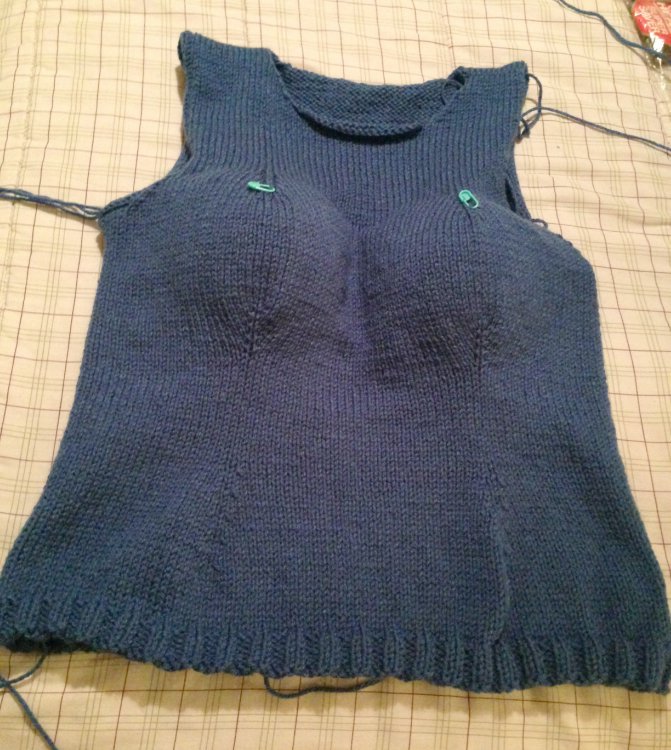
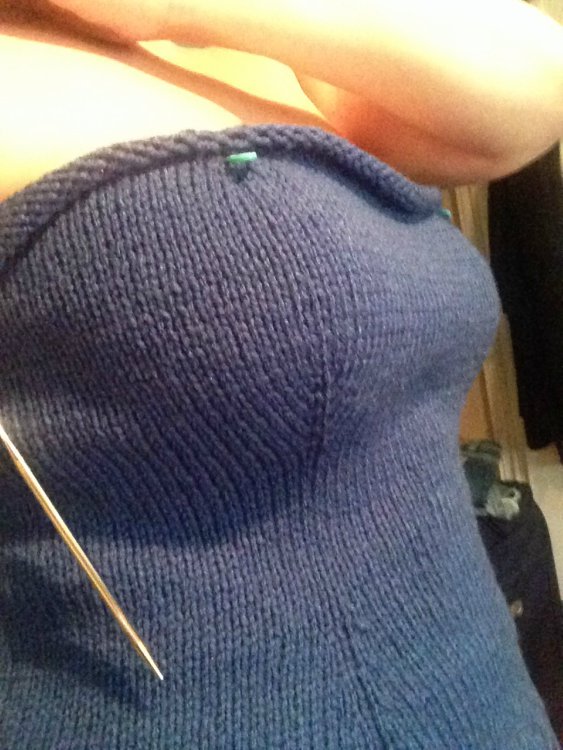
I did the same thing for the neckline, with one minor tweak.  The edges were curling, and I preferred the lower edge.  So when I picked up the sts I picked up about 3 rows down in the flat sections, turning that extra fabric to the back.  After working the i-cord I took another length of yarn and tacked that little flap down on the insides.skylanders sprocket vest fo 02

You can just barely see it on the inside, and see a slight ridge on the outside, but I don’t mind.

The lighting in my kitchen sucks, but here’s the back…

skylanders sprocket vest fo 03

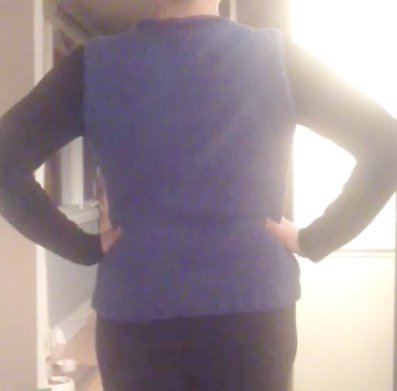
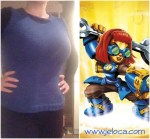
… and the front.  And Sam, for some reason.skylanders sprocket vest fo 04I’m wearing it over the shirt and pants I bought for the costume, so this is the best progress pic so far.  😀

Plus- it fits!skylanders sprocket vest collageCosplay progress completed parts to-date:

  • shirt
  • pants
  • vest

sprocket progress 01


Leave a comment

Skylanders Sprocket Cosplay – Vest Part 3

By Monday night I had a complete vest.

skylanders sprocket vest wip2 01The back, after seaming the sides and shoulders…skylanders sprocket vest wip2 04…and the front.

Heh.  Those darts look rather silly when laid flat like that, don’t they?  As soon as I realized that I slipped a bra inside to help, erm, fill things out a little. skylanders sprocket vest wip2 02

That’s better… if a little scandalous-looking.

skylanders sprocket vest wip2 03At some point I will be making the gauge Sprocket wears on her chest, and I wanted to make sure I had enough room to place it flat on my chestbone.  I do, and discovered that the neckline was actually a little higher than I needed.  I prefer it falling as low as it is curving, not where it would be if the bound-off sts were actually laying flat.

This was where I set it aside for the night.  I wanted to look up armhole finishing techniques, and was unsure if I wanted to do an icord BO/applied icord around the exposed edges, or pick up, knit a few rows and bind off, leaving a curled edge.  It was late, so I decided to sleep on it.


Leave a comment

Skylanders Sprocket Cosplay – Vest Part 2

The back of Sprocket’s vest complete, it was time to design the front.  Sunday morning we slept in after a lovely and decadent family wedding, and then while Yannick mowed the lawn I drank some coffee and did maths.skylanders sprocket vest sketch 02Before even beginning to decide how to tackle the front, I wanted a map of exactly how many rows my back piece was.  I wasn’t concerned about matching width, but it would sure suck to start seaming the sides and realize my rows were way off.  I pinned the back out to a blocking board, double-checked my hasty pattern, and filled in my sketch.

Now I knew I had 140 rows total for the front, and to make them even I could ‘spend’ 6 rows on the lower ribbing, 78 rows making my way to the armhole decreases, then jigger the bust however it took as long as I squished it all into 56 rows.  On the width issue, my only requirement was that I finish the shoulders at 16 sts each, so I could do a 3ndl bind off on them later.

By this point Yannick had come inside to join me, and was playing Mario Kart while I did more maths. skylanders sprocket vest sketch 03Which led to way more maths and a minor tease of a headache.

skylanders sprocket vest sketch 04

But in the end I figured it out.  I would cast on enough sts for my belly, and work the rib to match the back.  Mosey my way up to my waist, working darts to decrease towards my narrower point, and then after a bit worked even I’d re-increase along the same dart lines to fit my bust.  More working even, and that should get me to the armholes.  Then I’d decrease for the armholes AND the top of the bust darts at the same time, narrowing the whole top to the same 15″ across as the back.  Work the straps, ending with 16 sts each.  Easy peasy lemon squeezy, as Henri would say.

And?

It worked!  I got all the way up to the bust increases done on Sunday and after brunch with friends on Monday morning I came home and seamed the sides so I could try it on.

skylanders sprocket vest wip 02After trying this I have to say I’m hooked on darts.  I think any knitted top that isn’t complicated by patterning, that I want to be somewhat fitted, will now have waist and bust darts.  Or at least bust darts.  The difference they make is astounding.


1 Comment

Skylanders Sprocket Cosplay – Vest Part 1

With last Friday bringing Sprocket’s wrench to a place where seaming was all that remained, I needed to keep going and come up with a new portable part of the project.  I knew I’d be going to see a movie that night and was loath to give up on the possible knitting time, so I hurried to sketch up a quick plan of attack.

sprocket2My working model of Sprocket is going to be a mix of the original (above) and this drawing I found on DeviantArt:

sprocket devartI contacted the artist, DizPlicity, on Facebook, and got permission to work from her design.  Yay!

In both cases Sprocket wears a blue ‘vest’ over black long sleeves and black pants.  A few weeks ago I went to Value Village and picked up those two items, so I tried on the top over the bra I planned to wear and took a few measurements.

The first thing I realized was that knitting the vest in the round would not work without some serious math.  I have a lot more…uh… mass in the front than I do in my back, and simply measuring around my body and dividing in 2 would result in a front that pulls, and a back that sags and bunches.  I had an idea for knitting the front in a way to incorporate bust darts for some serious shaping, but hadn’t quite figured out how to do that, so the easiest thing would be to start with the back.

My back, both in real life and for the back of the vest, is pretty straightforwards.

skylanders sprocket vest sketch 01I knocked out a fast sketch of the shape and dimensions I wanted.  I swatched my yarn (Red Heart Super Saver in Blue Suede, and 5mm Addi circs) and once I had my gauge I plopped those numbers into Excel and did the maths to write up a pattern for the back.  I decided to work from the bottom up so I could have a ways to go before getting into any shaping – perfect for darkened theater knitting.

skylanders sprocket vest wip 01

This, in case you’re wondering, is how much knitting one can get done during Avengers: Age of Ultron.  I knit the ribbing before leaving and all the rest during the movie.  By the time I got home I was only 10 rows short of my armhole decreases. skylanders sprocket vest wip 03And here’s the completed back.  Next up, the hard part – the front.