As mentioned in my last Adventure Time cake post, Jakob’s obsession with the show covered both his 6th and 7th birthdays. For this year he had both Gunter cupcakes for school AND Gunter & BMO cakes for his birthday party.

Both cakes started with doctored box mix and store-bought icing that I adjusted even further by mixing in crushed Oreo cookies to either the cake batter or the icing.

The Gunter cake was Oreo cake with plain vanilla icing, and the BMO cake was plain white cake with Oreo icing.
To make Gunter I carved the cake to give it a rounded top and then covered it with black fondant (the only color I sometimes buy pre-tinted). All the other colors used started as white fondant which was then tinted with gel colors.

I then layered on a white piece for the face/body, a faux-parchment birthday message, black wings and black and white eyes, with a yellow beak.
It was a similar process to make BMO. I started with a thicker, rectangular cake and covered it with a pale teal layer of fondant.

Small bits of blue, green, yellow, black and an even paler teal were used for the details, and then I rolled snakes of the body color to create BMO’s arms and legs.

I decorated the base cover of each cake separately then transferred them to the serving tray before applying the finishing details.

Neither one made it home from the party!

Jakob’s other birthday cakes
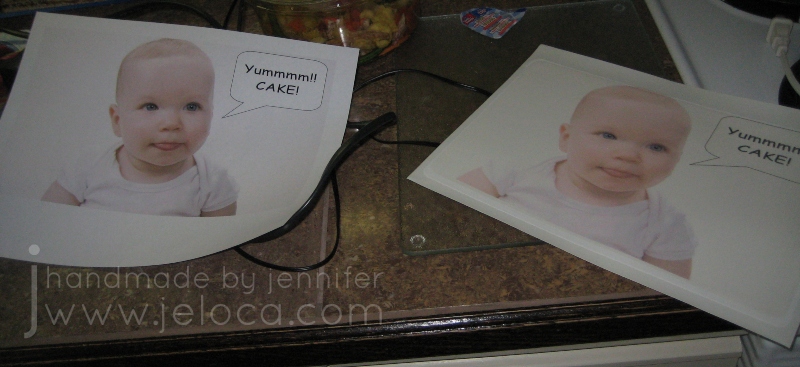
- Jakob’s 1st birthday – printed cake
- Jakob’s 2nd birthday – Pirate cake and pirate cupcakes
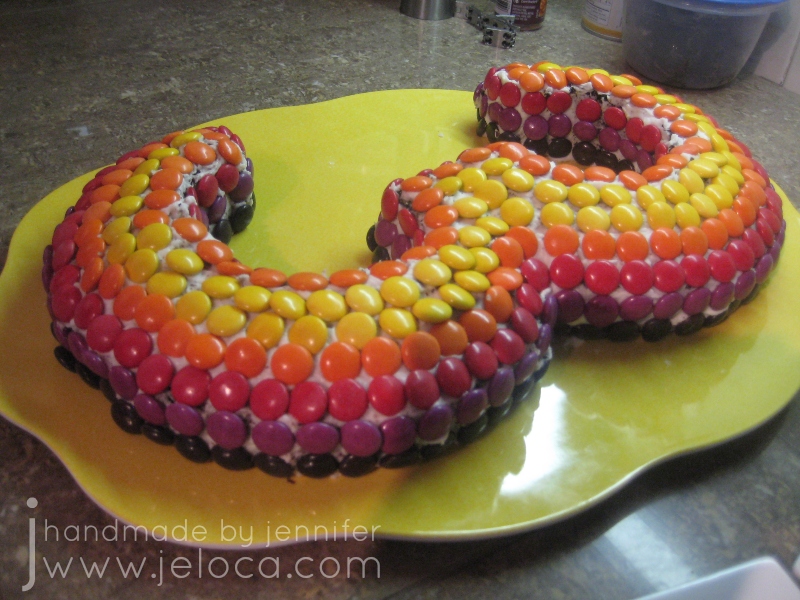
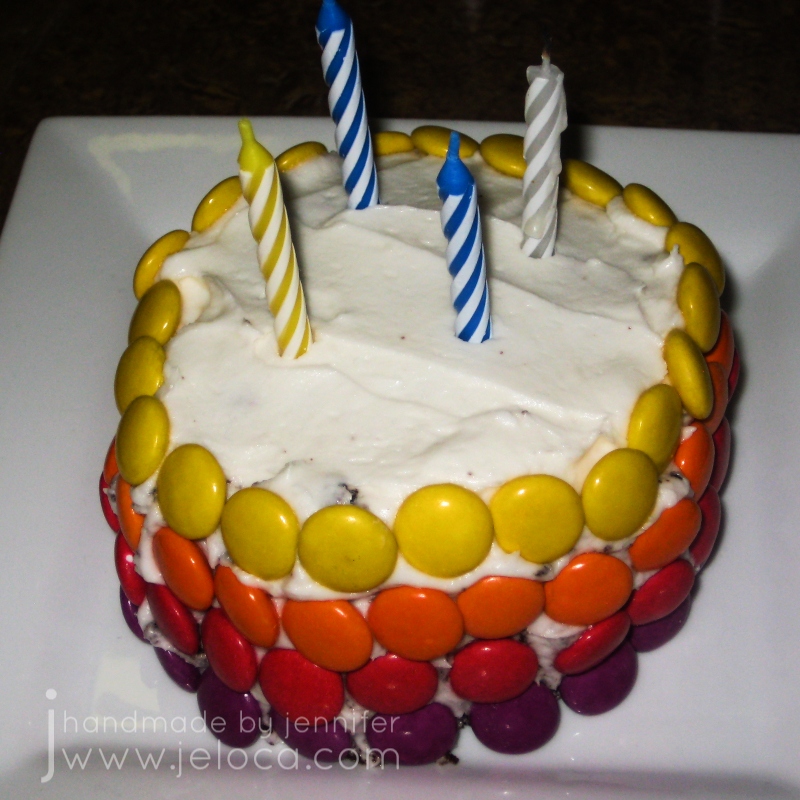
- Jakob’s 3rd birthday #1 – Smarties Number 3 cake
- Jakob’s 3rd birthday #2 – Dinosaur cake
- Jakob’s 4th birthday – Pixar’s CARS cake
- Jakob’s 6th birthday – Adventure Time cake
- Jakob’s 7th birthday #1 – Gunter cupcakes
- Jakob’s 7th birthday #2 – Adventure Time BMO & Gunter cakes (this post)
- Jakob’s 8th birthday – Minecraft Creeper checkerboard cake
- Jakob’s 9th birthday #1 – Super Smash Bros Brawl – Ike cake