

Jakob’s 15th(!!!) birthday is coming up in a few weeks, so just as I’ve been doing for Henri, I’m going to countdown Jakob’s past birthday cakes.
Jakob’s first birthday cake was a simple homemade banana cake with an edible printed sheet.

I’ve never owned a food ink printer so I designed the image on my computer then brought it to a local restaurant supply store who offered the edible print service.
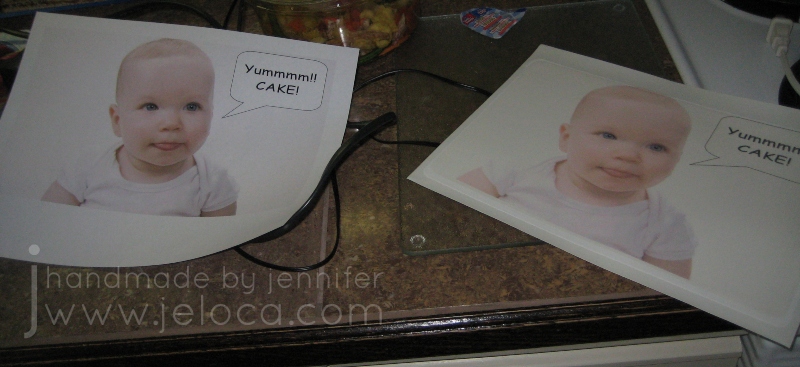
(I don’t have an image of the complete cake for some reason).
His second birthday pirate cake and pirate cupcakes were actually the first food tutorials I’ve posted on this blog. Which brings us to his third birthday. He had 2 cakes when he turned three, as he had both family and friends/daycare parties. For his family party I made this easy “number 3-shaped” cake.

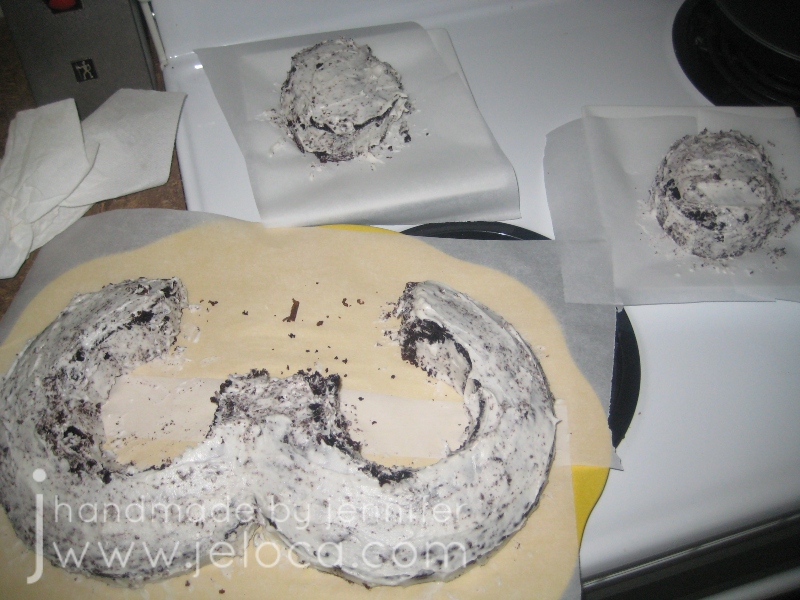
All you need to do to create this cake is bake 2 round cakes. Mine were both 8″. One layer each will work, though if you want a higher cake you can tort and fill each cake so you have 2 layers.

Follow the instructions on the diagram above to create your shape. First cut and remove the center of each cake, leaving a ring-shape. Cut away a quarter of each ring, and then position the rings as a “3” to make it easier to see where to cut away the remining bit of cake. So that the cakes sit nicely together, remove a slice off the edge of each ring where the two cakes will touch, so the surfaces that touch are flat, not rounded. (Section 3 in the template).
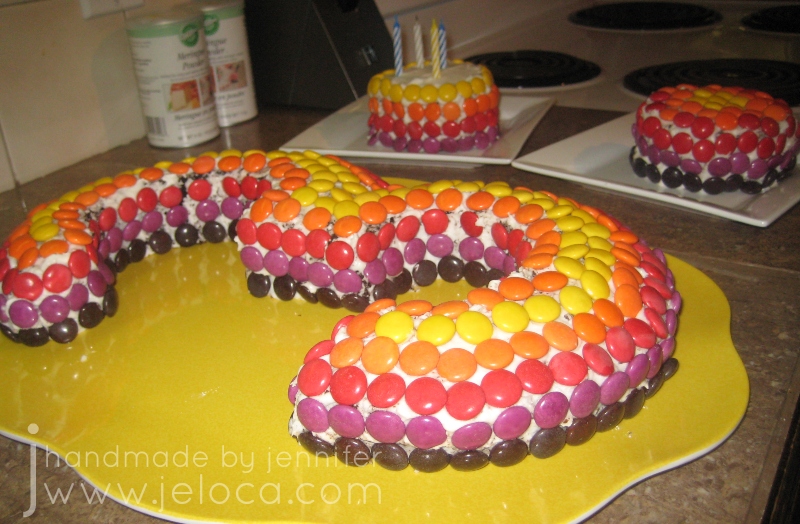
Then all you need to do is ice and decorate your cake! I decided to keep the small inner cake sections and decorate them as well.

To make decorating super quick and easy, I used Smarties to cover each cake. The longest part of this was sorting the candy packages by color! Once I had them in individual bowls, the placement of each was pretty fast.
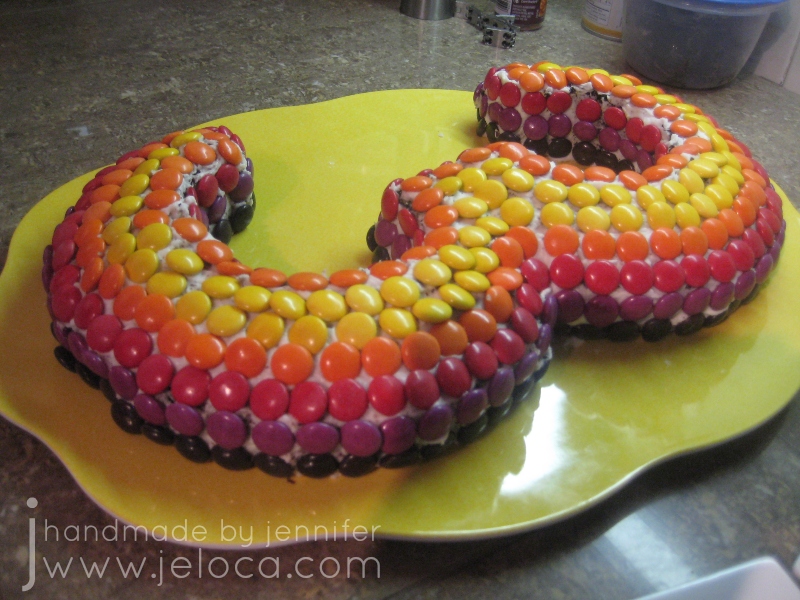
First I iced the cake (in my case, vanilla icing on a chocolate cake base), then covered it in the Smarties. I chose to place them in a gradient from darkest on the bottom to lightest on top, for an almost “sunrise”-looking effect.
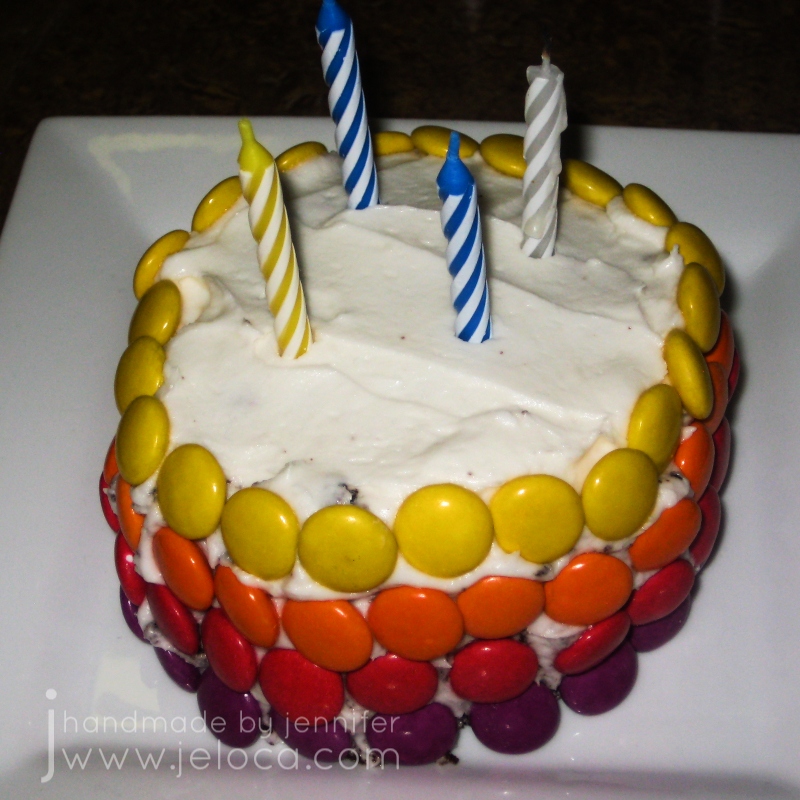
One of the cake centers was iced and given candles for Jakob to blow out. He got to have this one for himself (and no one else got his germs from trying to blow on the candles!).

The other center was iced in a similar fashion to the main cake, using up the remaining Smarties. I believe we’d sent it home to a family member who’d been unable to attend.
Shaped cakes can be tricky but this one is really easy and looks great, and all it takes is 2 round cake layers, some icing and a bulk bag of candy.

It didn’t only look good- the birthday boy found it tasted finger-licking good too!
Jakob’s other birthday cakes
- Jakob’s 1st birthday – printed cake (this post)
- Jakob’s 2nd birthday – Pirate cake and pirate cupcakes
- Jakob’s 3rd birthday #1 – Smarties Number 3 cake (this post)
- Jakob’s 3rd birthday #2 – Dinosaur cake
- Jakob’s 4th birthday – Pixar’s CARS cake
- Jakob’s 6th birthday – Adventure Time cake
- Jakob’s 7th birthday #1 – Gunter cupcakes
- Jakob’s 7th birthday #2 – Adventure Time Gunter & BMO cakes
- Jakob’s 8th birthday – Minecraft Creeper checkerboard cake
- Jakob’s 9th birthday #1 – Super Smash Bros Brawl – Ike cake


