
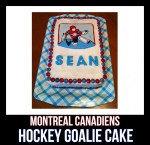
Coming off the Montreal Canadiens’ win last night, I figured the timing was good to post another cake I’d never posted at the time. The closest I’ve come to HABs cakes have been the 2 hockey goalie cakes I made for my cousin’s son Sean’s last two birthdays, and this is the first one, from back in January 2014.
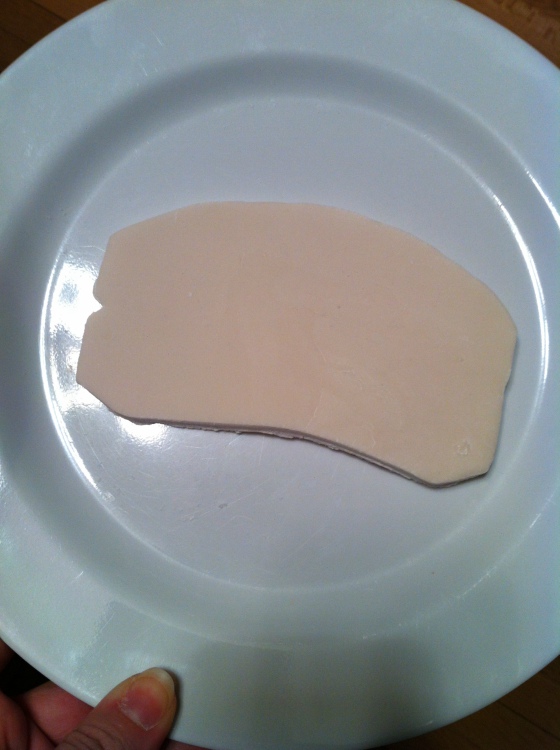
This cake started, like a lot of them do, with a fondant topper. I sketched up the design using clip art, coloring books and player images (for the uniform details) and worked up an image I liked. Then I traced the outside edge onto some ivory fondant with a knife, cutting away the excess.
I don’t have better pics of the next step, but it’s one of the methods I use when transferring images. Sometimes I use push pins to poke holes where my lines need to go, in this case I needed a more accurate, detailed transfer. First I held my image up to a window and traced it on the back of the paper, so I had a reverse copy. Then, using black gel icing and a toothpick, I lightly traced over those lines. When I was done I carefully turned the image right-side up, and set it down carefully onto my fondant, basically using the original sketch as a stamp, and stamped the gel-drawn image onto the fondant.
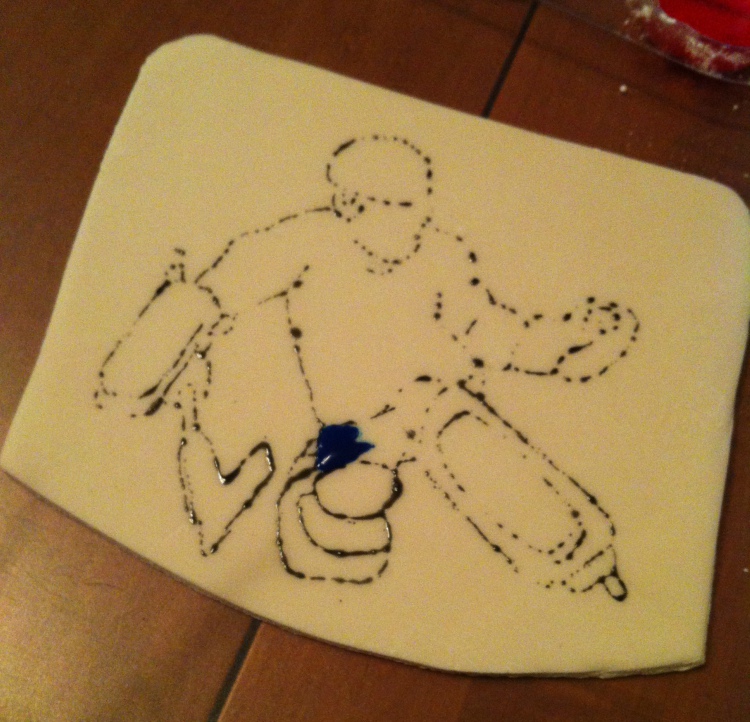
That left me with a pretty good outline of what I wanted to paint. Next was to start painting. I also didn’t take many progress shots back then, but you can see how I worked upwards. First I did a base layer of the different colors, then a second layer to create the shaping/dimensions. For example: the red outline of the goal has only one layer (it looks lighter and flatter) but the uniform/helmet already had 2 coats.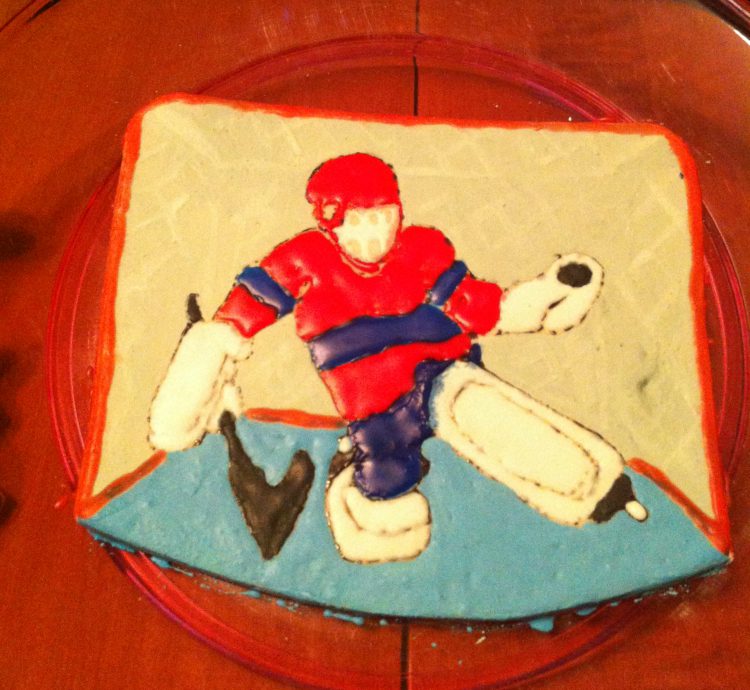
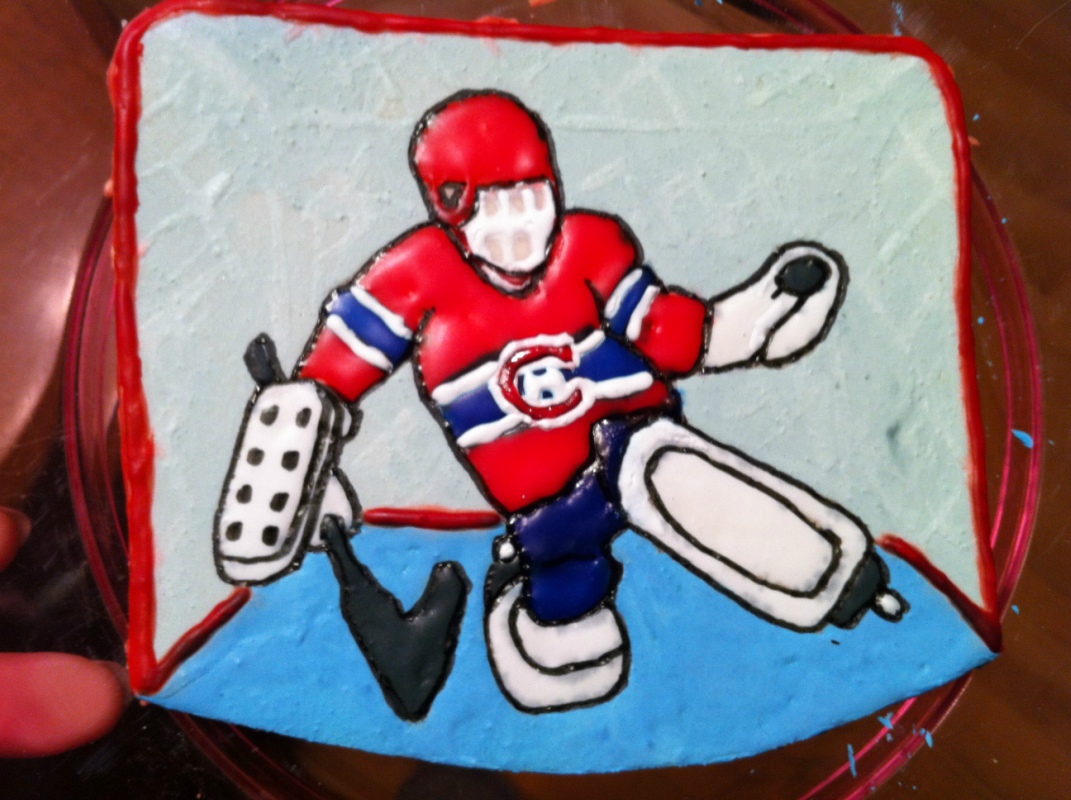
The finished plaque. I’ve added a second coat to all areas and worked the outlines with an edible ink marker. Once the whole thing had dried for a day, I added the “CH” logo. All the painting was done with a small paintbrush and a toothpick.
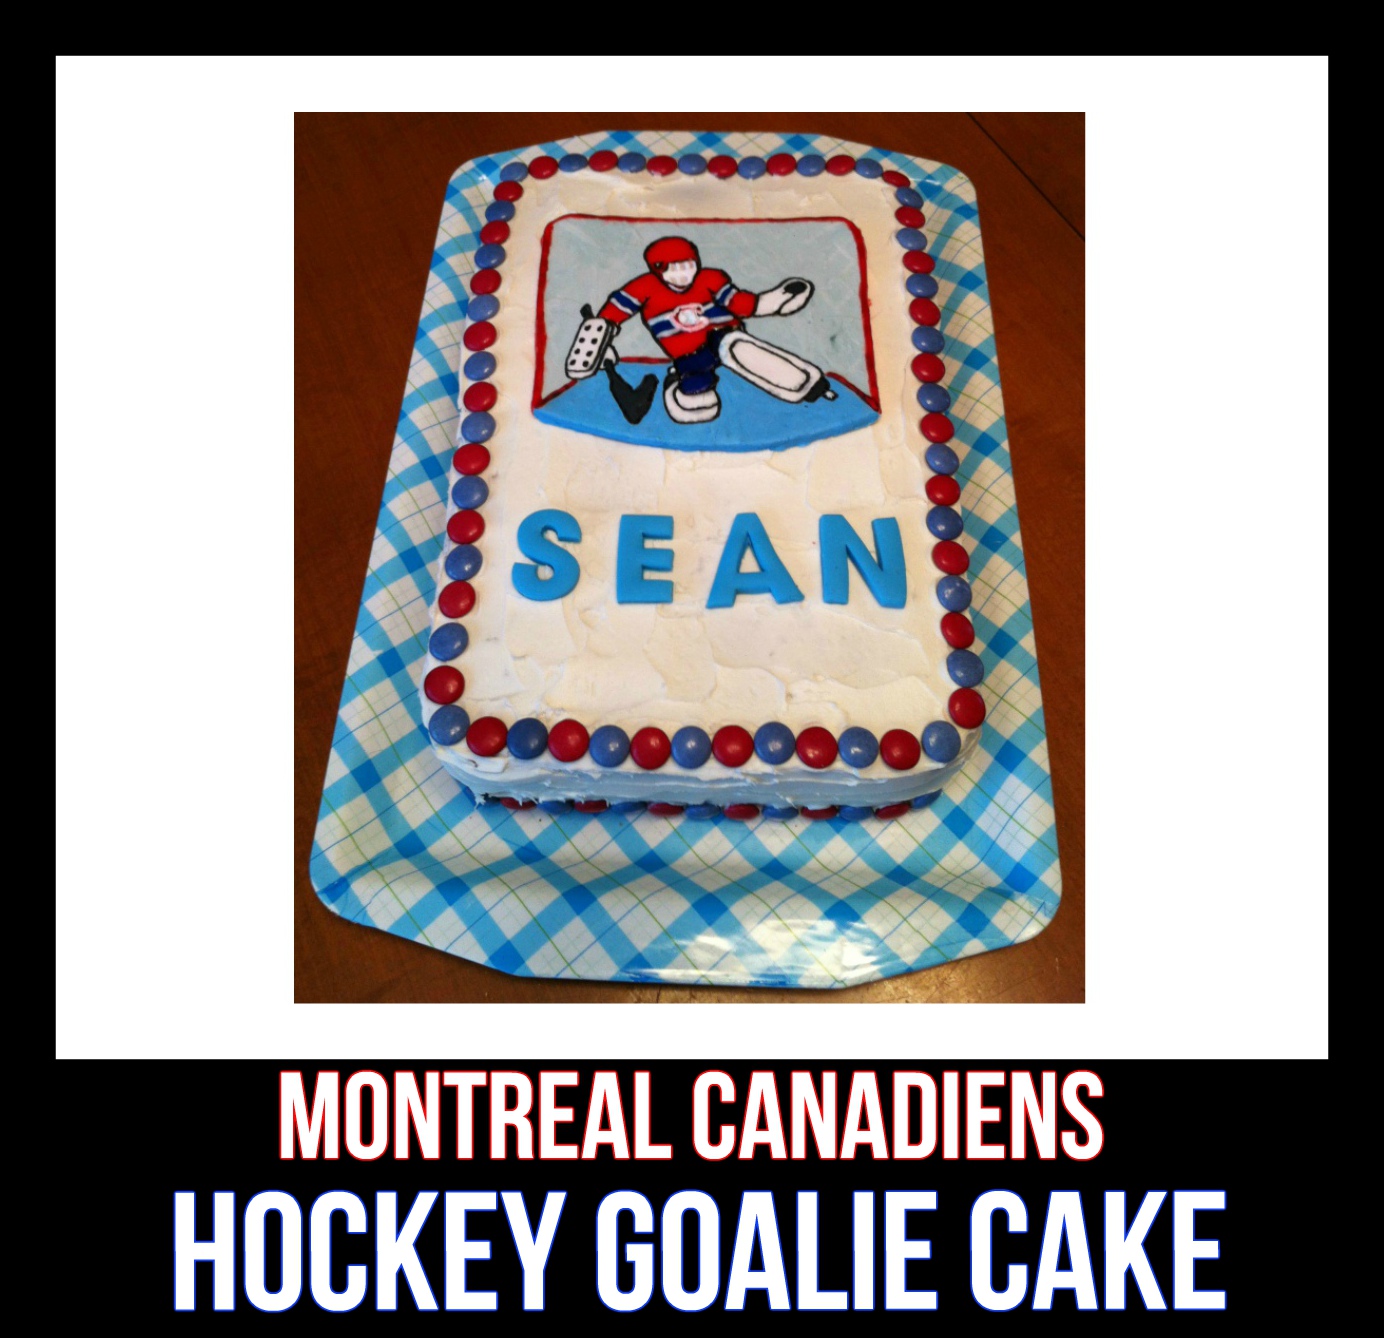
The finished cake. A simple layer of vanilla icing (over a chocolate 2-layer 9×11 cake), trimmed with blue and red Smarties, and the birthday boy’s name. I lightly dabbed the plaque with a bit of water on a Q-Tip to moisten the 4 corners, so it would stick well, as the icing had already crusted over. I didn’t want to attach it while the icing was still damp because I was afraid the colors along the edges would bleed into the cake, so I made sure it was really, really dry first.


