

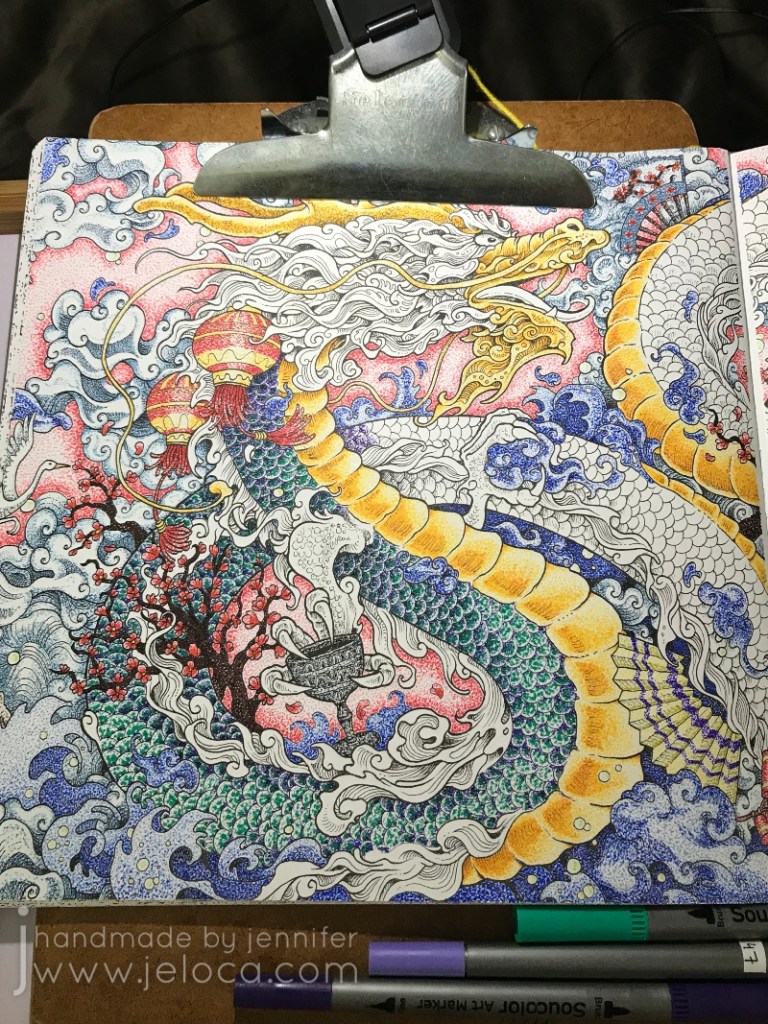
In celebration of today being “Circle Day“, I’m posting the process of coloring the Chinese Dragon page in Kirby Rosanes’ Mythomorphia coloring book.
Can you tell why I’m posting this today? Look closely – every single drop of color in this image is created with a tiny circle. That’s right- over the course of the entire month of November 2018 I painstakingly tapped markers to the page to color in the whole picture with teensy little dots.

Of course a project of this scale requires fineliners and so I pulled out my pack of Soucolor markers. Not only do they come in 100 colors but while one side has a fantastic brush tip, the other has a 0.4mm fineliner tip, making these markers great for coloring books and perfect for this attempt. (Note: I own these same markers by two different brands. The Soucolor ones only seem to be currently available in sets of 34 but they are completely identical to this 100-count set by Feela that I also use regularly.)

The best way to start a project like this is simply to just begin, so I found a small, contained shape in this lantern and began to tap individual dots of red and yellow, I worked tighter groupings of dots anywhere I wanted to create shading, like in the vertical ridges on the lantern above.
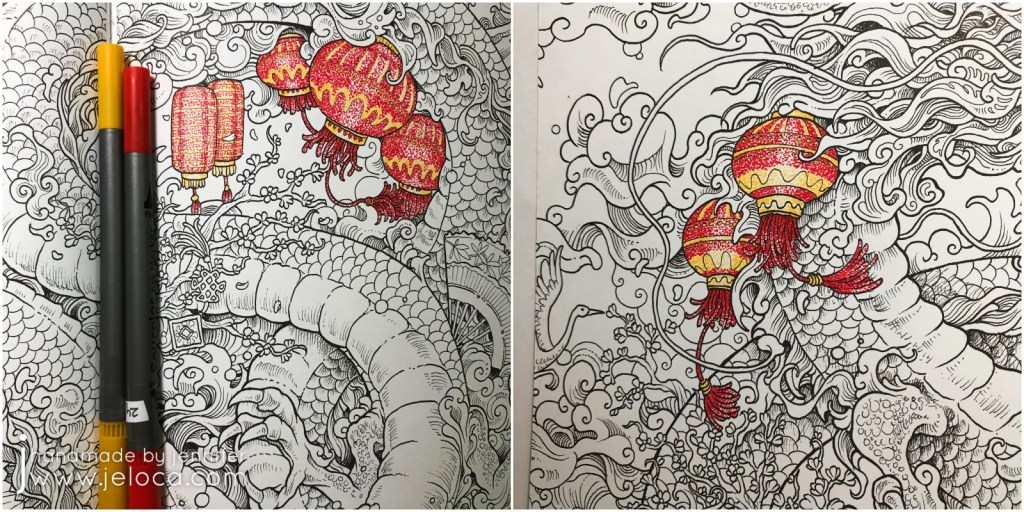
I then found the other lanterns in the image and dotted them with the same two colors, creating patterns and stripes for more interest.

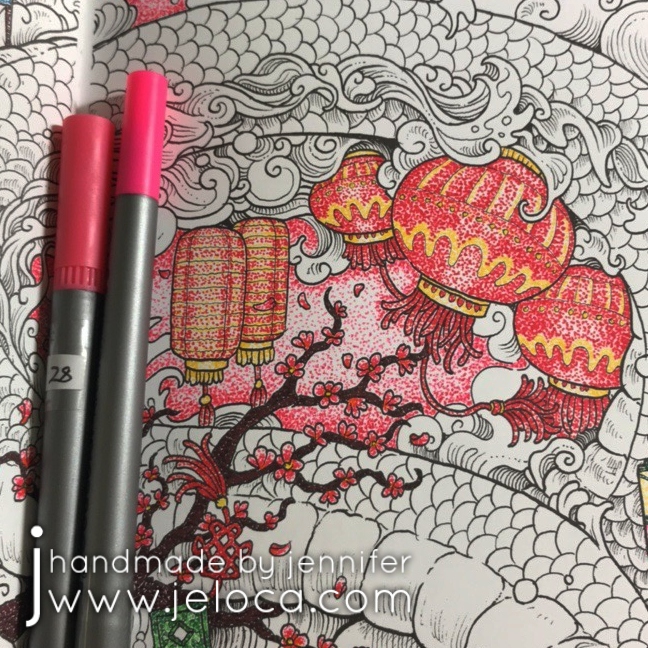
Next I used a brown marker to fill in both areas of cherry blossom branches and two shades of pink for the cherry blossom flowers and blowing petals. I completed the jade charm in the center of the above image and then used the original red and yellow to begin the firecrackers at the bottom.
It’s very peaceful to tap out little dots and then step back and have a complete shaded area of color and to then watch the whole image come together in the same way.

After finishing the fireworks I wanted a change of color so hopped over to some lotus flowers, then a koi, and then a decorative fan.

More fans followed. I’d noted what colors I’d used where so it was easy to have the fan’s cherry blossoms match those of the larger image. I then completed the little temple area in the upper right and the sword just below.

The pewter-look goblet was next, followed by the porcelain china.
Sometimes, when pages are as busy as this, it can be difficult to tell what’s what. For example, I found myself needing to decipher if some curls were clouds or waves. To help visually distinguish individual sections I decided to begin filling in the background. I used two shades of pink and darkened the edges around each icon so that it would have a nice contract against the planned colors for the dragon, clouds and waves.

As background areas were completed and it was easier to pick out clouds vs waves I used different shades of blues and grays to fill in each section.

I moved around the page in this manner, working first the pinks, then blues and grays. If I wasn’t sure yet what a random swirl was then I would fill in the areas around it until it became clear.
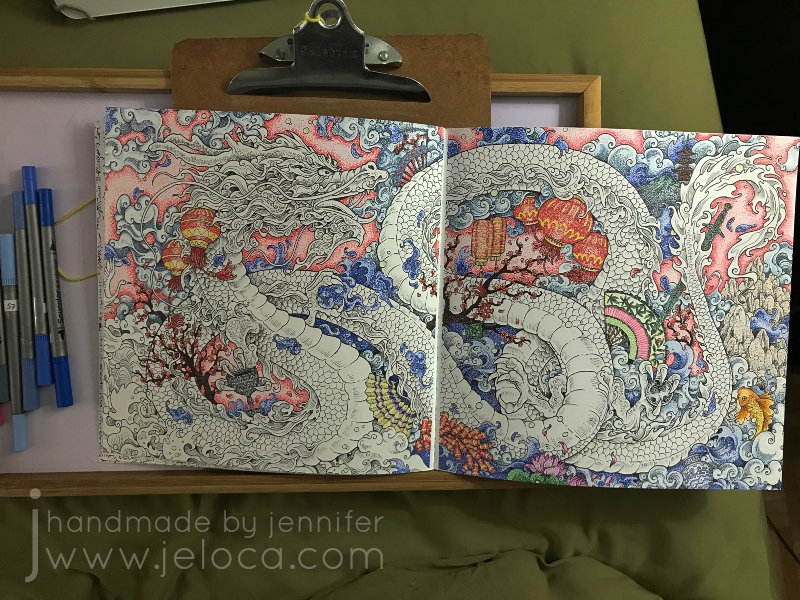
I kept going, making more itsy bitsy dots, until the entire background was complete leaving only the central, most important image of the page: the dragon.

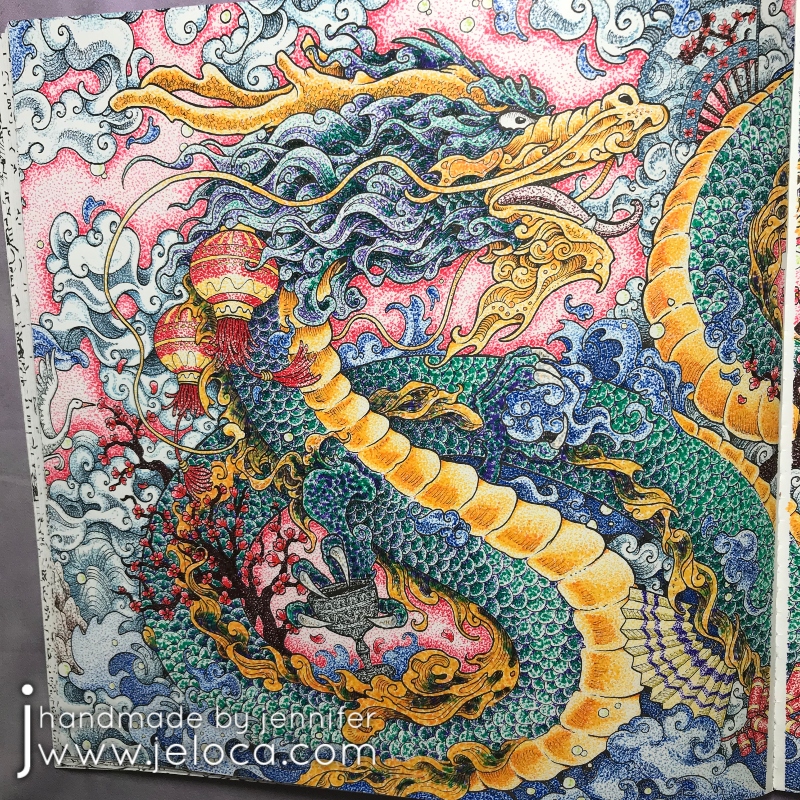
For the dragon’s belly I selected two colors that give a golden effect when worked together – a coppery-orange for the darker areas and a ocher-y yellow for the lighter. Each segment was worked with the orange first (as you can see in the upper left) and then finished with the yellow.
I took a video of the process for a closer look:
After completing the belly I used the same golden colors for the dragon’s face and whiskers.
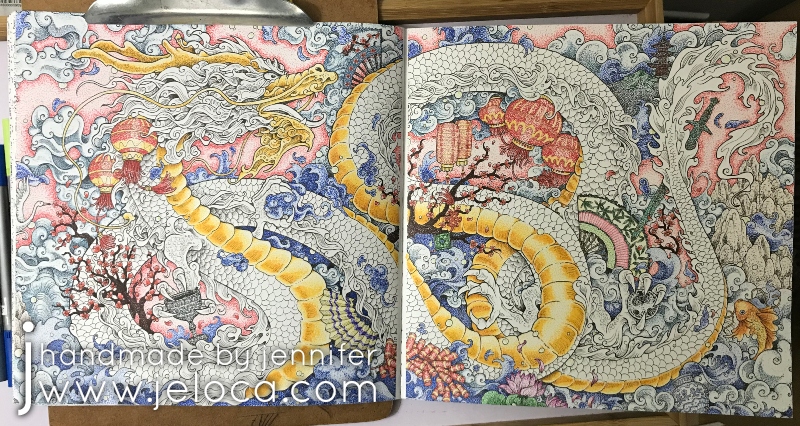
Then I moved on to the dragon’s scales.
I wanted to give him an oil-slick look with purple reflecting to green, so used those shades in tighter and looser groupings to indicate shadow and reflection.
Here’s another video showing a close up with more detail on how the scales were done (above).
Eventually all the scales were done and the dragon was SO CLOSE to being complete! All that remained were the frilly bits along his body, tail and face.
To keep things cohesive on such a busy page I used the same yellow, orange, purples and green and filled in the sections more densely to have deeper, richer sections of color.

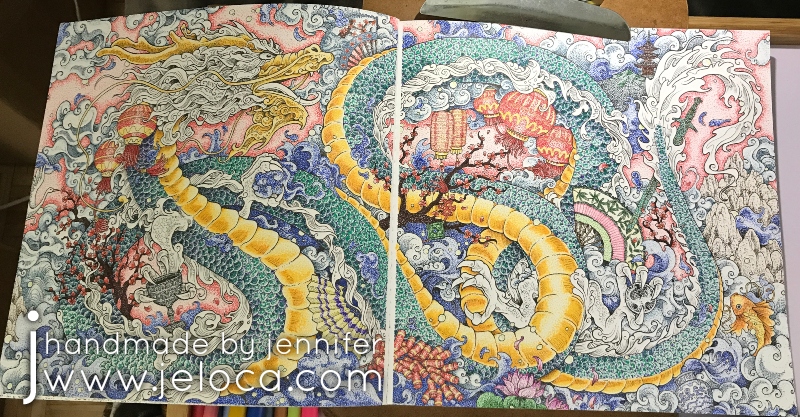
And with that, the coloring is complete!
This project was SO much fun to do even though it took SO long to complete. There was something incredibly satisfying about working on each small bit at a time, tapping dot after dot, and then backing up to see how the image all came together.

Kirby’s designs are great for a project like this because there are dozens of self-contained little sections and he includes just enough shading detail to give you a guide to follow.


