

Today Lunar New Year 2022! It’s also National Serpent Day! While today starts the Year of the Tiger, my Chinese sign is the Snake, so I think that makes this a perfect day to share this snake-themed DIY from my backlog of never-before-posted projects.
I’ve always loved snakes and Jakob inherited that affinity from me at an early age.
In fact, here’s him at about 3 years old proudly showing off a live snake around his neck!

Back in 2016 I was doing the Christmas gift prep and realized I was short on a stocking stuffer for him. I’d been on a squishy-making kick, having made an assortment of faux food for Henri’s robo-hamster, and decided to try and see if I could figure out how to make a snake for Jakob.
It worked perfectly, and here’s how you can make your own:
You will need:
- pool noodle(s)
- You can get multiple from one noodle, though can make them as long as you wish. I’m not going to put an Amazon link – you can get them much cheaper at your local dollar store!
- puffy paint
- scissors
- pencil
- craft knife
- craft sticks
- At least 1 per color you plan to paint
- paper plate or other disposable surface
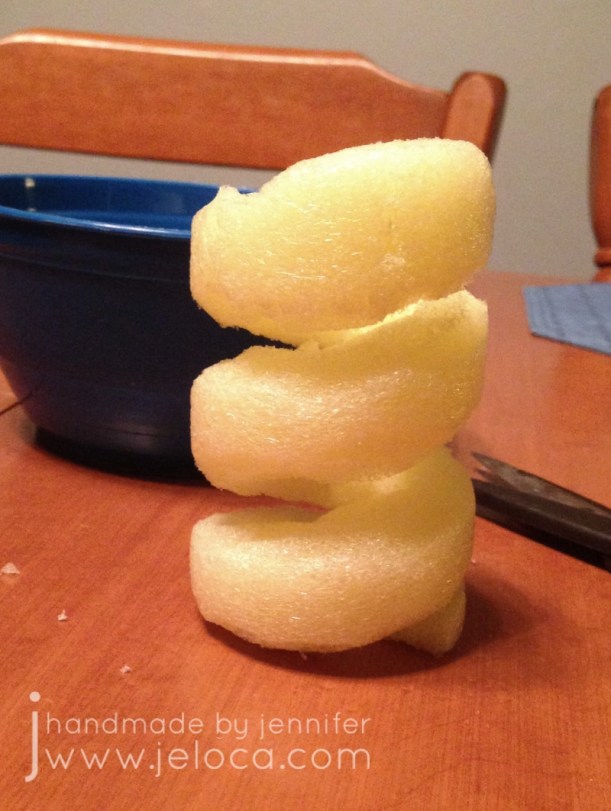
Start by cutting the pool noodle to your desired length.

You can use scissors for this but I find it easier to get a flat cut with a knife, and slicing halfway through then rotating and slicing the other half to match.
Draw a diagonal line around your noodle tube. This will mark the divisions where your snake is coiled up.

You can score the line with the tip of your pencil or knife/scissors to make it more visible and easier to follow.
Starting at one end, cut through your tube to the hole in the center and then cut along the line you’ve scored. Try to keep your line straight though it’s ok if it’s a bit messy at this point – it will get cleaned up in the next step.

Remember that one end is the tail and the other is the head, so start your cut on the diagonal as in the image above, to create the point of the snake’s tail. Stop your cut short at the other end and then cut vertically to leave a wider, flat edge which will become the snake’s head.

Once your basic shape is established, you can clean it up. Use your scissors to take small snips on the diagonal of each edge to round out the snake’s body. Shape the head, and you can carve in any other details you’d like, like eyes or scales.
If you want to make sure your snake will stand on its own, make sure one edge is flat.
Don’t forget to make sure that there is enough room between the coils to keep them from sticking to each other as you are painting.
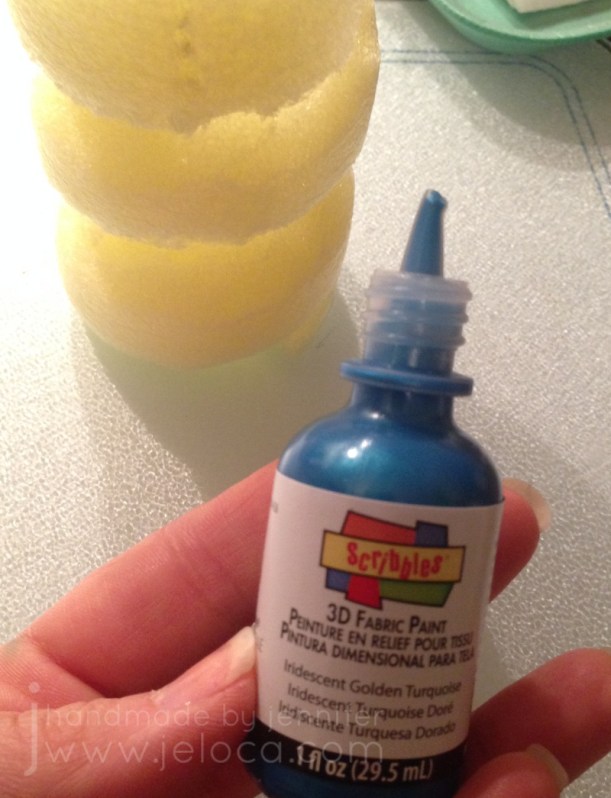
Then you get to paint! You want to use puffy/fabric paint in opaque colors. If you use colors that are too translucent you will need to do many more coats. If that is the case I would suggest a base layer of an opaque white first.
Note: Do not use acrylic/craft paint! If you do, the first time you squish your toy the paint will crack and flake off, which would be a shame after your hard work. With fabric/puffy paint your toy can last for many years.

Don’t try to use a paintbrush! Squeeze some paint onto your squishy then spread it out with a craft stick. Repeat this process everywhere you want the current color, remembering to leave one side or base unpainted so you have somewhere to set it down while the paint dries.

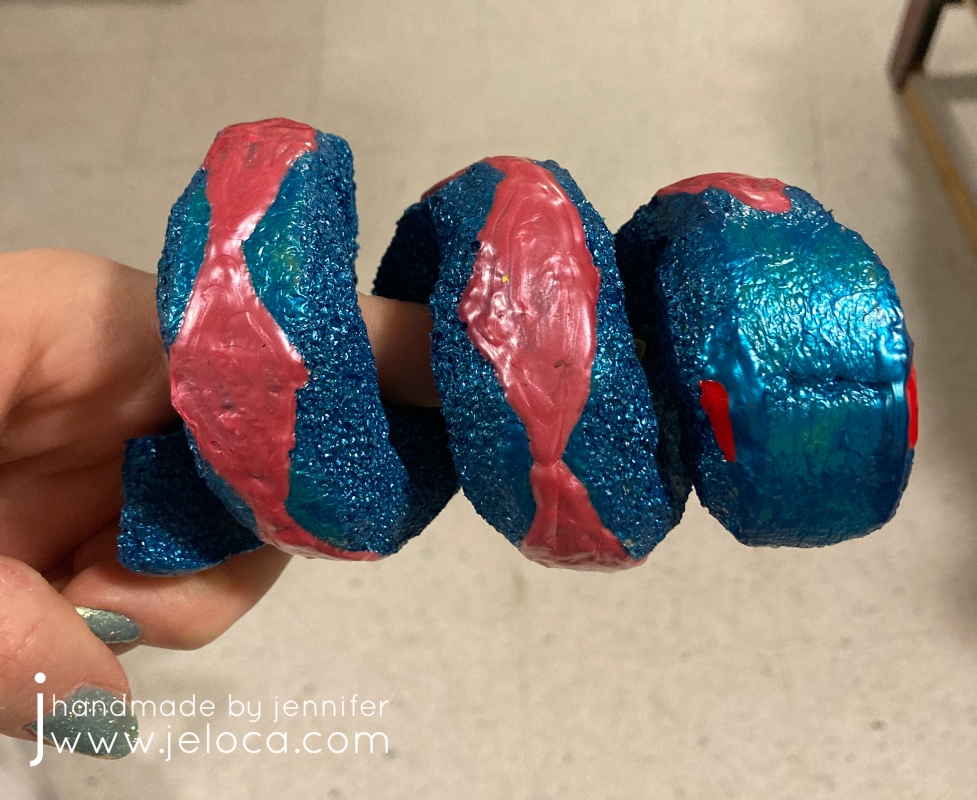
Continue in this manner, adding more paint in your desired colors. Allow each coat to dry thoroughly between layers. When the body is dry, you can paint the base with the same number of layers.
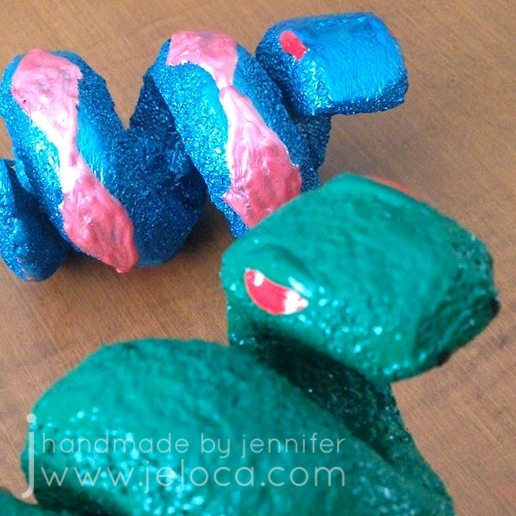
When the final layer is dry you can add further details like eyes or scale patterns.

Not only are these little guys easy to make, but they make ASMR-like sounds when squished.
I hope you enjoy making your own!

