

Like many others, my mother got really into puzzles during the pandemic. So when Hanukkah rolled around the boys wanted to give her a custom puzzle as a gift. Being a maker I knew we could make one ourselves, and here’s how we did it. With 3 weeks left until Hanukkah and even longer until Christmas you’ve got plenty of time to make a custom gift for the puzzle lover in your life.
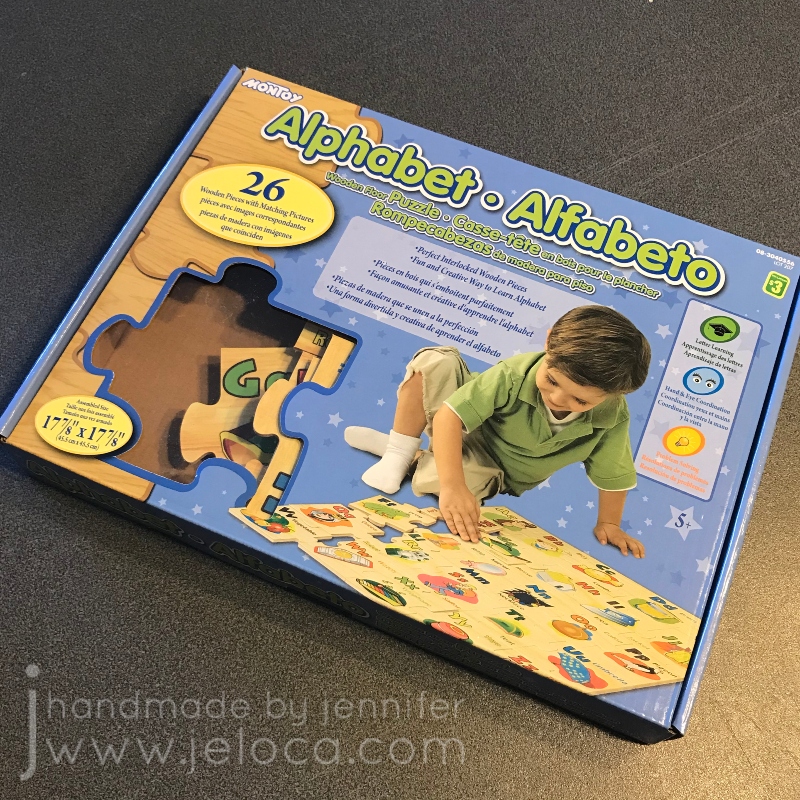
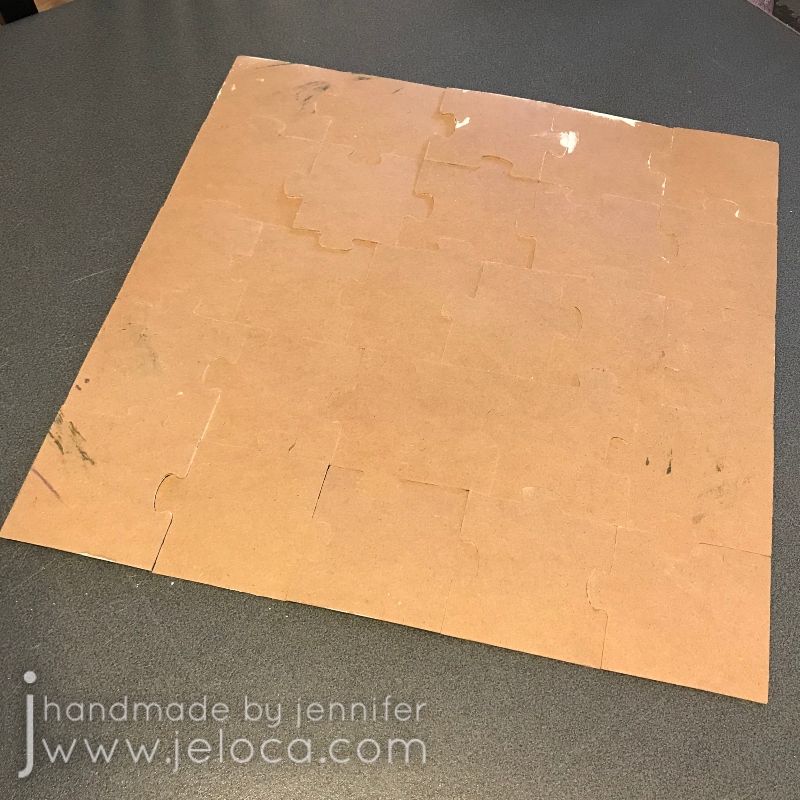
To get started you’ll need a puzzle to customize. We wanted a wooden one to be sure it would hold up to being painted then colored. We found this one at our local Dollarama but there are a number of good options on Amazon. You can get a 4-pack of flat puzzles or go for a cube style and make a custom puzzle with multiple images!
Assemble the puzzle over a drop cloth or protective surface. If your puzzle has a gift box or lid you’d like to decorate as well, open it flat. Our box simply unfolded; if yours is glued together you can ease it apart and re-glue it later, or prime it in sections.
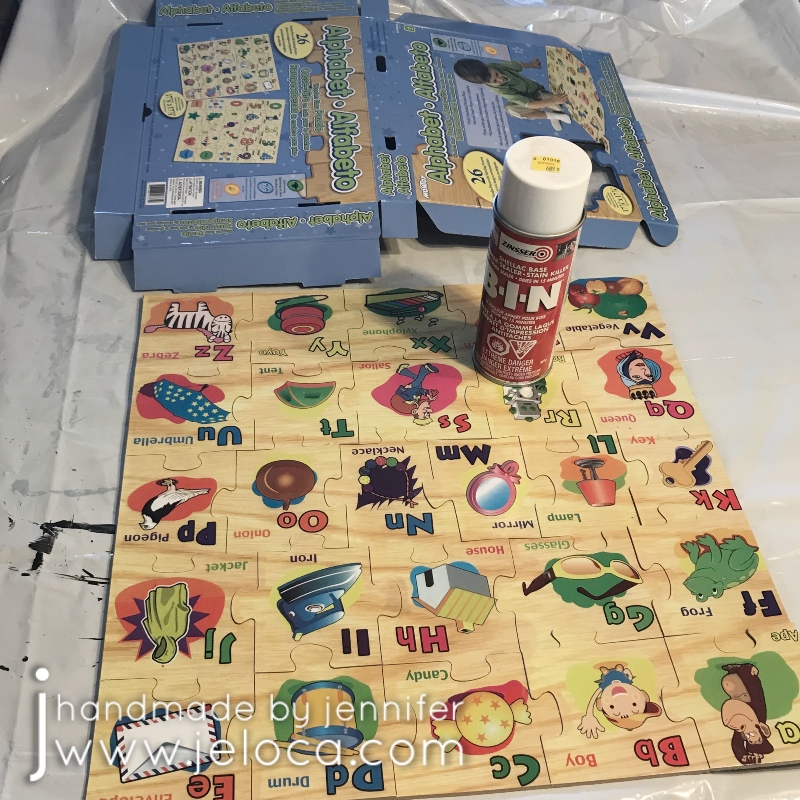
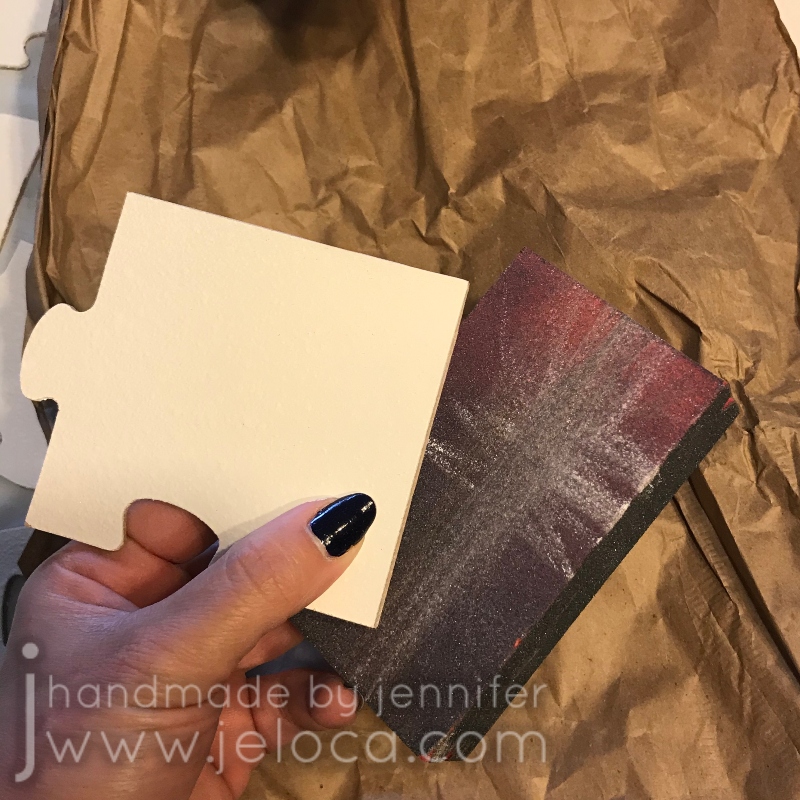
You have two options for primer – you can go with a spray primer option like we did, or you can use white gesso and foam brushes and paint it on instead.
Use light, thin coats of primer to get a solid, even coverage. If spraying indoors like I did make sure your drop cloth covers ALL nearby surfaces. (My black dining room chairs now have faint white stripes…oops!).
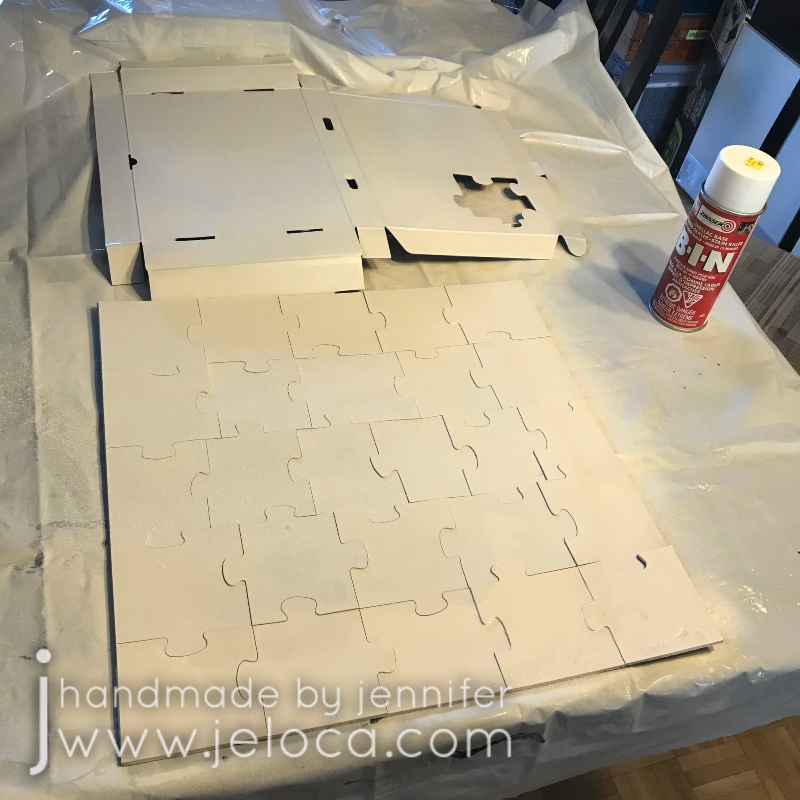
Once the primer is fully dry you’ll want to disassemble the puzzle and lightly sand the edges of each piece. This will ensure no primer dripped down which could prevent proper assembly later.
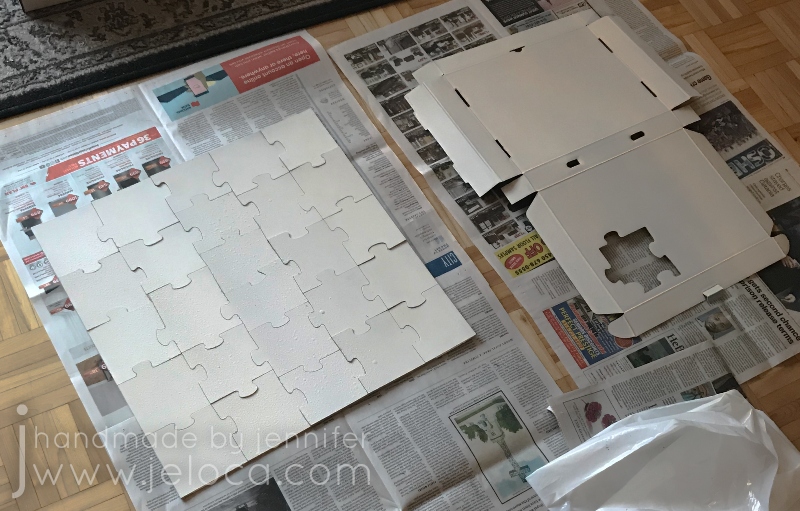
Put the puzzle back together and you’re done! You now have a blank, white puzzle and box ready to customize however you’d like.
From this point it’s no longer a tutorial as there are unlimited ways you could decorate your puzzle, but I’ll show what the boys did for their grandmother.
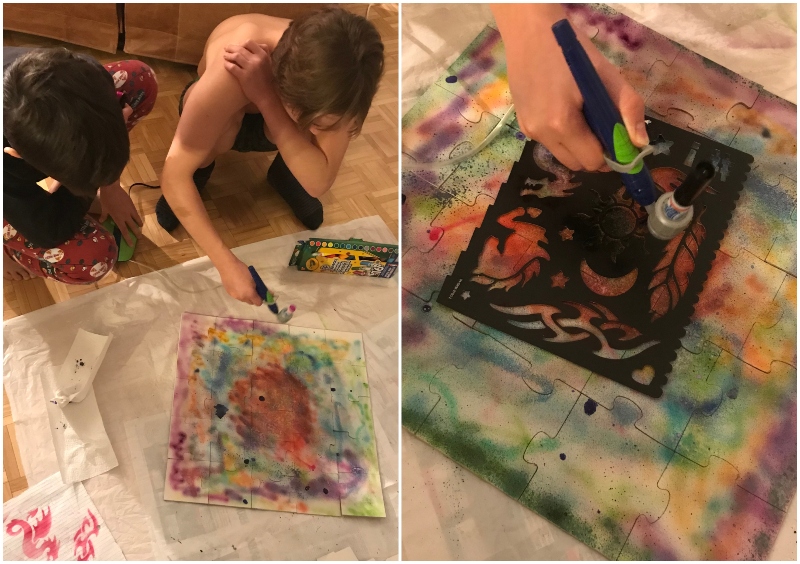
They used the Crayola Air Marker Sprayer Airbrush Kit. I’ve got a full review of the airbrush coming soon but spoiler alert – it’s great! It comes with a few markers in the box but we’ve found that it’s compatible with all Crayola markers that have the same barrel size, so I picked up this pack of 16 Crayola Pip-Squeaks washable markers so the kids would have extra colors to choose from. They worked perfectly with the airbrush and washed off all hands, clothes and my plastic protective cloth.

The boys took turns adding colors to the puzzle and then used the airbrush kit’s included stencils to add little details like the stars and sun.
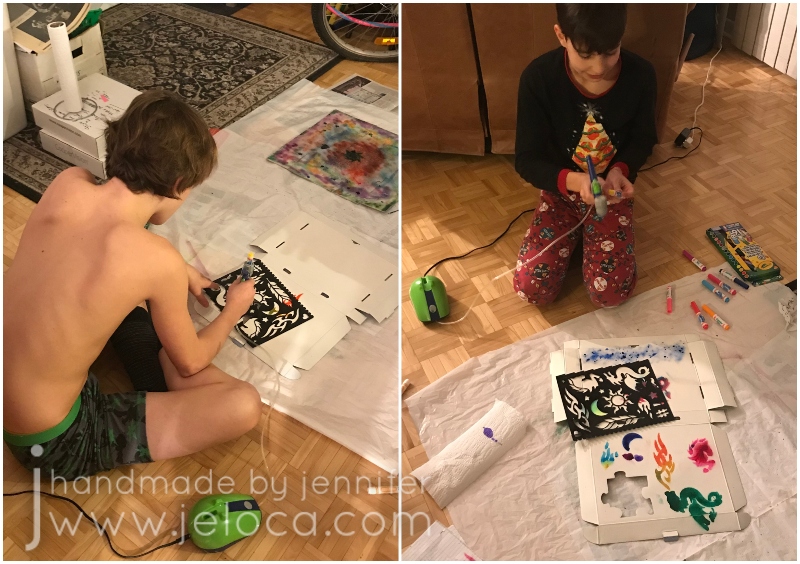
The primer does keep the water-based marker ink from absorbing as quickly as it would into paper, so it’s a good idea to let it dry fully before handling. While ours was drying the boys took turns decorating the gift box.
They had fun testing out the different stencils and playing with color, and then we let everything dry further.
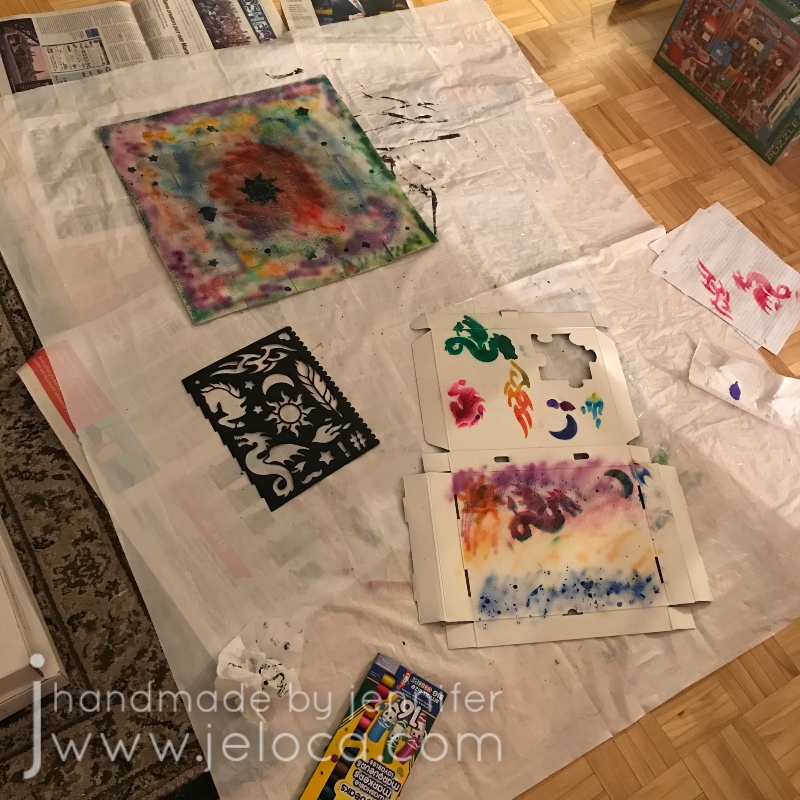
The final step for the kids was to use glitter glue to add sparkle to the puzzle, and then let that dry as well.
Here’s their completed puzzle:

It reminds me of the tie-dyed scarves we used to hang on our bedroom walls in the 90s!
A combination of the puzzle fitting really well together and the primer filling any residual cracks meant that there was no bleed-through of the primer or marker spray onto the back of the puzzle.
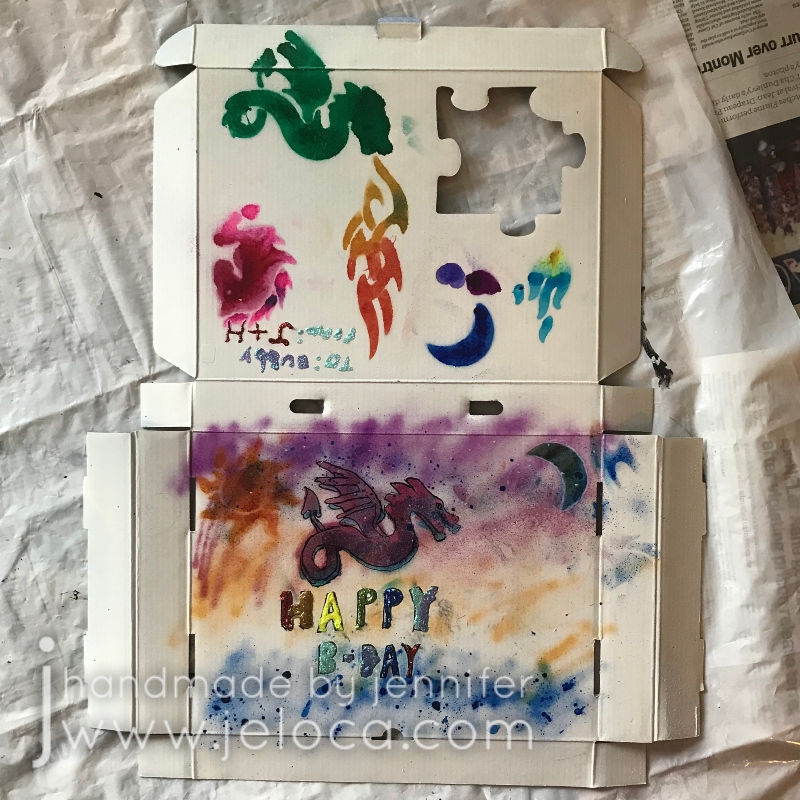
They added more glitter glue to the gift box and a few extra details like a birthday message and some outline work.
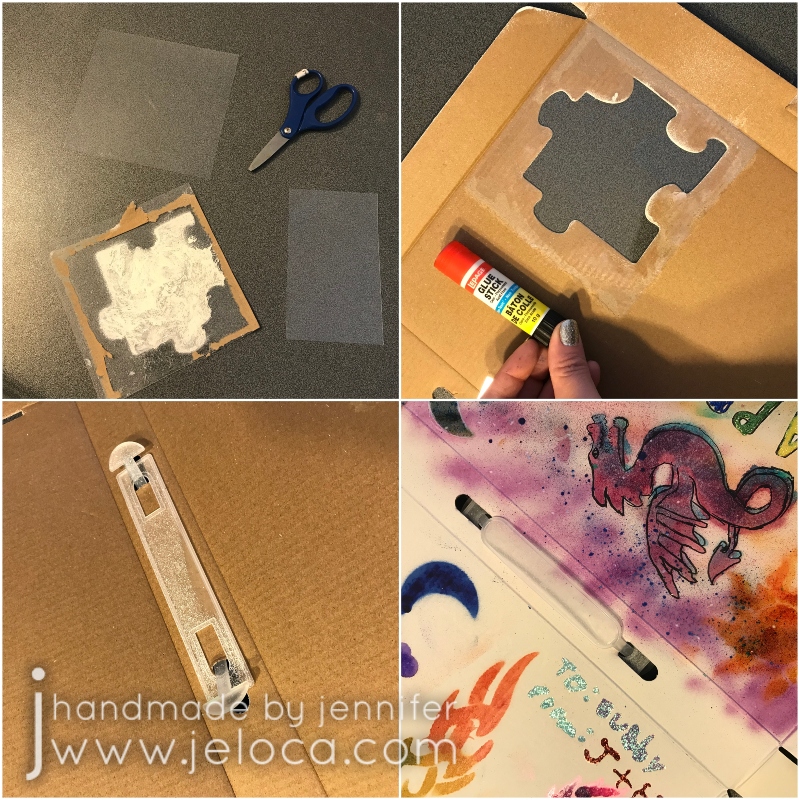
I’d accidentally left the plastic window on the box when spraying it so I cut a new square of plastic from some leftover packaging and glued it into place. Then I put the plastic handle back onto the box.
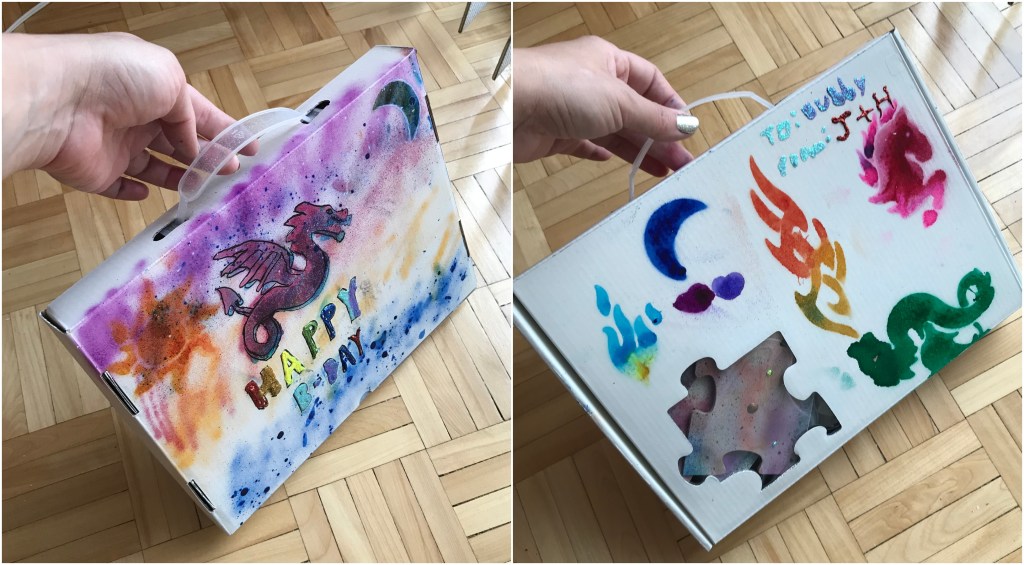
With that the boys had a completely unique gift for their puzzle-loving Bubbie.

There are SO MANY ways you can customize your own puzzle! These can be painted, colored with markers, watercolor, colored pencil, or even decoupage with tissue or thin paper (and then re-cut the puzzle shapes with a sharp blade). You can even play with the texture of the primer you use, like giving a waterfront scene sand medium for the beach and texture medium for the lapping waves. The possibilities are truly endless.


